If you are building a new home, be sure to think about these ten things I’m so glad we did!
This post contains affiliate links to products mentioned for your convenience.
If you are considering building a new home, it might help to hear from someone who has been there and lived to tell the tale. We survived the experience of building a custom home! Yay! That means you probably will too, right? Of course! Being able to build really is a dream come true, but it can also be stressful and intimidating. It can be hard to sort through all of the limitless options and decide what is best and most cost efficient. In the spirit of helping you sort through some of the clutter, here are ten things I’m glad we did when we built our house.
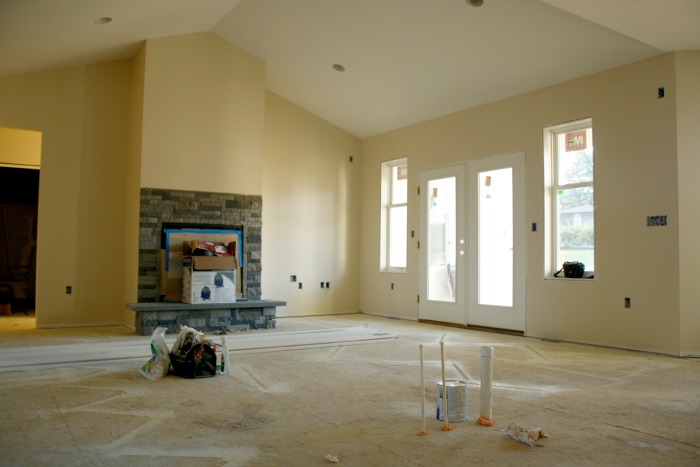
- We changed the roof line. In the original plans we bought from an architect, the roof line was much more complicated, and therefore more expensive to build. Our son’s room was supposed to jut out on the left side of the house, as you are looking at the picture. Instead, our contractor suggested that we extend the roofline to make the other rooms flush with that one. That gave us extra square footage in our office and the kids’ bathroom. We use both of those rooms every day and I’m so glad we made the decision to make them larger. Even with the extra cost of materials for adding footage, it was still cheaper than doing the roof the original way that it was designed because with the new straighter roof line we were able to buy pre-made trusses instead of paying for the labor to have a custom roof built on-site.
- We took windows and doors out of the design. (I know, right?!) This seems odd, doesn’t it? But we’ve been living in this house since 2013 and I’m still glad we did it. In the original design there was a door leading outside from the bedroom that our daughters share. I knew I didn’t want them to have a door now while they’re little and I definitely didn’t want them to have a door when they are teenagers. There are four other doors around our house, it’s not like that one was going to be missed by someone who bought this house in the future, if we ever sell it. So we took the door out. We also took out windows that seemed redundant or unnecessary. (For example, I didn’t particularly want a window in the toilet closet in our master bathroom. Or if a room already had 2 windows, we took out the third.) The windows we did keep we made as large as we could. Whenever we entertain we get comments about how much natural light we have, so I’ve never missed the windows we removed, but taking them out did save us a good bit of money, which let us do other upgrades. We also changed one of the windows in our bedroom to a french door. I don’t think the crew (or my husband) were too happy with me about that change because I got that idea and was very insistent on it while they were literally framing the wall it was supposed to go in and they had to do it over.
- We moved the laundry room. This is by far my favorite change we made to our house plans. In the original plans, the laundry was supposed to be in a hallway closet, just off of our garage. I knew that laundry in the hallway was one thing I really was not going to love. I have three small children and laundry is a constant losing battle. I didn’t want to see baskets of dirty laundry in my hallway every day. So I asked if we could possibly move the laundry area into our master bedroom closet. And they said yes! Our contractor tucked the washer and dryer under a set of stairs, so there is a laundry closet within our closet. We were able to turn the original laundry closet into a very large pantry. That also freed up space where the original, smaller pantry was supposed to be located, so we were also able to add a wet bar off of our kitchen with space for a wine cooler
.
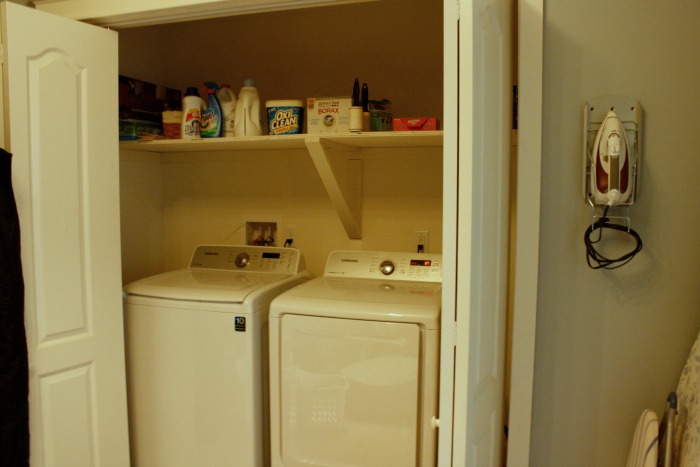
our laundry closet
- We thought about where the sun rises and sets and how we wanted to orient the house around it. I did not want the sun shining into my children’s bedroom’s at 5am if I could help it, and the nice thing about building a custom home is that you can help it. It is important to think about those kinds of things in advance because some things, like paint colors, you can always change in the future if you change your mind, but some decisions are forever.
- We decided to go with IKEA cabinets in our kitchen. Don’t let their reputation for cheap dorm room furniture fool you. You know the kitchens renovations you see on home improvement shows? Those are often IKEA cabinets in the after photos. In terms of performance and durability, they actually outperformed several more expensive brands in a study done by Consumer Reports, and they are very affordable. The money we saved by going with cabinets from IKEA allowed us to do several other upgrades that we would not have been able to afford otherwise. You can read more about our IKEA kitchen and see photos in this post.
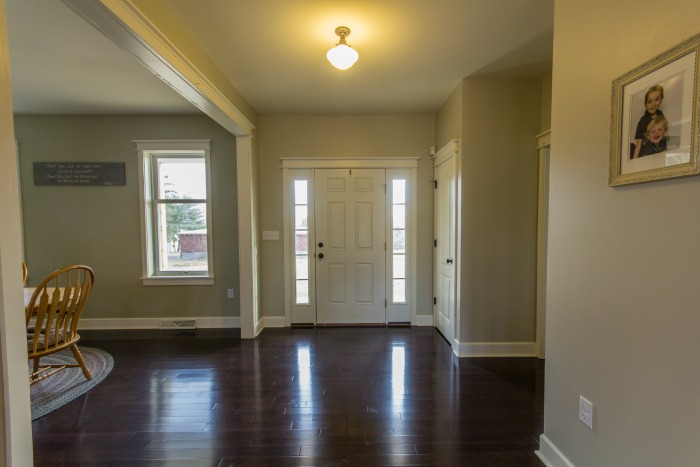
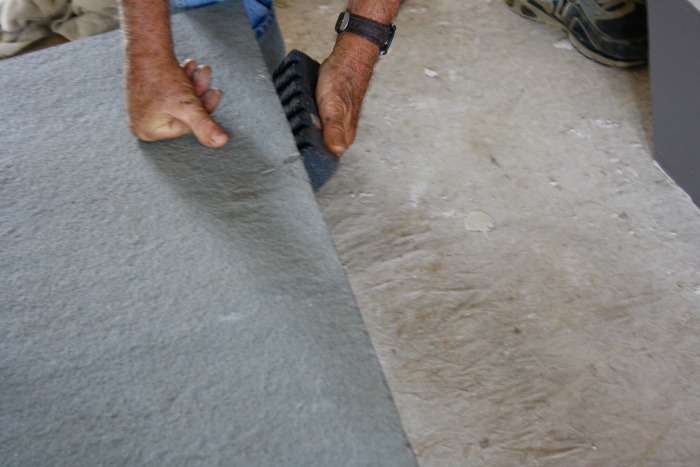
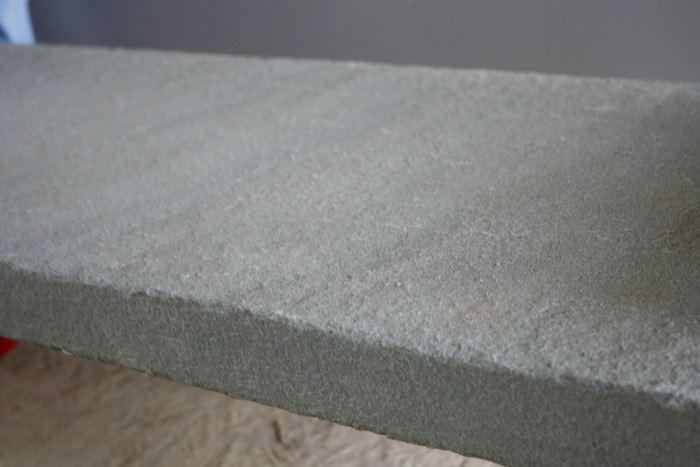
- We spent the extra money and got real wood floors. Not engineered wood or wood veneer on top of a layer of plywood. Actual wood planks that can be sanded and refinished over time, more than once if need be. The same kind of flooring that you see in 100-year-old houses. We have 3 kids and a dog, so they already have a few small scratches, but we expected that and I think they just add to the character. After all, we built this house so we could live in it.
- We had our contractor install Craftsman style moldings. He made these by hand out of stock lumber. Other than the extra labor cost, which wasn’t a lot because he had budgeted to be installing trim anyway, they actually didn’t cost very much more than generic molding. It was one of the biggest differences in terms of adding character and charm and turning this house into our home. You can find a book with plans for moldings like this here: Shop Drawings for Craftsman Interiors: Cabinets, Moldings and Built-Ins for Every Room in the Home .
- We did a detailed plan for where we wanted outlets, and then we walked through the house again with the electrician. He thought about things that I never would have, like adding an outlet in our pantry to keep small appliances, like our dust-buster, charged, and we thought about things as we were doing our walk-through that we wanted to add or change. If we had just handed over the initial plans, I’m not sure I would be as happy with our final lighting and outlet situation as I am.
- We added a water pump in the back yard. We have several acres of land and I knew that if I planted large gardens or raised chickens in the future (I’m still trying to talk Eddie into the chickens) that it would be a major pain to get water to that area of our property. While the yard was torn up for utilities anyway it was pretty easy and inexpensive to add a pump. Having the water pump also came in handy while we were building the house because that was hooked up far before there was any access to water in the house itself.
- We took a video of everything inside the walls before they put the insulation and drywall up. This was at the suggestion of my uncle, and I’m glad we did it. Now we have pictures and video documentation of where all of the wiring and duct work is behind our walls in case we ever need to access it or try to avoid it during future renovation projects.
The finished project is something we couldn’t be happier with. It truly did feel like home from the moment we moved in because we had a say in every single aspect of the design and construction process. I know a lot of people say once they have gone through the process of building a custom home that they would never do it again, but that wasn’t our experience at all. I loved working with our contractor and I would do it again in a heartbeat. As a matter of fact, we hired him again a year later to turn our basement into an in-law suite for my mom.
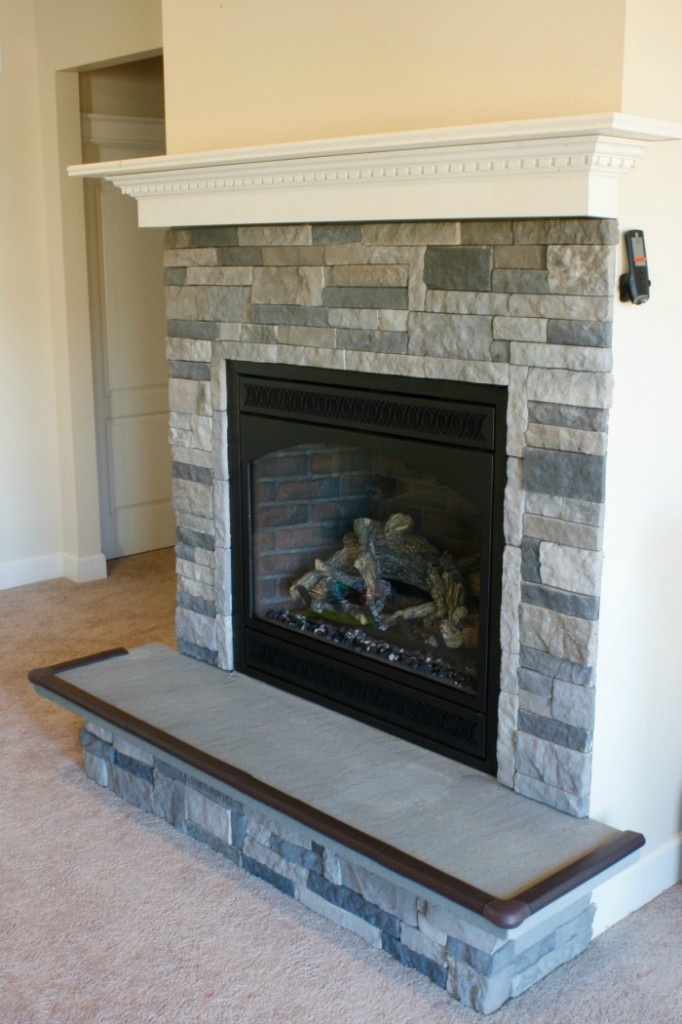
Our finished house:

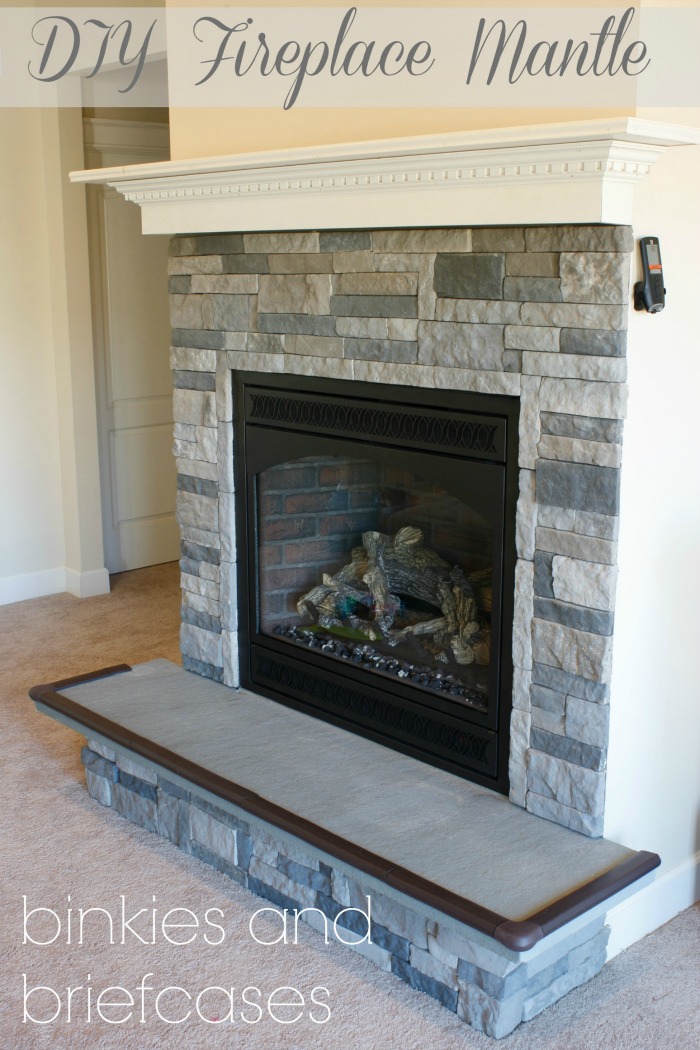
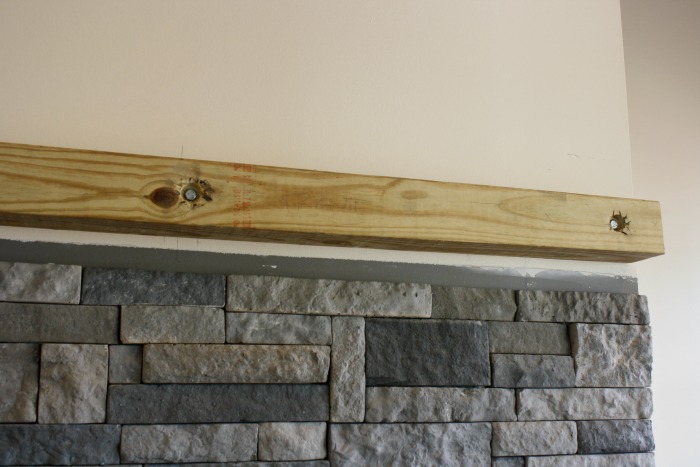
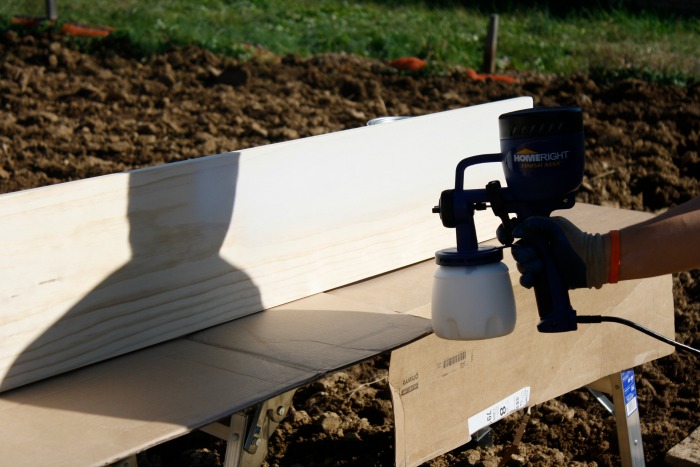
You might also want to check out how we installed our stone fireplace and how we built our floating fireplace mantle.
If you liked this blog post, don’t forget to pin it! I would also love to connect with you on Pinterest, especially if you are also building a new home!
Follow Binkies and Briefcases’s board Best of Binkies & Briefcases on Pinterest.
Click here to see Ten MORE Things I’m Glad We Did!
You will also love:


What You’re Saying