Binkies and Briefcases

SUBSCRIBE

  • About
    • Work With Me!
      • Blog & Small Business Consulting
    • Disclosures
  • Popular Posts
  • Adoption & Special Needs
  • Saving Money
  • Recipes
    • Breads
    • Breakfasts
    • Sides
    • Soups
    • Entrées
    • Desserts
  • For the Home
    • For the Home
    • Beauty
    • Crafts
      • For Kids
  • My Books

Raab’s Orchard

October 13, 2010 By: Stephanie2 Comments

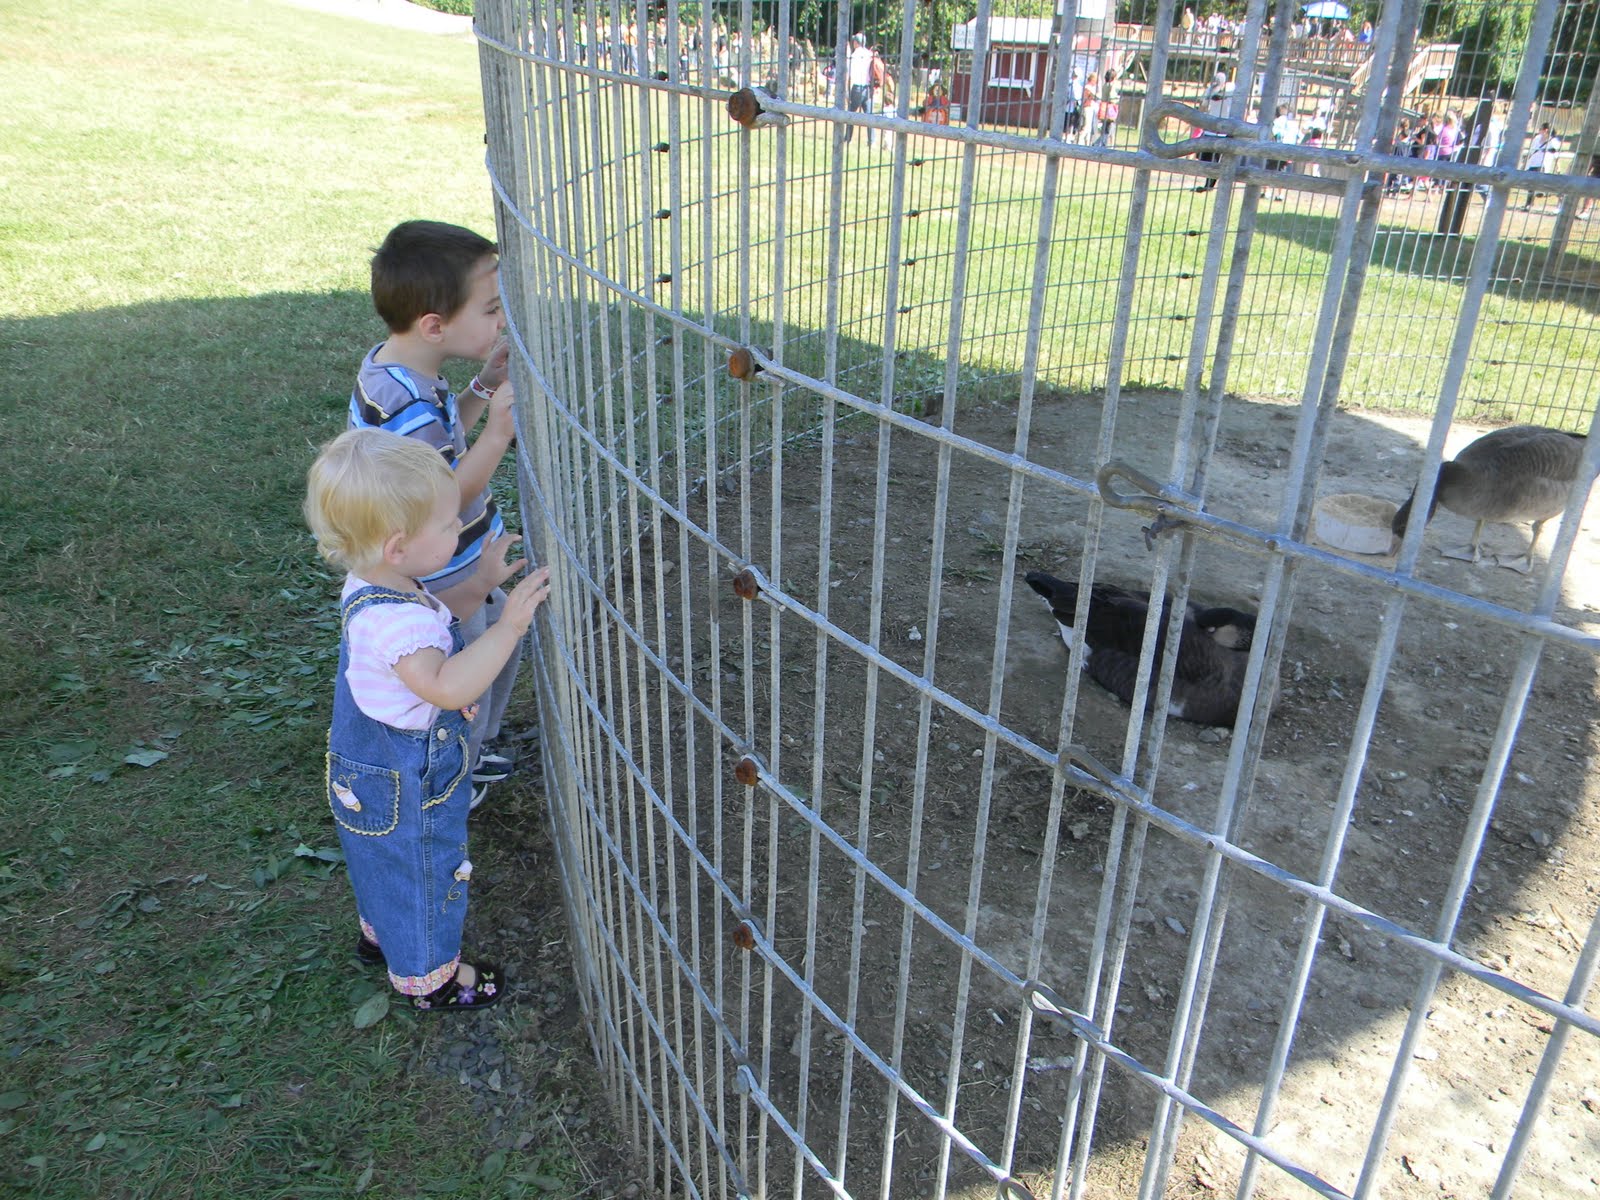
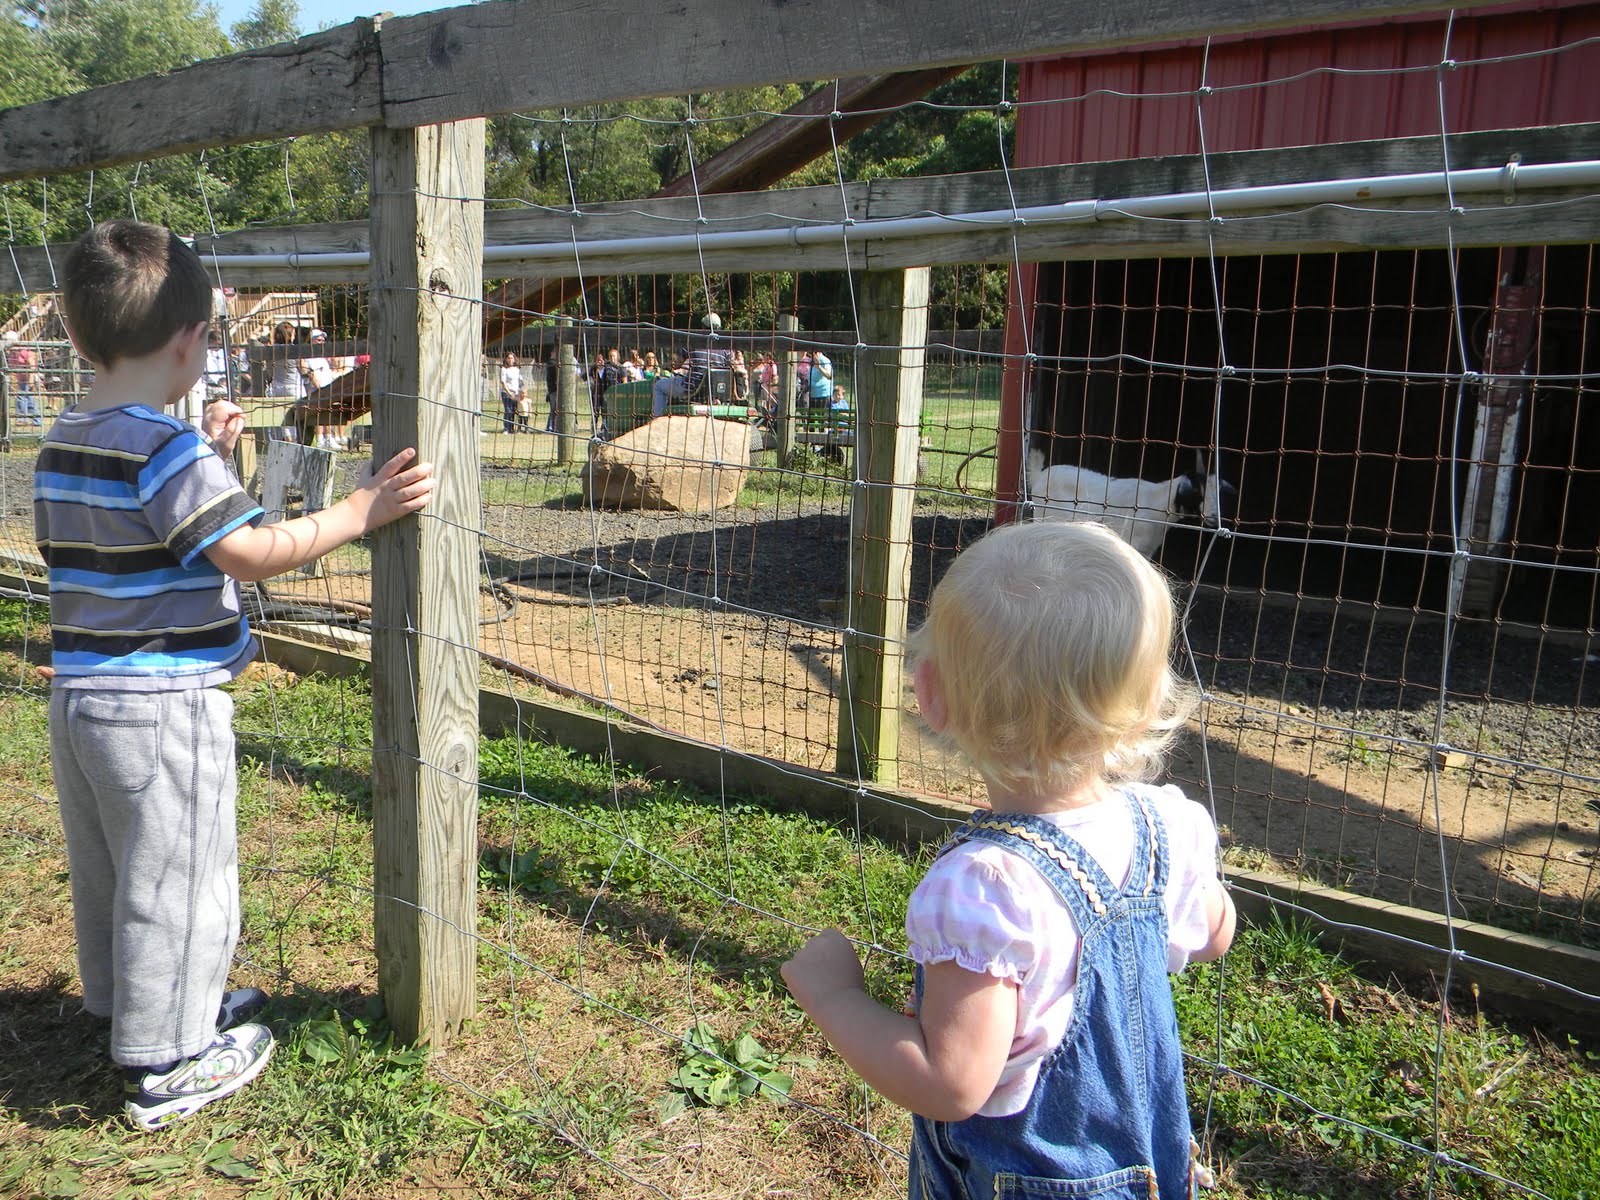
Yes, this is the third time in a month we’ve been to a farm. It’s fall and we live in Pennsylvania, enough said.

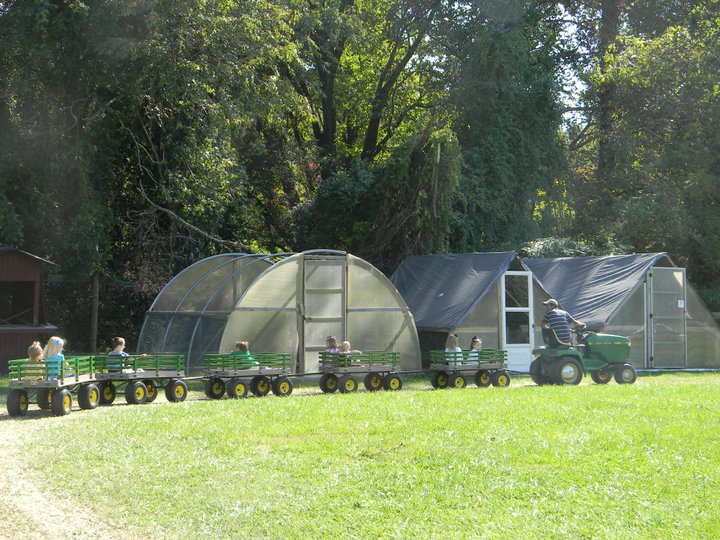
Today I got to have some special one-on-one time with Nicholas, just us and 11 other preschoolers and their mommies. (and a few daddies and grandparents too)

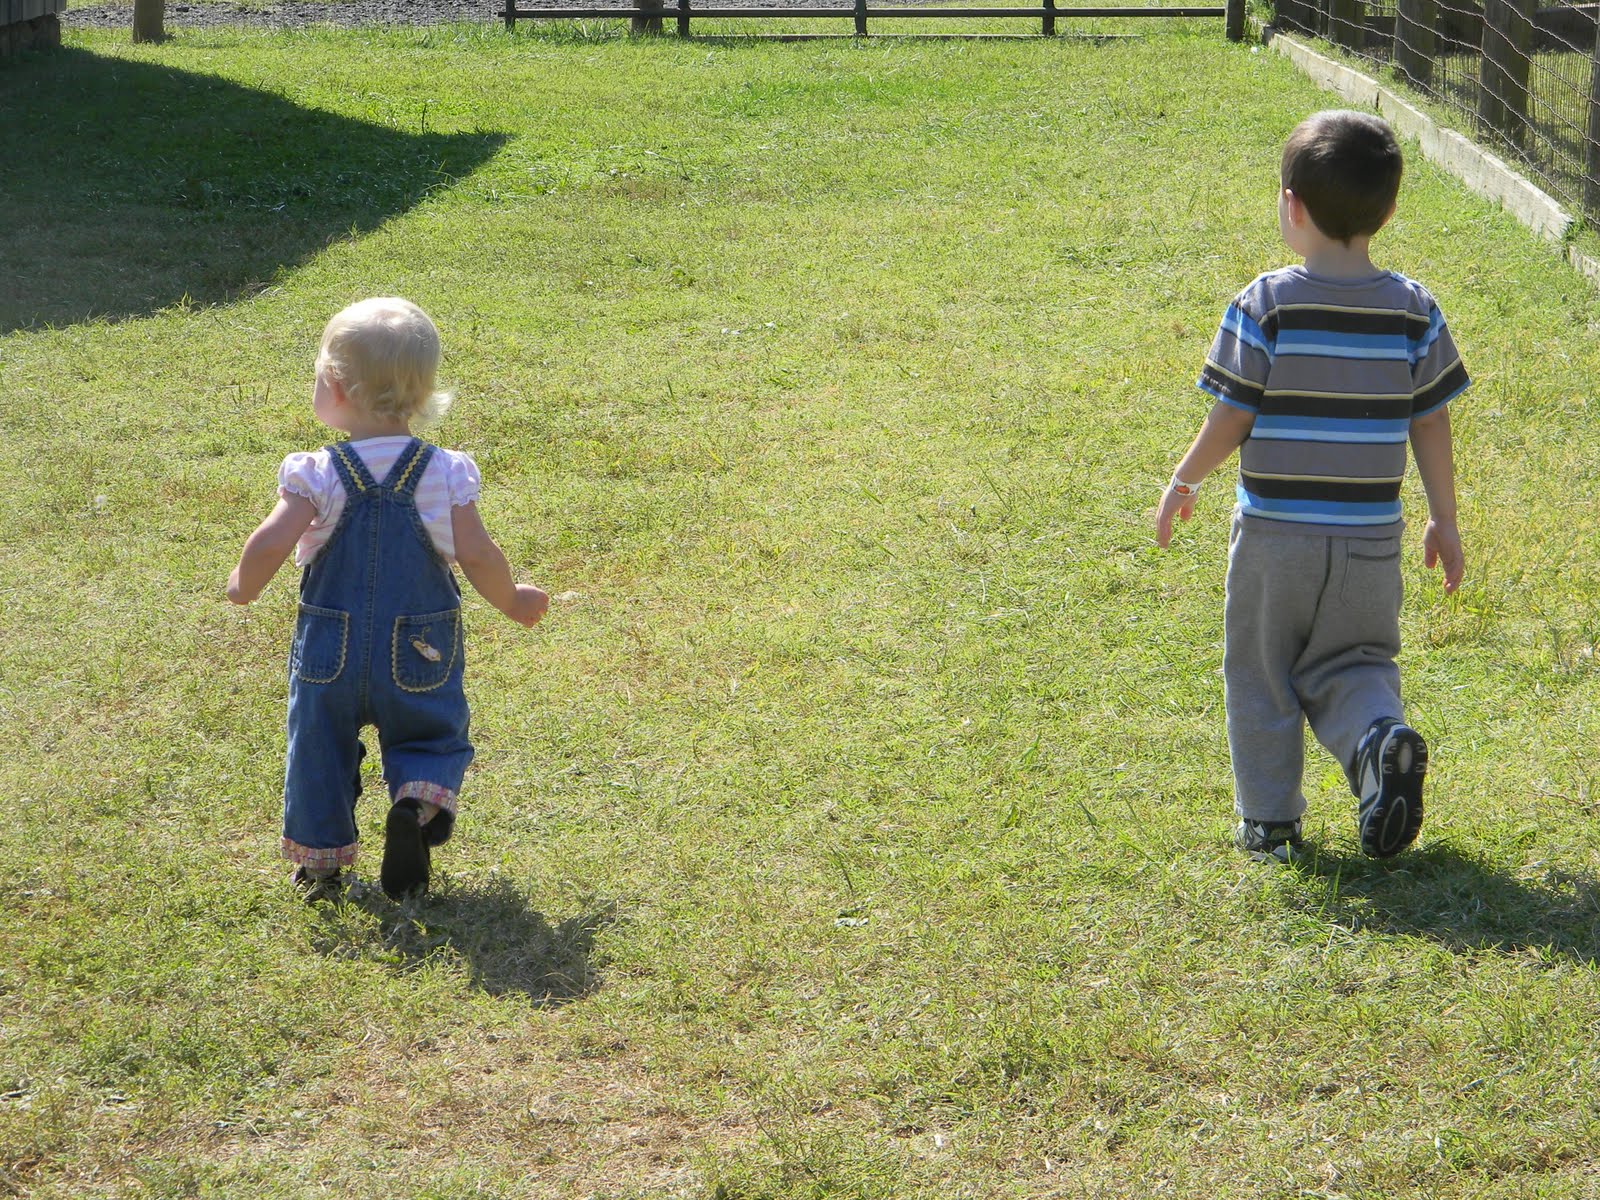
The field trip only lasted an hour, which was prefect for the three year old attention spans.

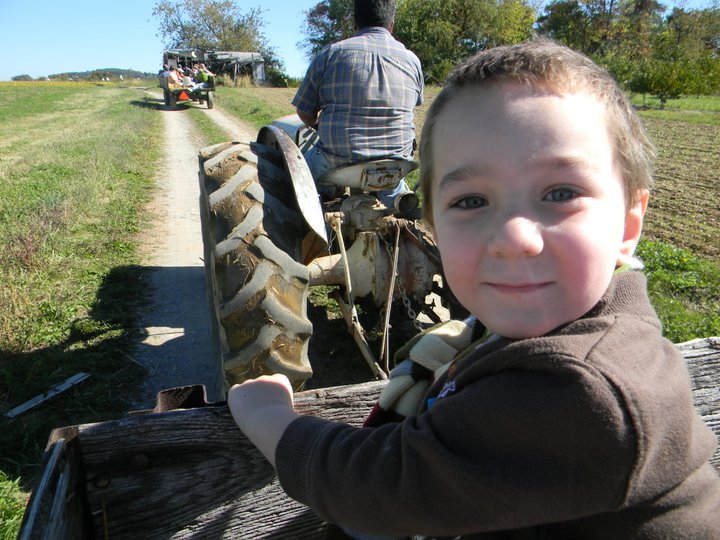
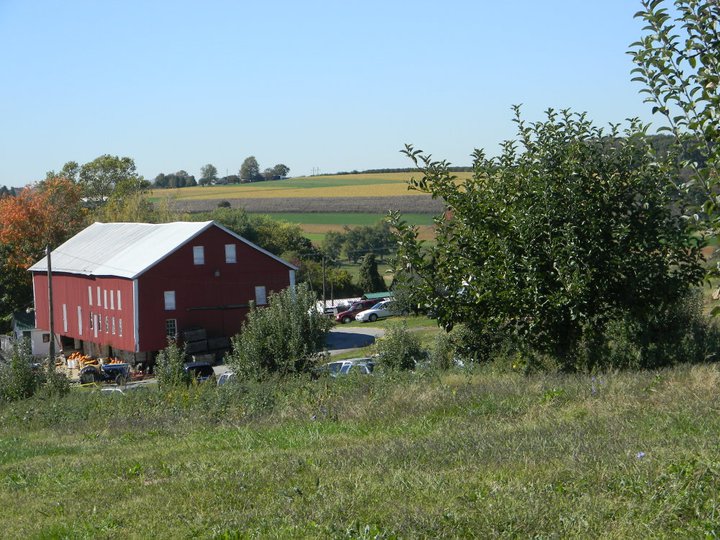
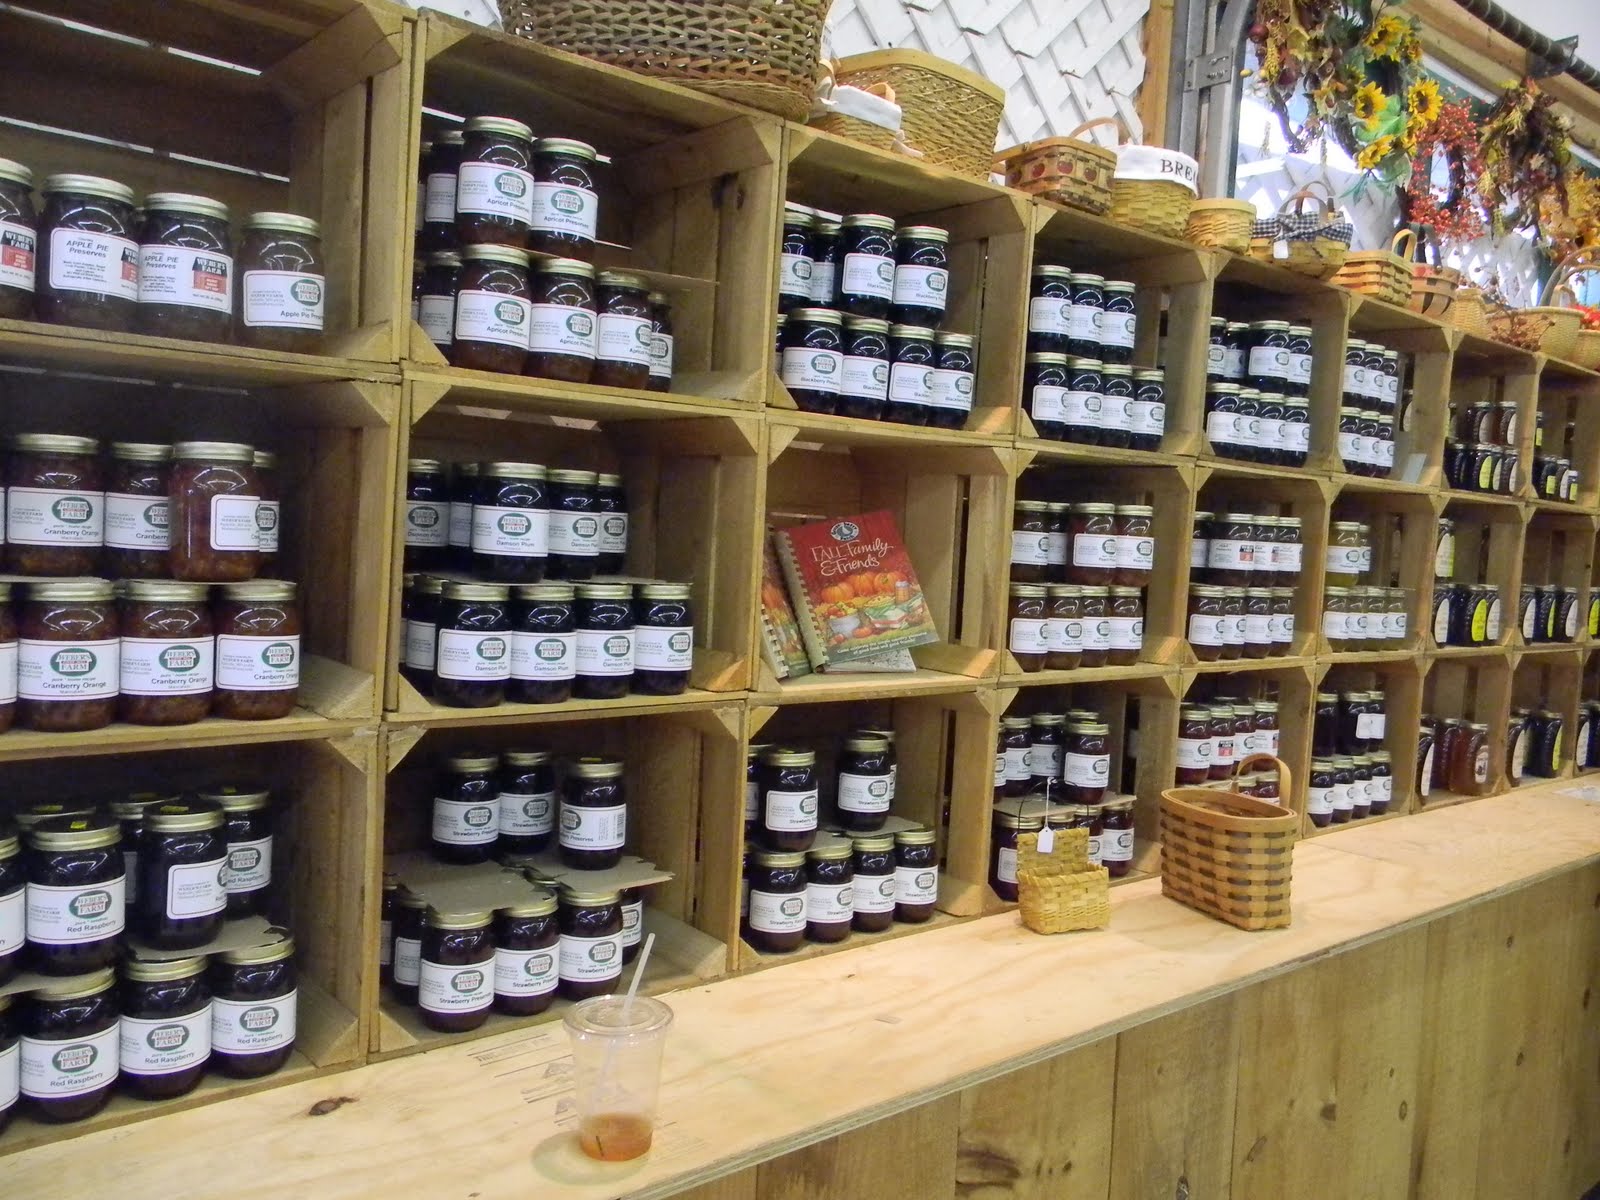
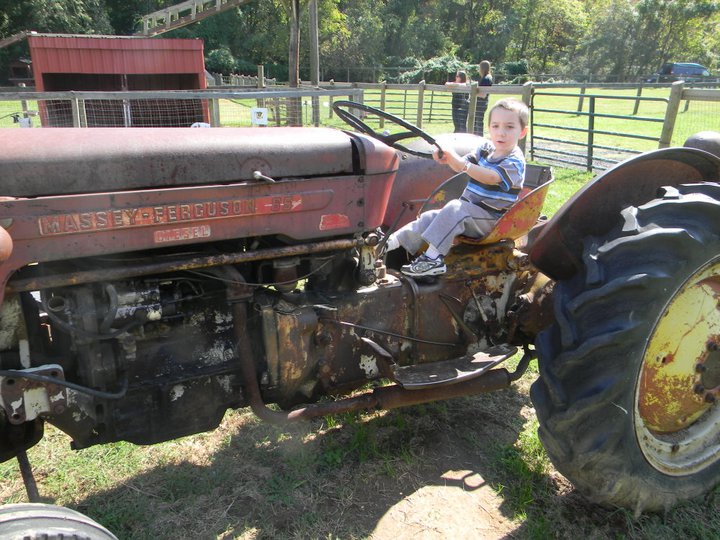
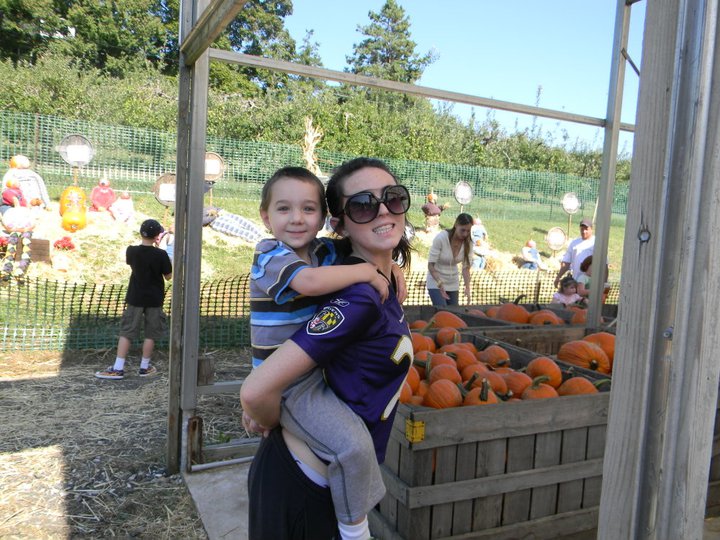
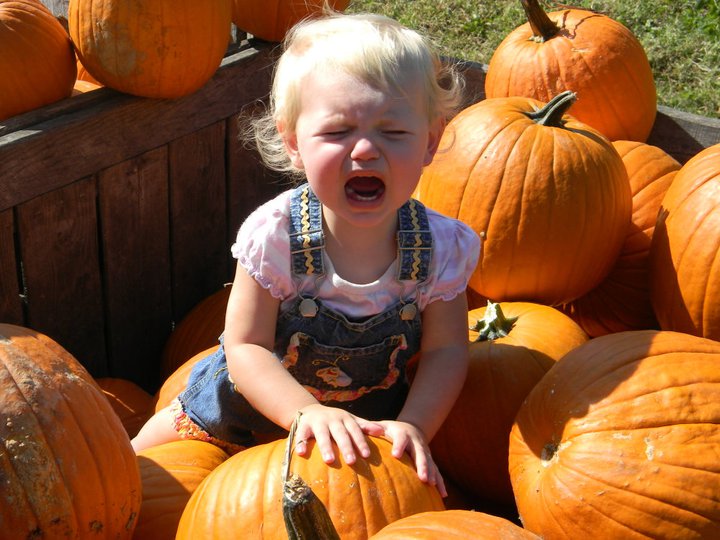
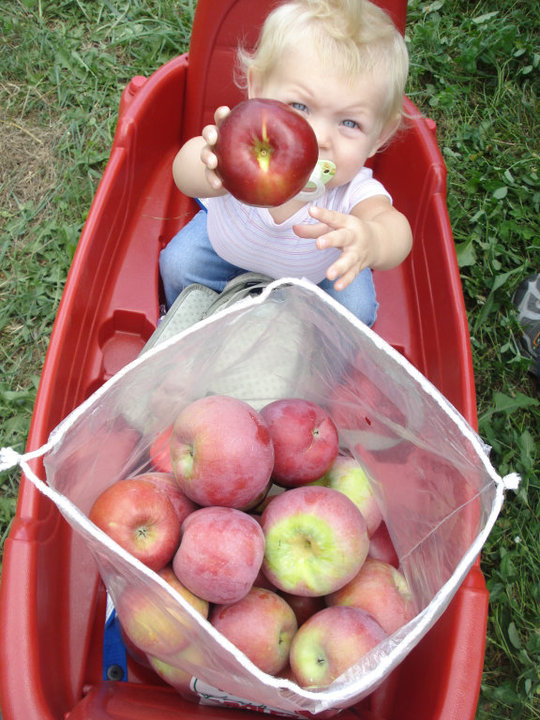
We boarded a tractor and took a hayride to an apple orchard where we were each allowed to pick 4 apples, then it was back on the tractor and over to the pumpkin patch to pick out a pumpkin and a few gourds, and finally back to the general store where they handed out apple sauce and cider for everyone.

It was a great way to spend an autumn afternoon!


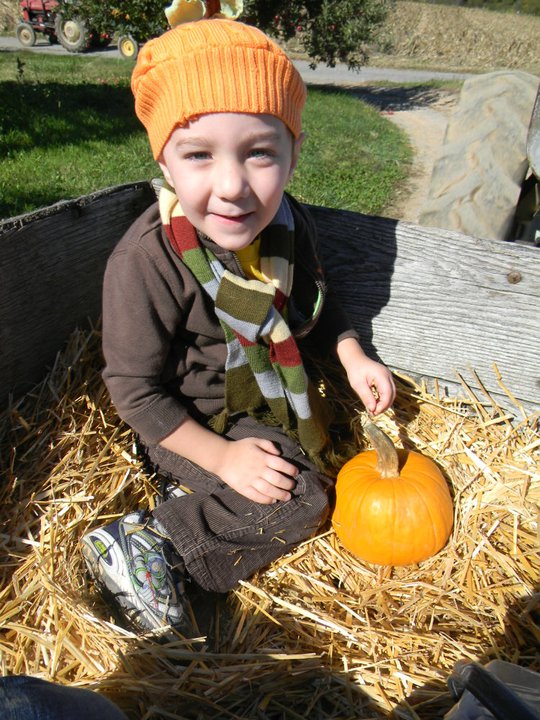
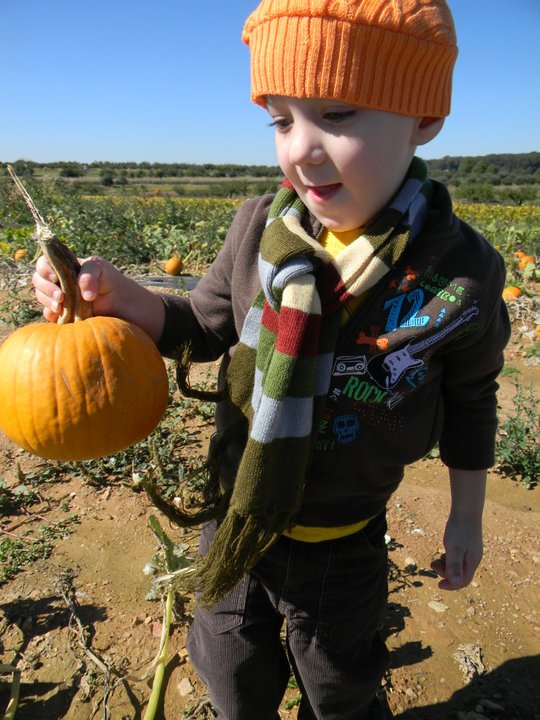
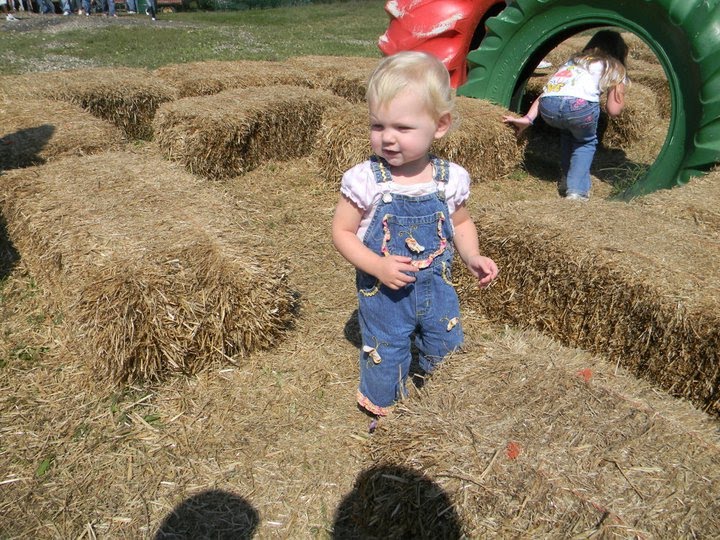
Are you loving the pumpkin hat as much as I am?

Share this:

  • Click to share on Facebook (Opens in new window)
  • Click to share on Pinterest (Opens in new window)
  • Click to share on Twitter (Opens in new window)
  • More
  • Click to share on Pocket (Opens in new window)
  • Click to share on Tumblr (Opens in new window)
  • Click to share on Reddit (Opens in new window)
  • Click to share on LinkedIn (Opens in new window)
  • Click to print (Opens in new window)

Weber’s Farm

October 11, 2010 By: Stephanie4 Comments

One of the best things about being a parent is getting to share the same experiences you had as a child with your own children, and one of the best things about marrying your high school sweetheart is that he’s from the same town and has many of the same family traditions. Like going to Weber’s Farm in the fall. Pretty much everyone in Baltimore County, MD goes to Weber’s Cider Mill Farm in the fall. (and I think they were all there with us on Saturday because it was crowded!)

Sure we could have gone to a pumpkin patch much closer to our house, but that’s not the same. My sister and a friend of hers met us there and we got to share all of our childhood memories with Nick and Abby.

As a grown up I love the little general store with all of its canned goods. They also sell apple cider slushies and cider donuts at an adorable little cafe.

and pumpkins and gourds (farmed on land owned by the family of one of my very dear friends from high school and college)

Charlotte (my sister) and I always loved the pumpkin story book walk, although we both remembered it as being much more elaborate when we were young.

Pumpkins are dressed up like characters from nursery rhymes, like Humpty Dumpty and Little Boy Blue.

There are tractors big and small to occupy little boys

And giant slides built into the hillside

and toddler-sized hay maze

a petting zoo with goats and geese

a mining area to pan for gold

and plenty of opportunities for family photos

Admission to the activities is $7 for kids ages 2 & up and $5 for adults, memories like the above photo: totally priceless.

I’m linking up to Fun on a Dime

Share this:

  • Click to share on Facebook (Opens in new window)
  • Click to share on Pinterest (Opens in new window)
  • Click to share on Twitter (Opens in new window)
  • More
  • Click to share on Pocket (Opens in new window)
  • Click to share on Tumblr (Opens in new window)
  • Click to share on Reddit (Opens in new window)
  • Click to share on LinkedIn (Opens in new window)
  • Click to print (Opens in new window)

Sick Days

October 6, 2010 By: Stephanie4 Comments

Ugh. Being sick is the one time that I truly miss being a full-time working mom. It used to be so nice to be able to take a sick day, drop Nicholas (he was the only one we had at the time) off at daycare and go back home to do nothing but lie around watching endless hours of day time tv in a house that was already clean & organized. (Note: NEVER move when you are 6 months pregnant and already have a toddler. Two years later you will still be catching up with the unpacking and organizing)

Now when I need a sick day I have to inconvenience other people & ask them to take a day off. If Eddie has to take a day or two off it also cuts into our family vacations later in the year because he only gets 15 days throughout the entire year that he can take off. Using them for babysitting days while I’m sick leaves less time with him during holidays and for vacations. Boo.

Thankfully, my mom (who otherwise would have been working until late that night) and little brother were able to come for a few hours last night & bring dinner and my dad & step-mom are taking off from work and coming today. Eddie was able to get an alternate and he will be home VERY late tonight to be here for me tomorrow, which makes me very happy, but also feeling guilty at the same time.

That’s four people who will have had to miss work within a 36-hour time span to help one stay-at-home mom.

Hey, government, are you reading that?

4:1

So now 3 out of those 4 are taking paid personal days and other people are getting paid to do their jobs, for example Eddie’s alternate is also getting paid for 12+ hours of travel time and the overtime he’ll be putting in this week.

hmmm…maybe companies looking to cut costs should look into hiring babysitters to rotate among wives of their employees who need sick days. It would be much less expensive to hire me a babysitter than pay two engineers.

Well, at least there is an up side.

Apparently my getting sick is more effective than a government stimulus program AND a bunch of people get to have special bonding time with their kids & grandkids in the process.

Just doing my patriotic duty.

You’re welcome.

Share this:

  • Click to share on Facebook (Opens in new window)
  • Click to share on Pinterest (Opens in new window)
  • Click to share on Twitter (Opens in new window)
  • More
  • Click to share on Pocket (Opens in new window)
  • Click to share on Tumblr (Opens in new window)
  • Click to share on Reddit (Opens in new window)
  • Click to share on LinkedIn (Opens in new window)
  • Click to print (Opens in new window)

Apple Picking

October 4, 2010 By: Stephanie4 Comments

It’s been a rainy, yucky day here in PA. Nicholas was supposed to have a preschool field trip to an apple orchard, but it was canceled. Don’t tell him, but I was actually thrilled to hear that they were going to have school instead because that meant instead of hanging out in the mud and pouring rain with a huge group of toddlers I got to spend a few quiet hours with just one child. I have a bit of a stomach virus & haven’t been feeling well for a few days- NOT fun when you have two toddlers and your husband is gone for the entire week.

Besides, we’ve already been apple picking this year. If you haven’t been I would strongly encourage you to find a U Pick orchard. It’s a great, inexpensive family-friendly fall activity. You only pay for what you pick. We went to the Paulus Orchard here in central PA, but we’ve since learned there are at least 2 other orchards closer to our house that weren’t listed online when I was trying to research where to go. (and we only had to drive half an hour to get to that one!)

The orchard was beautiful and they also had a maze & go karts (there was an extra charge for those) and a free playground for the kids. There was a little general store and I learned that they offer canning classes, which I desperately need and plan to take next fall once I have a husband at home again in the evenings when the classes are offered. They also had AMAZING apple cider.

We picked half a bushel for $12. I made a huge pot of apple sauce, two apple crisps, apple pancakes, and we ate quite a few apple slices. Eddie bought me a canning supply kit for my birthday, but when he ordered it he didn’t realize it didn’t come with a pot. Unfortunately, by the time I found a water bath caner the rest of the apples had gone bad. Now I’m prepared for next year!

Yep, I’m definitely glad that our apple-picking experience was just the four of us on a beautiful day and not me with a stomach virus chaperoning 20+ preschoolers in the cold & rain.

However, I miss this man!!

Oh, and I found a great recipe for apple sauce on AllRecipes.com:

  • 4 apples – peeled, cored and chopped
  • 3/4 cup water
  • 1/4 cup white sugar
  • 1/2 teaspoon ground cinnamon

In a saucepan, combine apples, water, sugar, and cinnamon. Cover, and cook over medium heat for 15 to 20 minutes, or until apples are soft. Allow to cool, then mash with a fork or potato masher.

I doubled this recipe and got 2 large serving bowls of applesauce, probably close to 3 quarts worth. I would have made more and canned it, but, you know. There’s always next year.

Share this:

  • Click to share on Facebook (Opens in new window)
  • Click to share on Pinterest (Opens in new window)
  • Click to share on Twitter (Opens in new window)
  • More
  • Click to share on Pocket (Opens in new window)
  • Click to share on Tumblr (Opens in new window)
  • Click to share on Reddit (Opens in new window)
  • Click to share on LinkedIn (Opens in new window)
  • Click to print (Opens in new window)

Happy Gotcha Day, Nicholas!

October 1, 2010 By: Stephanie1 Comment

Two years ago today we stood in a Florida courtroom (even Abby because I was 3 months pregnant) and finalized Nicholas’ adoption, six months after welcoming him into our lives.

Happy Gotcha Day, Little Man.

Daddy is still traveling for work & couldn’t be here today, but we celebrated by giving him the wooden train I bought a few weeks ago and with a special late mommy & son dinner from our local Chinese delivery place after Abby fell asleep. Tomorrow daddy will join us and my dear friend Lauren has given us tickets to a football game to celebrate. For now it’s just the two of us and it’s funny how all of the nap time drama (and believe me there is major drama) is so easily for gotten when dinner time conversation turns into

“Mommy, did you know a taco is not like a helicopter? It kind of sounds the same (the way he says it anyway, which is “hew-i-tock-ter”) but they are not the same.”

and cries of “Can it be? Can it be?! My dream has come true!!” When he discovers there are fortune cookies to be eaten.

There is still much baggage to be sorted through, but you are ours.

Forever. Family.

And we are glad we “gotcha.”

Share this:

  • Click to share on Facebook (Opens in new window)
  • Click to share on Pinterest (Opens in new window)
  • Click to share on Twitter (Opens in new window)
  • More
  • Click to share on Pocket (Opens in new window)
  • Click to share on Tumblr (Opens in new window)
  • Click to share on Reddit (Opens in new window)
  • Click to share on LinkedIn (Opens in new window)
  • Click to print (Opens in new window)

Space Play Set

September 30, 2010 By: Stephanie11 Comments

Posts on this blog contain affiliate links to some products mentioned for your convenience. 

A few days ago I found some inspiration at one of my favorite blogs, Little Page Turners, and I knew I had to make a space play set for Nicholas. Buzz Lightyear and WALL-E are no strangers at our house.

Mine isn’t as big and it’s actually quite a bit different. I L.O.V.E. the way this came out!!!

Drum roll please…..

Presenting my next FREE Christmas gift….

An interactive solar system made from a few pieces of felt and an old fleece scarf.

The science teacher in me is a happy camper.

To make your own you need:

1. Fleece scarf
2. A few squares of felt (you can find these at any craft store)
I also used some fabric markers & embroidery floss for some extra details

Start by folding one side of the scarf in on itself 6-8 inches or so.

Sew the bottom shut and sew half way up the side. Cut the top half off of the piece that you folded over and you will be left with a little pocket where you can store the pieces when they’re not being used. I used embroidery thread to embroider his name on the pocket later.

Next cut space-related shapes out of your felt & use a fabric marker to embellish them. I made a rocket ship, a few stars, all of the planets, and the sun. I labeled the sun and labeled each planet with the first letter if its name.

Store the pieces in the pocket & roll it up. I made a little band out of elastic to keep it shut.

I can’t wait to see Nicholas’ face when we show him what’s inside of this unassuming package on Christmas morning.

It took less than an hour to make but I know Nicholas will get hours of enjoyment out of this gift.

And he will learn from it! And it was free! Just might be my favorite gift yet.

Share this:

  • Click to share on Facebook (Opens in new window)
  • Click to share on Pinterest (Opens in new window)
  • Click to share on Twitter (Opens in new window)
  • More
  • Click to share on Pocket (Opens in new window)
  • Click to share on Tumblr (Opens in new window)
  • Click to share on Reddit (Opens in new window)
  • Click to share on LinkedIn (Opens in new window)
  • Click to print (Opens in new window)

Kitchen Island Update

September 30, 2010 By: Stephaniecomment

Eddie had about a day & a half off this week and was hard at work trying to finish the main structure of the kitchen island we are building from an old dresser. You can read more about that here.

The good news: It’s built!!!
The bad news: Now it’s my job to find time to prime & paint & seal this massive thing.

I can’t wait to get it in the kitchen!!!!

Share this:

  • Click to share on Facebook (Opens in new window)
  • Click to share on Pinterest (Opens in new window)
  • Click to share on Twitter (Opens in new window)
  • More
  • Click to share on Pocket (Opens in new window)
  • Click to share on Tumblr (Opens in new window)
  • Click to share on Reddit (Opens in new window)
  • Click to share on LinkedIn (Opens in new window)
  • Click to print (Opens in new window)

How to Make a Button Hole

September 29, 2010 By: Stephaniecomment


Today I wanted to add buttons to the reversible coat I made for Nicholas. Small problem: I have no idea how to create a button hole. Usually I go to YouTube or Google for this kind of problem, but all of the tutorials I found were for much fancier machines than mine or involved attachments that I don’t have. I was really nervous about messing this up because it was going to have to look good on both sides since the coat is reversible. Ugh. My brain hurt.

To save you the brain cramp I had from trying to figure this out myself (of course maybe you are smarter than I am and you already know a better way to do this, if so this post is not for you.) here’s the method I wound up using.

To create a button hole on a basic sewing machine:

1. Rest your button over the area where you would like to create the hole. With a pen mark the top & the bottom of the button to get an accurate size for the hole.

2. Draw a straight line between the points you just made.

3. See those those two knobs and a switch marked LMR? (L=Left M=Middle R=Right)
a) Set the switch to “M”
b) Turn the middle knob up to 4 or 5 (large stitch size)
c) Turn the right knob down to F or where ever your zig-zag setting is.

4. Place the needle on the fabric where you marked the top of the hole and stitch back and fourth a few times staying in the same spot.

5. Now set the switch on the right to “R” and the middle switch to a lower number like 1 or 2. Leave the left knob alone. Slowly stitch a straight line down the right side of the line you drew.

6. Once you get to the bottom of your line repeat step 3.

7. Set the switch on the right to “L” and the middle switch back to 1 0r 2. Here comes the tricky part. Hold down the reverse lever at the same time that you sew a straight line backwards on the left side of the line you drew up until you meet the first stitch you made.

8. Take a seam ripper and rip the fabric in the middle of the rectangle you’ve just made being careful not to break and of your stitches.

I strongly suggest practicing on a piece of scrap fabric first. Once I did a practice run it was much easier and all of the holes on the coat came out just fine. Yay! 🙂

Share this:

  • Click to share on Facebook (Opens in new window)
  • Click to share on Pinterest (Opens in new window)
  • Click to share on Twitter (Opens in new window)
  • More
  • Click to share on Pocket (Opens in new window)
  • Click to share on Tumblr (Opens in new window)
  • Click to share on Reddit (Opens in new window)
  • Click to share on LinkedIn (Opens in new window)
  • Click to print (Opens in new window)

Easy Italian Festival Bake Recipe

September 27, 2010 By: Stephanie1 Comment

This recipe is inspired by a festival bake my aunt makes, but I took several time-saving short cuts to make it easy on myself. Everyone I have ever served this to has asked for the recipe. It’s definitely one of our favorite go-to dinners because the left-overs heat well and it will serve an army. Plus, it is much faster & easier to prepare than a lasagna and it’s cheaper than a lasagna too. Plus, it only has 4 ingredients, bonus. (Note: It can be a little spicy. You could substitute half a pound of mild sausage to tone down the heat)

Prep Time: 15-20 minutes
Bake time: 1 hour

You need:
1 lb spicy Italian sausage
1 large jar of pasta sauce, store bought or homemade (I use Prego)
1 box of pasta (I usually use ziti, but any kind of short noodle will work)
1 package of shredded mozzarella cheese

*Sometimes I also add half of a package of frozen spinach that has been cooked and drained very well.

Step 1: Brown the sausage in a skillet, breaking it into small pieces just like you would brown ground beef.

Step 2: While the sausage is browning also cook & drain the noodles. Cook them 2 or 3 minutes less than the package directions, since they will continue cooking in the oven.

Step 3: Mix cooked noodles, browned sausage & pasta sauce in a large, deep baking dish and top with shredded cheese

Step 4: Cover with aluminum foil and bake 45 minutes at 350.

Step 5: After 45 minutes remove the foil and bake for an additional 10-15 minutes.

Serve with a salad & garlic bread.

Enjoy!

I’m linking this up to the SAMM Monday recipe exchange.

Share this:

  • Click to share on Facebook (Opens in new window)
  • Click to share on Pinterest (Opens in new window)
  • Click to share on Twitter (Opens in new window)
  • More
  • Click to share on Pocket (Opens in new window)
  • Click to share on Tumblr (Opens in new window)
  • Click to share on Reddit (Opens in new window)
  • Click to share on LinkedIn (Opens in new window)
  • Click to print (Opens in new window)

Simple Reversible Fleece Coat

September 24, 2010 By: Stephanie8 Comments

I cannot tell you how excited I am that I got this one right on the first try!

Like I told you, I’m not the most accurate seamstress in the whole world. That’s mostly because I hate bringing math or ironing into anything I am trying to do for enjoyment. So I don’t measure. And I DON’T press seams. (I tell myself that women were figuring out how to make clothes for their families long before there were standard measurement systems and electric irons, but really it’s just because I’m lazy like that.)

But I bought a bunch fleece fabric last week because it was 50% and I decided that I was going to make some coats for the kids. Oh, and I also wanted them to be reversible. I’m really into argyle these days, but an entire coat made from argyle could sometimes be a bit much.

So what if I’m not going to measure anything and I don’t have a pattern for what I want and I’ve never made anything reversible or with sleeves? How hard can it be?

Surprisingly, not very.

I spent a little bit of time looking at a jacket Nicholas already had that fit him well.

And I realized that the main structure was made out of parts that are shaped like these (I just folded the original jacket and traced around each part to get the size I wanted)

The piece at the top will be the back, the two pieces under it on the left will become the front, and the rounded pieces on the right will be the sleeves.

To get the reversible effect I wanted, I cut two of each piece, put them right sides together, sewed them together on three sides, then turned each piece right-side-out and did a zig zag stitch along the bottom.

Here’s a close up of the zig-zagged edge. You could use bias tape here if you wanted it to look a little more finished.

Then I attached the pieces to each other by butting them up and zig-zagging them together. You can see these seams, but I actually like the way it looks all put together.

Attach the front pieces to the back first by sewing from the arm hole down. Then attach the shoulders.

The sleeves were tricky. (so tricky that I decided to keep this a “vest” for a few days because I just knew I was probably going to mess them up.) I did the shoulder seam first, then I zig-zaged the rest closed. I made sure to keep the seam from the armpit down because that’s where it was on the “real” jacket.

I think it came out pretty awesome considering I was just making stuff up as I went along. (Granted, I probably should have taken some extra time to try to match up the pattern in the argyle at the seams.) I don’t know how an actual seamstress would do it, but I like my version just fine.

I cant decide if I’m going to add buttons or just Velcro for the closure. I might also add a collar or a hood if I’m feeling ambitious later.

It’s a little big, but I wanted it that way so that it will fit over bulky sweatshirts and last him until next year. (Sorry, he couldn’t be bothered to stop watching his robot movie while I took the pictures)

I bought a similar argyle in white, pink & purple & a matching purple fleece to make one for Abby too.

Now I’m a little sad that it’s been 90 degrees here lately. I hope it cools down within the next couple weeks, because I want him to wear this on his apple picking preschool field trip!

Update: Buttons really up the cuteness factor!

Weekend Bloggy Reading

Get your craft on Thurs.

Share this:

  • Click to share on Facebook (Opens in new window)
  • Click to share on Pinterest (Opens in new window)
  • Click to share on Twitter (Opens in new window)
  • More
  • Click to share on Pocket (Opens in new window)
  • Click to share on Tumblr (Opens in new window)
  • Click to share on Reddit (Opens in new window)
  • Click to share on LinkedIn (Opens in new window)
  • Click to print (Opens in new window)
  • « Previous Page
  • 1
  • …
  • 69
  • 70
  • 71
  • 72
  • 73
  • …
  • 80
  • Next Page »
  • Facebook
  • Instagram
  • Pinterest
  • RSS
  • Twitter

Welcome! I’m Steph.

This is a little corner of the internet we like to fill with honesty, heart, and humor. Read More…

Cover for Binkies and Briefcases with Stephanie Giese
19,226
Binkies and Briefcases with Stephanie Giese

Binkies and Briefcases with Stephanie Giese

Stephanie Giese is an indie author based in Florida. She writes stories about realistic problems with humor, heart, and sass. Her work has a strong focus on mental health and consent. Her North Bay small-town romance series is set for release in 2025.

Binkies and Briefcases with Stephanie Giese

3 months ago

Binkies and Briefcases with Stephanie Giese
I know it’s a small thing, but I believe small things can add up to big changes. my entire North Bay series, including Out of Left Field, Right as Rain, and Way Off Base, is free on Kindle from Jan. 30-Feb. 3. Please take the funds you might have spent on my books this week and reallocate them toward the areas in our country that need them the most. Follow creators like Dad Chats who can direct you toward practical needs local to them. I hope my quirky romcoms can bring you some comfort and joy during difficult times, and I hope together we can take small, practical steps toward big changes. ... See MoreSee Less

Photo

View on Facebook
· Share

Share on Facebook Share on Twitter Share on Linked In Share by Email

Binkies and Briefcases with Stephanie Giese

3 months ago

Binkies and Briefcases with Stephanie Giese
I know there is an overall feeling of helplessness in our country right now. So many of us are at a loss for what to do beyond making phone calls and social media posts (which are still important, but can feel like not enough). I believe strongly in the power of small things adding up to big ones. As one person, I might not be able to do much, but what I CAN do is use my voice and my books to work toward the change I’d like to see. That’s why, for the next five days, from Jan. 30-Feb 3, I’m making the Kindle versions of my entire North Bay series (Out of Left Field, Right as Rain, and Way Off Base) completely free. Art has power, and I do hope these comedies can bring you some comfort and joy in difficult times, but most importantly, I also hope you’ll consider redirecting the funds you might’ve spent on my books and donating instead to one of the many charities working tirelessly in our cities right now. If you are located in an area like Minnesota or Portland, please use the space below to make people aware of the organizations in your area that need help. ... See MoreSee Less
View on Facebook
· Share

Share on Facebook Share on Twitter Share on Linked In Share by Email

Reader’s Choice

Image HTML map generator

Follow Me on Pinterest

featured-on

What You’re Saying

  • 28 Best Stone Fireplace Ideas And Designs - Perfect Decor Place on DIY Stone Fireplace with AirStone
  • Kevin Hicks on How to Budget for Building Your Own Home
  • Amy on DIY Stone Fireplace with AirStone
  • Gendered clothing - GenderEd on A Target Intervention on Behalf of My Daughters
  • Wellshop Store on Dressing Our Daughters: How Target Responded to My Last Blog Post

Latest Posts

ALL I Never Knowed: The Book Is Here!

If you’re new here, you may want to subscribe to my Email Newsletter. Thanks for visiting!Welcome back! Be sure to check out my Email Newsletter. Thanks for visiting!It’s finally here, in my hands. It has been a loooong time in the making, but our book, All I Never Knowed: Mental Illness, a Mother’s Love, and […]

Share this:

  • Click to share on Facebook (Opens in new window)
  • Click to share on Pinterest (Opens in new window)
  • Click to share on Twitter (Opens in new window)
  • More
  • Click to share on Pocket (Opens in new window)
  • Click to share on Tumblr (Opens in new window)
  • Click to share on Reddit (Opens in new window)
  • Click to share on LinkedIn (Opens in new window)
  • Click to print (Opens in new window)

Save Money with Fetch

Hey everyone! This is Chelsea, Steph’s asistant, back with the simplest app for getting cash back on things you’re already buying! We’ve covered Ibotta, Shopkick, Coupons.com, Swagbucks and we’re all saving hundreds of dollars by now, right? RIGHT!? I’m really hoping you guys have jumped on the rebate app savings train because it’s just so […]

Share this:

  • Click to share on Facebook (Opens in new window)
  • Click to share on Pinterest (Opens in new window)
  • Click to share on Twitter (Opens in new window)
  • More
  • Click to share on Pocket (Opens in new window)
  • Click to share on Tumblr (Opens in new window)
  • Click to share on Reddit (Opens in new window)
  • Click to share on LinkedIn (Opens in new window)
  • Click to print (Opens in new window)

Splendid Spoon Review

I was excited to receive a box of products to try from Splendid Spoon this summer! They invited me to try their line of plant-based, ready-to-eat foods and delivered them right to my door. Check one in the pro column for convenience. I did receive these products free of charge in order to rate them […]

Share this:

  • Click to share on Facebook (Opens in new window)
  • Click to share on Pinterest (Opens in new window)
  • Click to share on Twitter (Opens in new window)
  • More
  • Click to share on Pocket (Opens in new window)
  • Click to share on Tumblr (Opens in new window)
  • Click to share on Reddit (Opens in new window)
  • Click to share on LinkedIn (Opens in new window)
  • Click to print (Opens in new window)

My Networks

#BlogHer15: Experts Among Us Voices of the Year Honoree