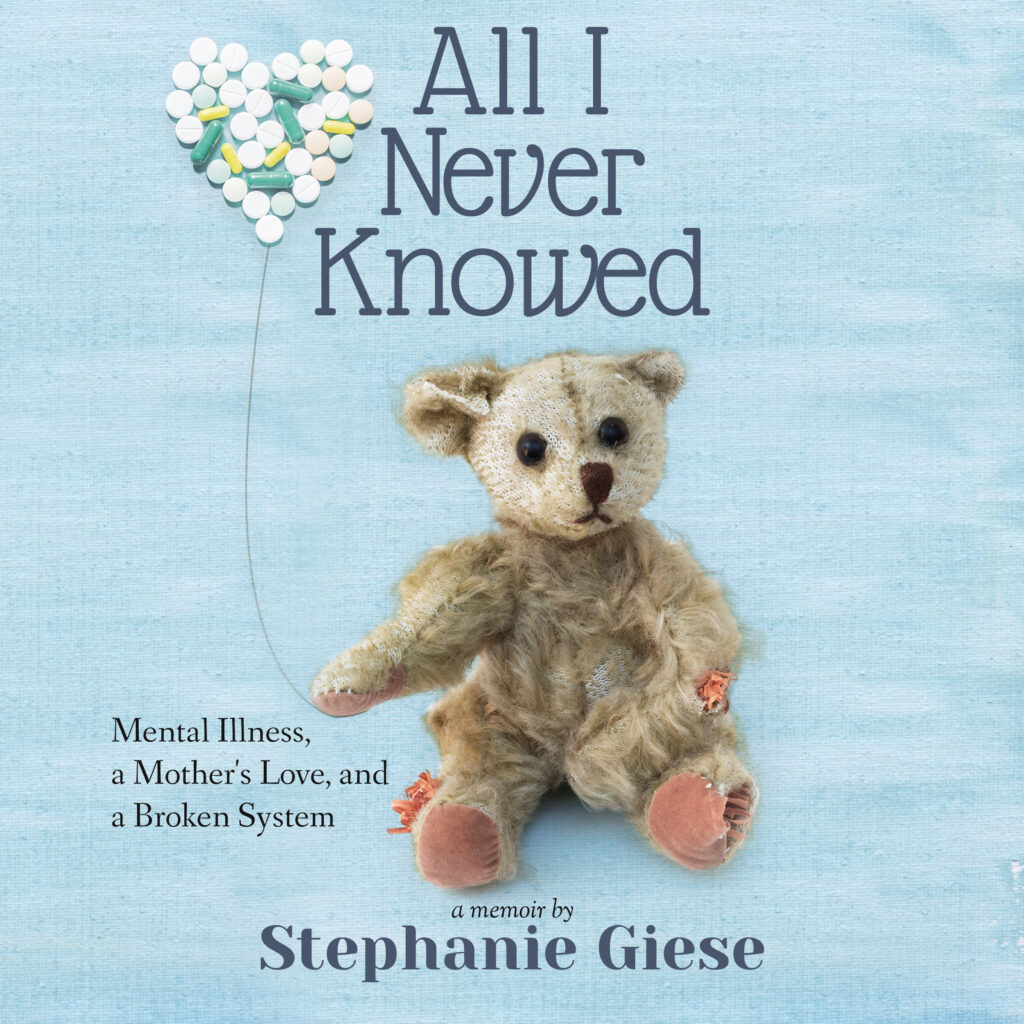
It’s finally here, in my hands. It has been a loooong time in the making, but our book, All I Never Knowed: Mental Illness, a Mother’s Love, and a Broken System, is available now. The official launch date is next Tuesday, Oct. 5th. But starting now, you can order from all major retailers.
Here’s where to find our book on
and Barnes & Noble
I say “our” book because my oldest son, Nicholas, asked me to write this book. It is the story of his struggle with his mental health and our family’s ten-year fight to get him the help he needs. Nicholas has always been an outgoing, friendly, and talkative kid and he has always been extremely open about his challenges. He knew his mom was a writer, so for years he asked me to write a book about him. It is a story he has always wanted to share. Finally, when he was old enough to truly understand what he was asking and participate in the process, I did.
I had quite a few goals when I was writing this story, such as helping other families feel less alone and getting people better access to community support, but one of the most important aspects of writing the book for me was to make sure to tell a story in which Nicholas was not the bad guy. So often, the children who are subjects of books and media in this genre are painted in a negative way. This is not that kind of book. I believe we need more stories that spur empathy and compassion for the suffering, and I was very careful to be as honest and vulnerable as I possibly could while preserving the dignity of the people in this story (who also happen to be my family.)
I am proud of the final product and so excited to be able to share it with you. Yes, this is our story. But the book also contains sections on resources and coping strategies and ways to get practical support. From the prologue: May it serve as a love letter to each family struggling through mental illness, each child battling the scars of trauma, and each mother questioning her worth.
Don’t just take my word for it.
What the reviews are saying:
“Incredible and insightful don’t even begin to describe this book. As a parent who has recently gone through mental health struggles with their own child, this book did something that is so critical: it made me feel less alone and isolated.Giese writes in a way that is honest, candid and soothing. She makes the reader feel empathy in the difficult moments, and celebratory in the wins.This book is an absolute must read for any parent, grandparent or caregiver who has ever felt alone, confused or scared during the dark days of parenting. I want to give this book to everyone I know” -Rene, GoodReads
“I can’t even begin to describe how I feel about this book. Equal parts awe, gratitude and pride for Stephanie and her son balanced against shock and upset with the current mental health situation for children in our country. All I Never Knowed is a strong, beautiful, important voice and one that must be heard.” -Meredith Spidel, blogger at Mom of the Year
We are excited (and nervous) to share our story. Thank you for all of your support!!
I am also available for Zoom author chats with book clubs, healthcare providers, and educators. Please contact me through my email in the “about” section above.
Check out my Facebook Live interview about the book with Mom of the Year (chat starts at the 1:25 mark).


What You’re Saying