
I know I just posted a tutorial for sweater hats, but since Eddie is in our room packing for the next leg of his business trip I can’t go to bed so I might as well be productive.
I made pumpkin sweater hats for the kids and I am in love with them! I can’t wait for them to wear these hats to pick pumpkins later this fall. it’s going to be so adorable I can’t stand it.
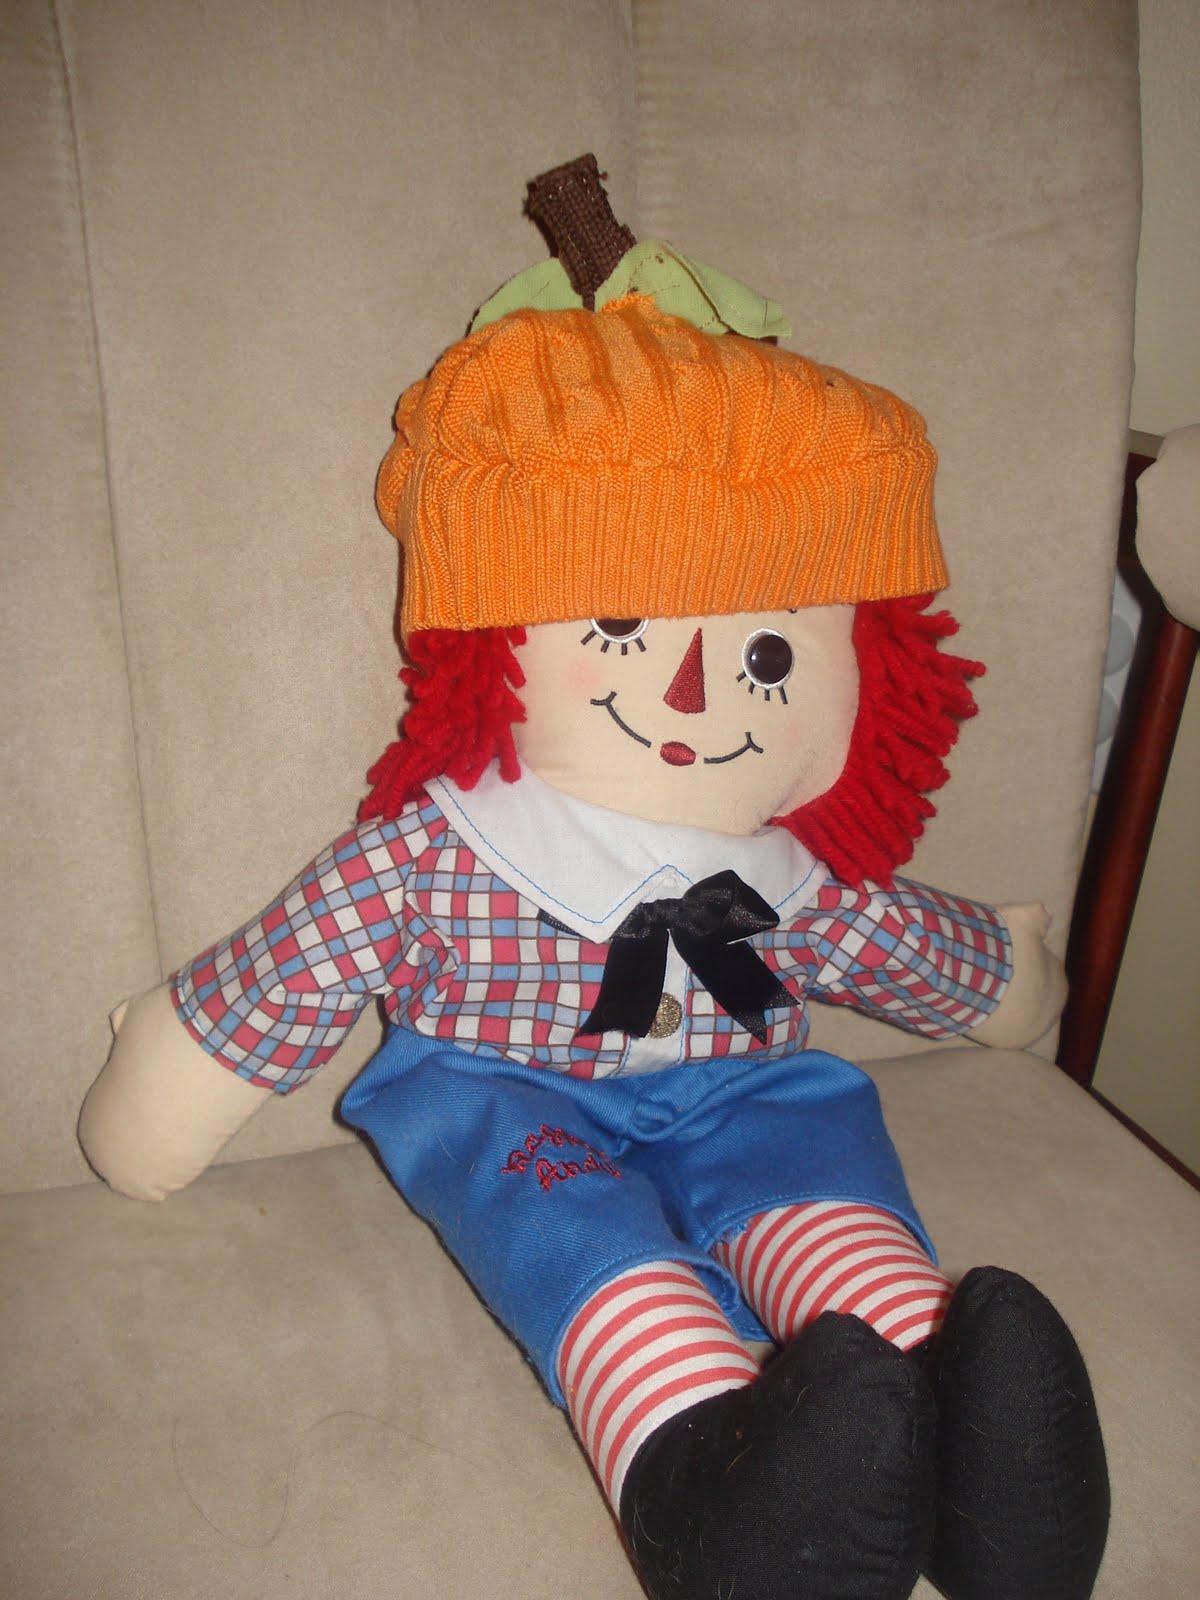
(Yes, my model is Raggedy Andy. It’s late and my kids are in bed. Sorry.)
Start with an orange sweater
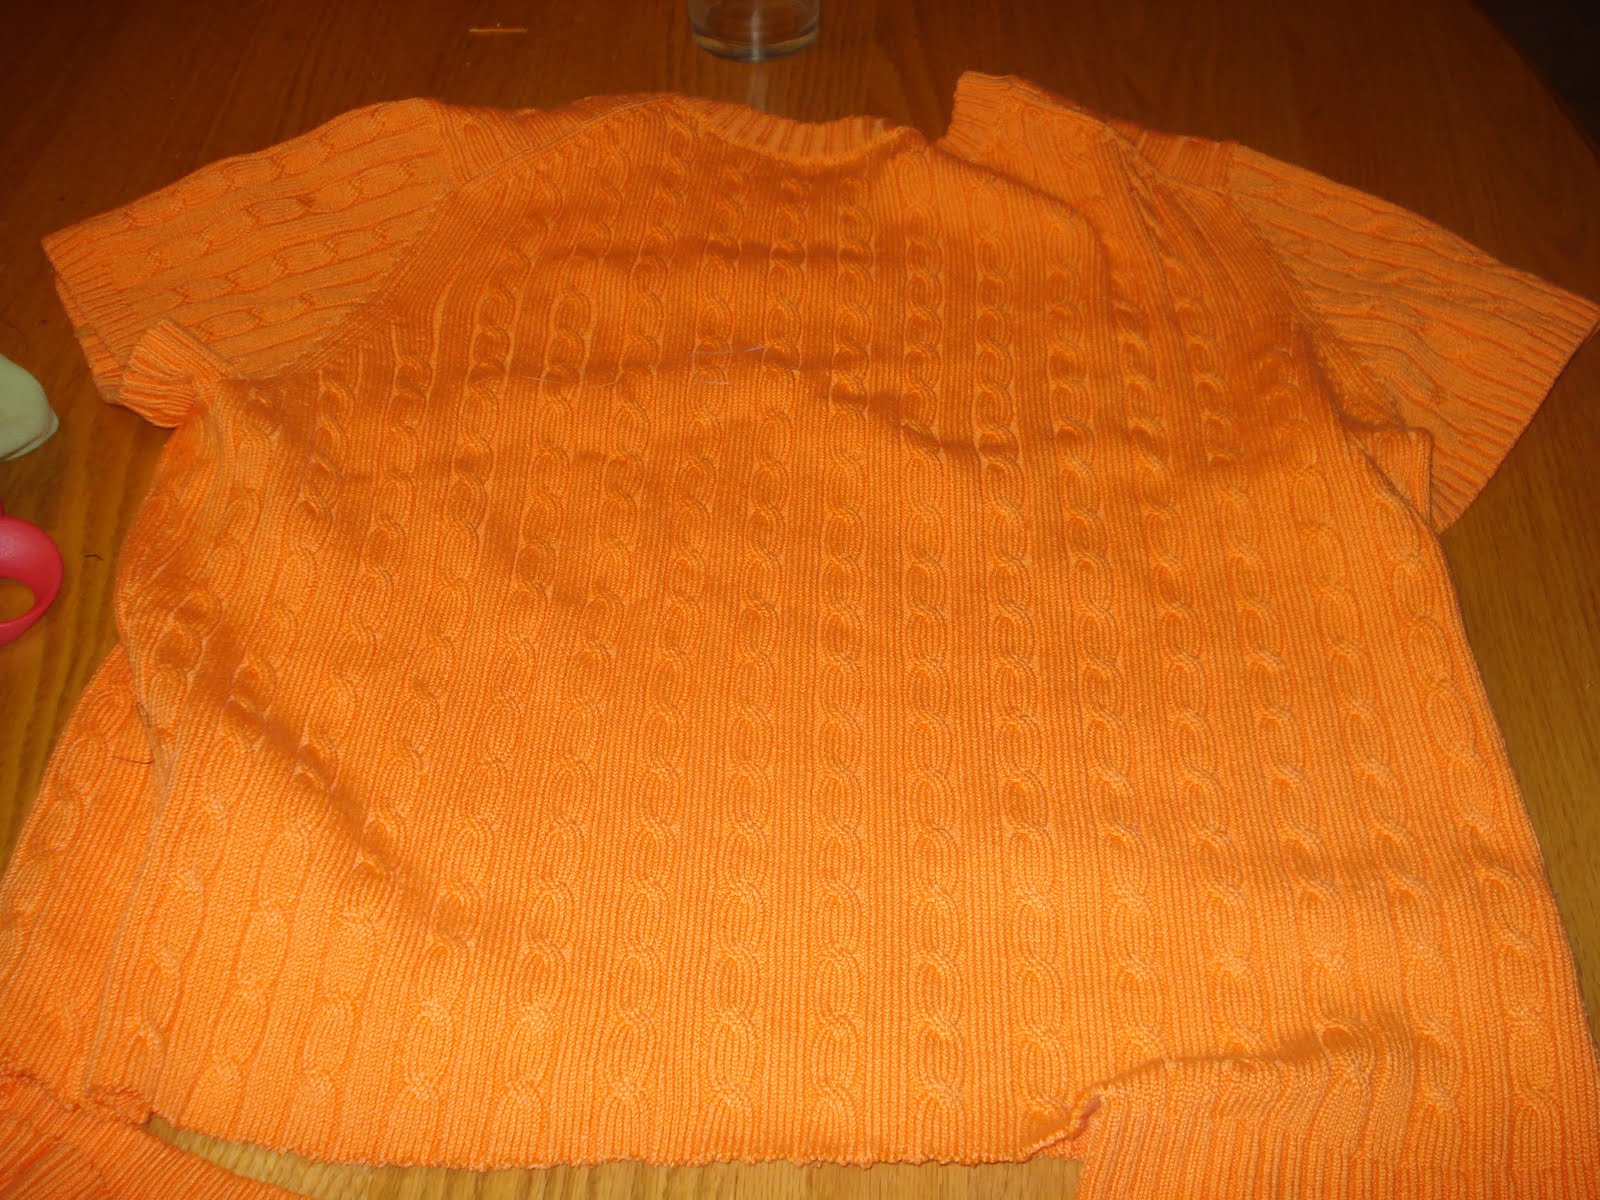
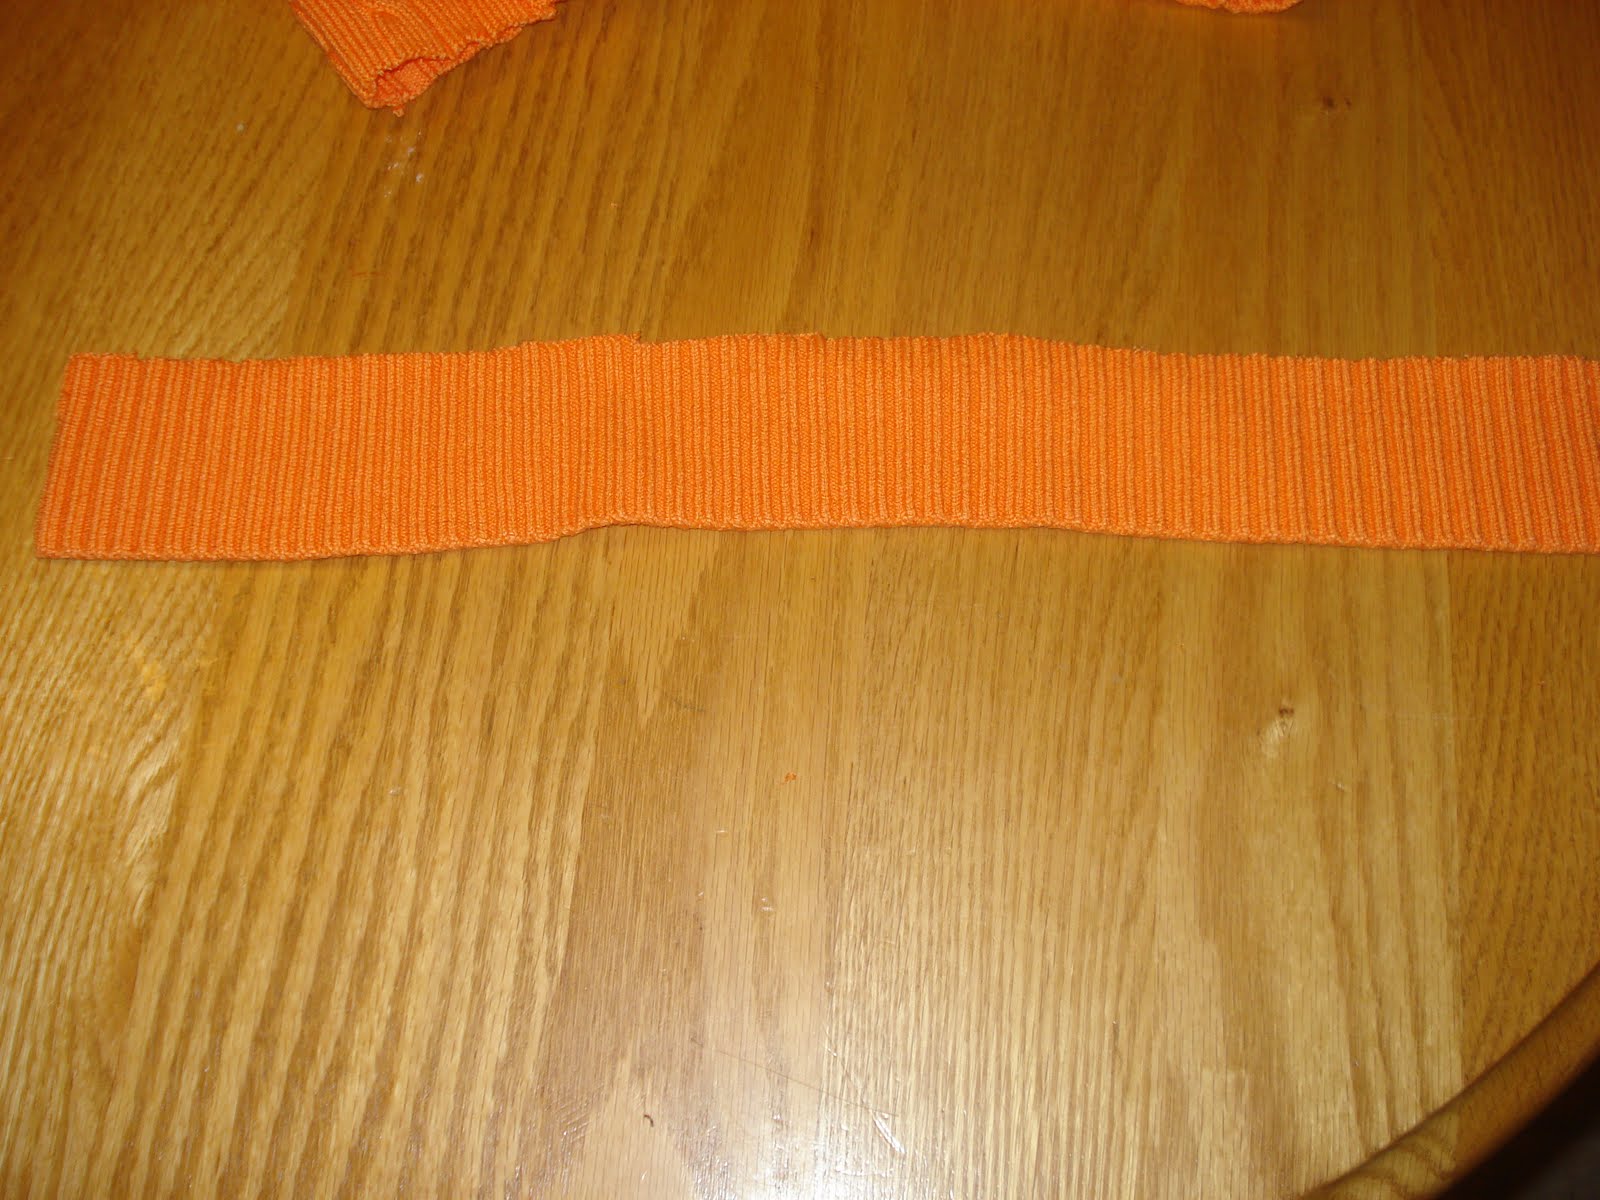
Cut the band off the bottom. This will be the band of the hat. Cut it to match the circumference of the head of the person for whom you are making the hat. (Wrap it around his/her head and cut it to length)
Next, trace a plate to get a perfect circle. Use a dessert plate for small kids and a regular plate for bigger kids or adults.

Cut out the circle. Next, pin the strip to the circle, right sides together with the edge you cut toward the outside. (This will keep you from having to hem the bottom of the hat once it’s together.)
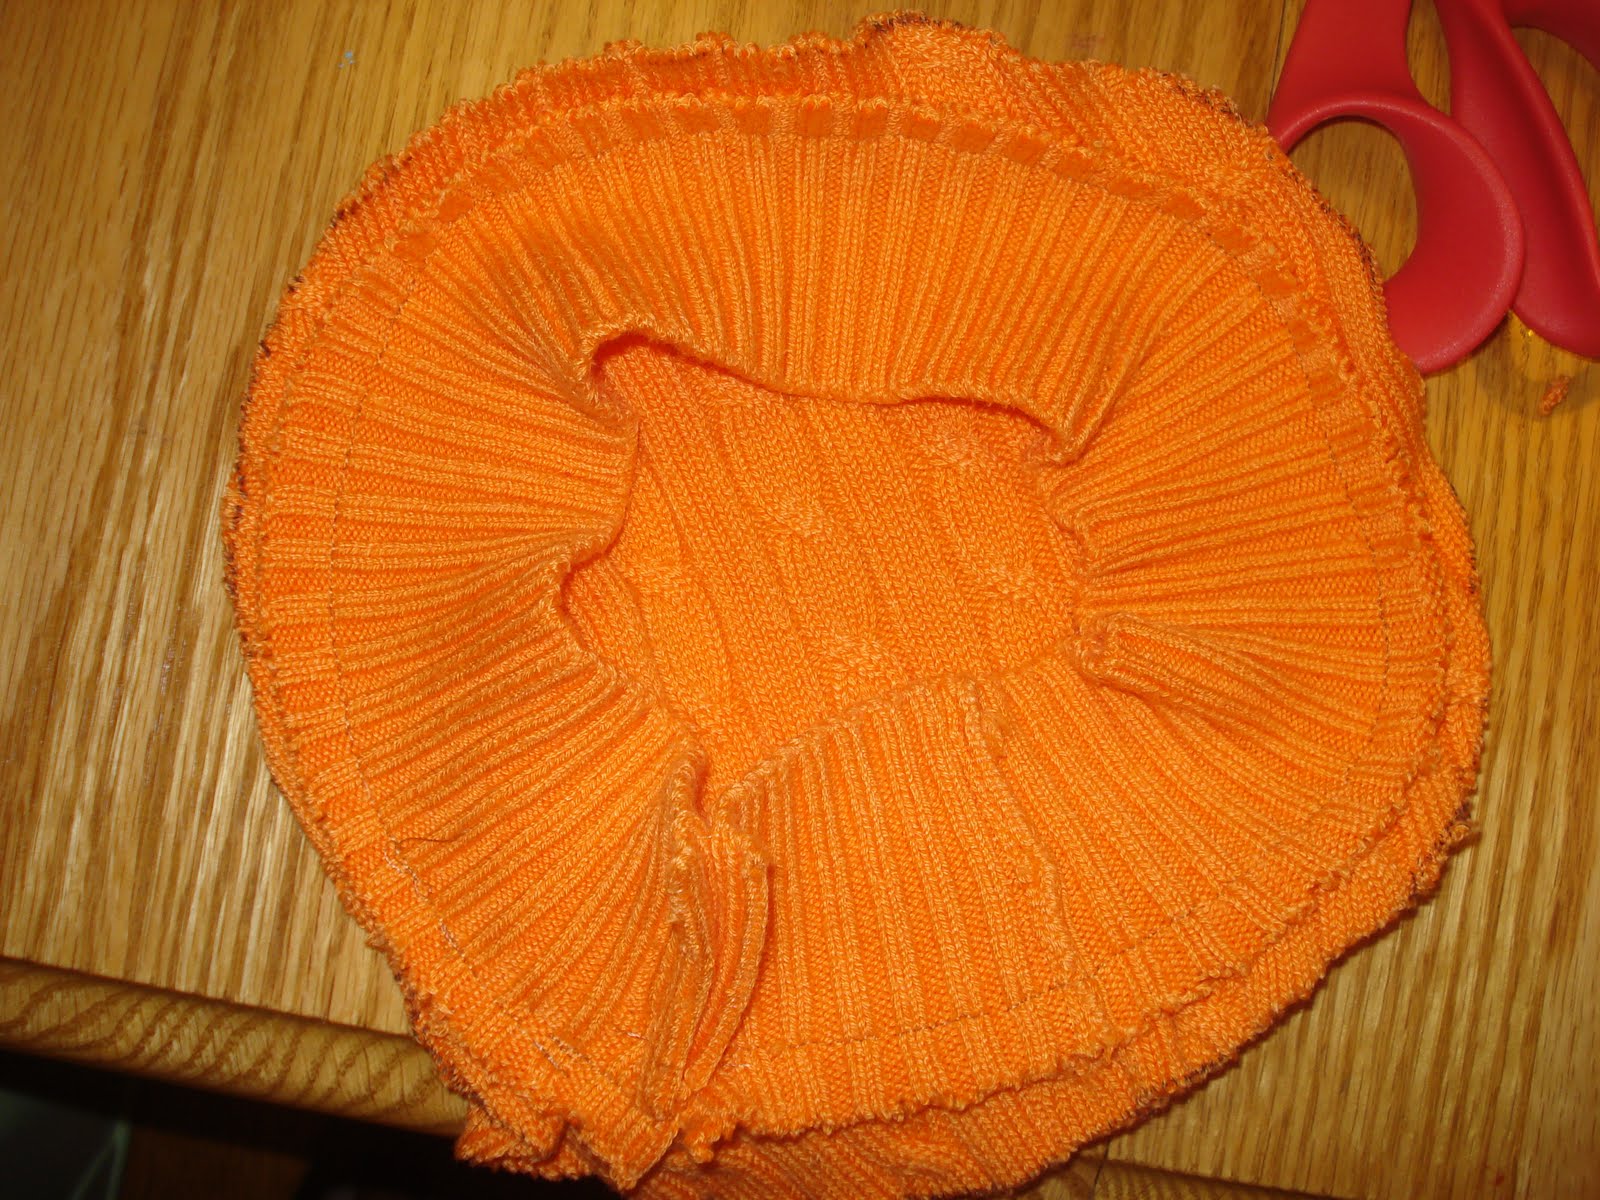
Sew along the outside edge.
There will be a small opening where the two ends of the band come together, sew that shut as well.
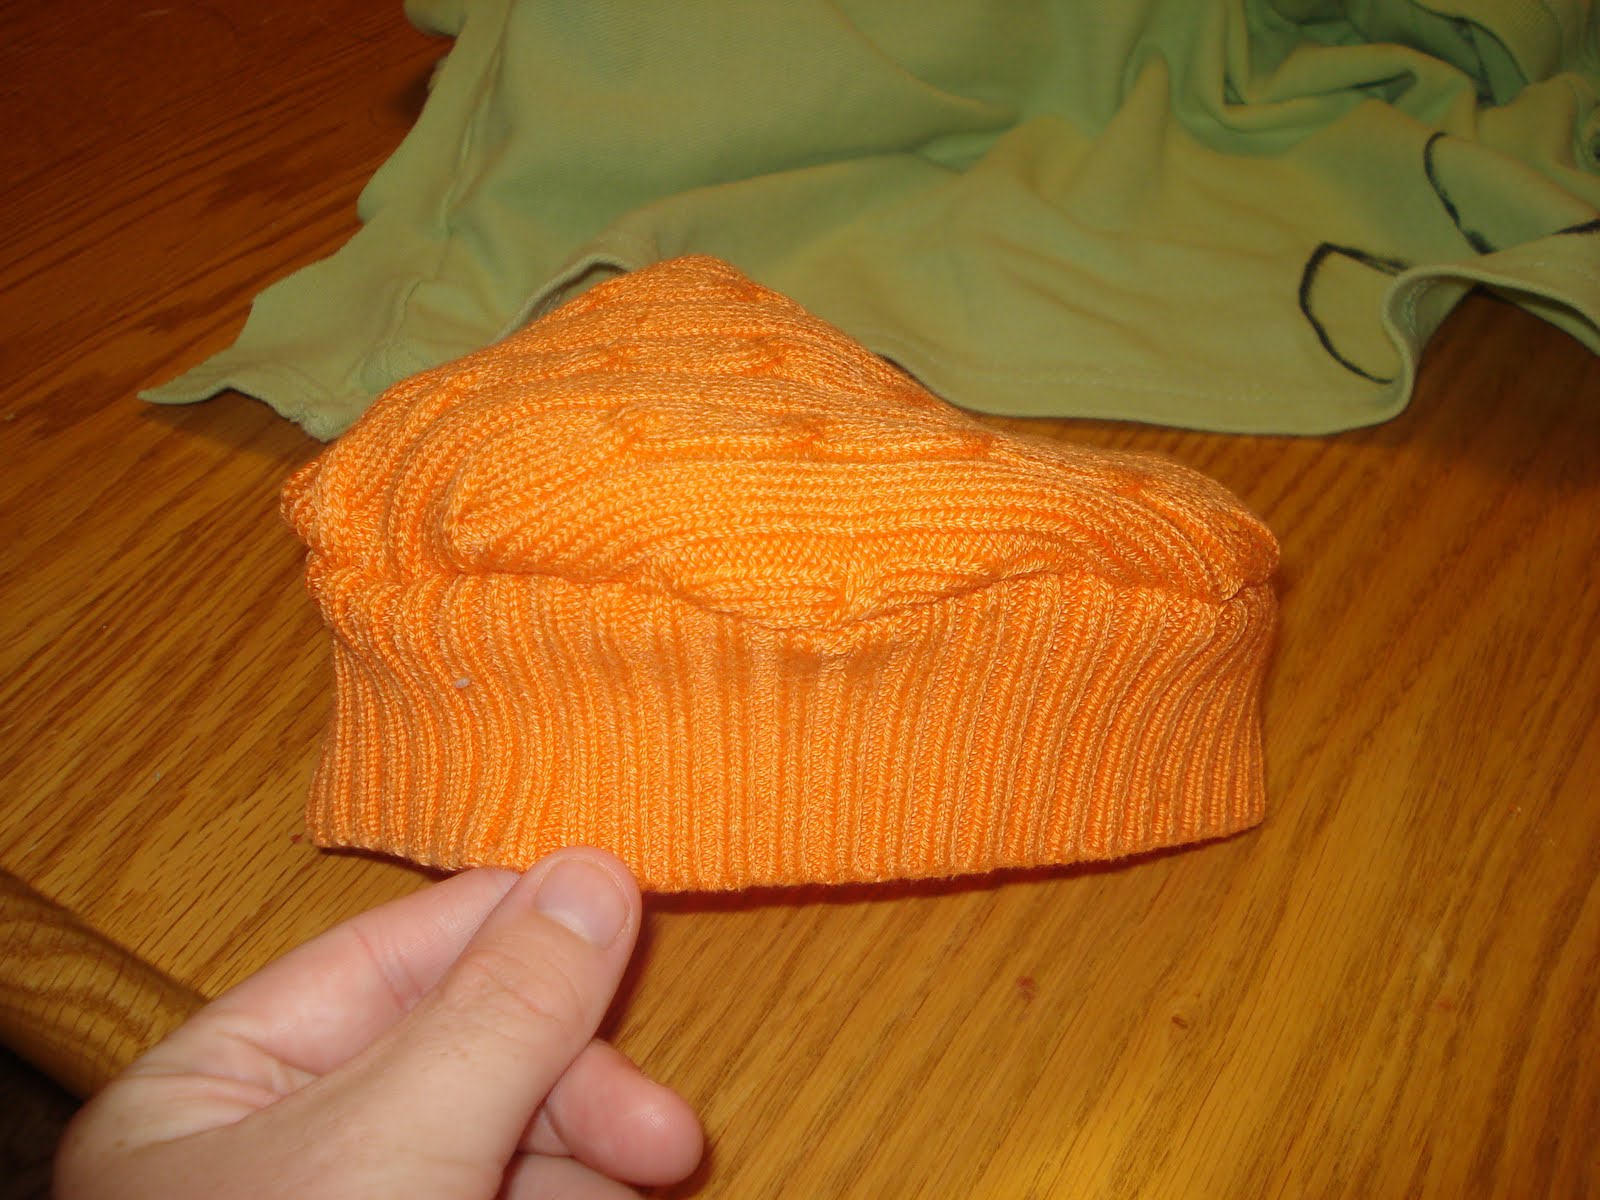
Now turn the hat right-side-out. There you have your basic sweater hat (the same one from my earlier tutorial), but we want to turn this one into a pumpkin.
Cut two pieces of green fabric (I used an old tee shirt) into the shape of leaves and a piece of brown fabric (I used a sweater) into a small rectangle.
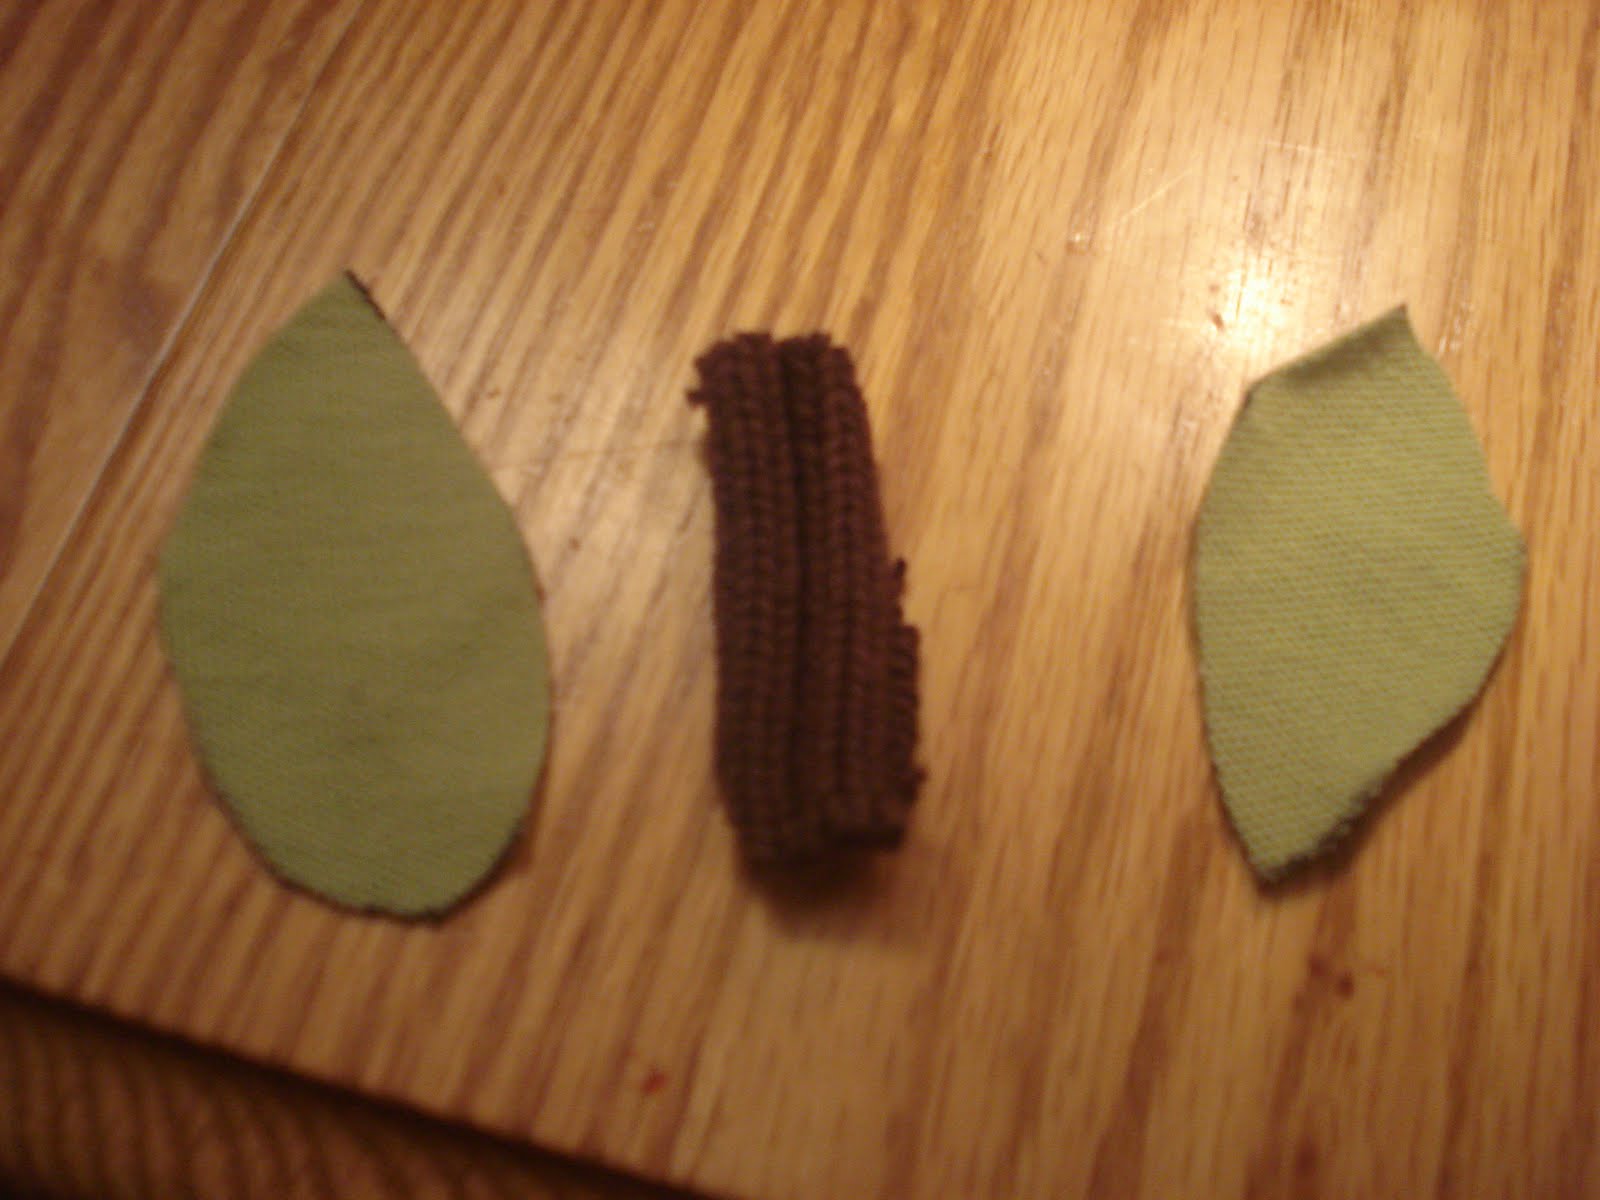
Stitch around the edges to prevent unraveling and then sew these three pieces together.
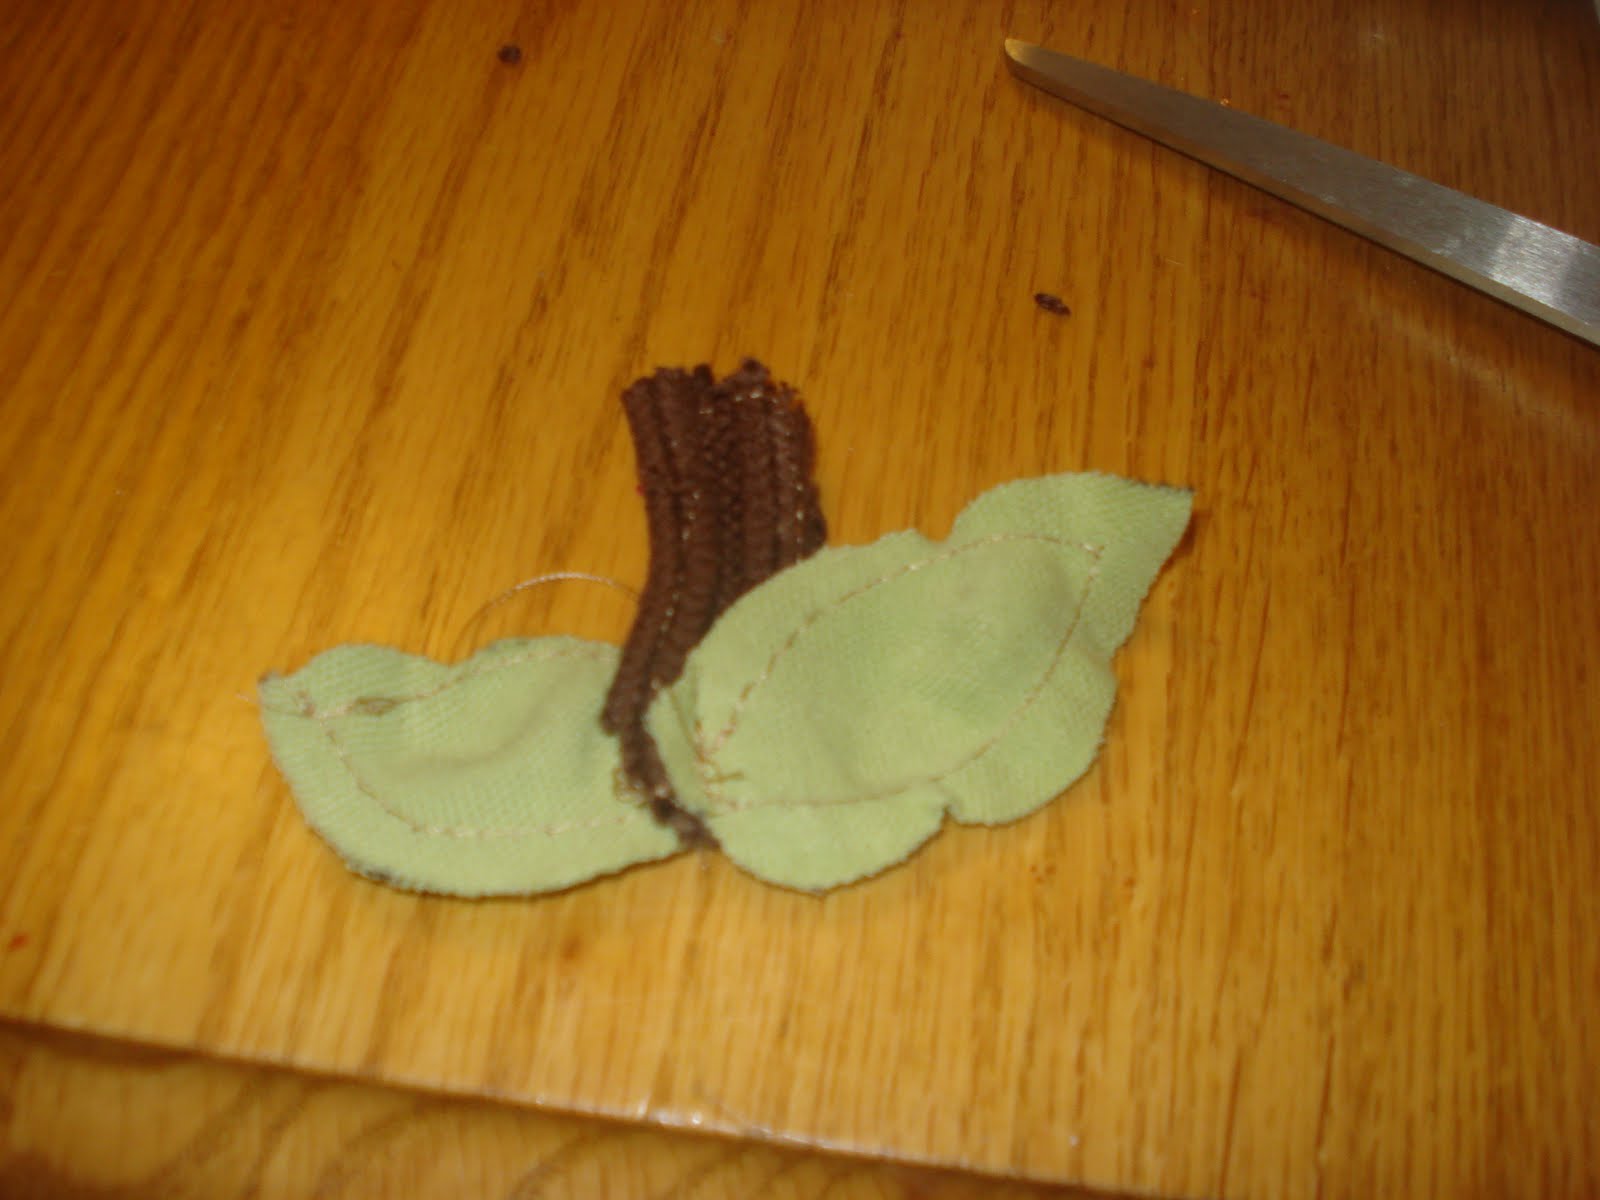
Sew the stem and leaves onto the top of the hat and you have yourself a brand new pumpkin sweater hat.
Pair it with an orange t-shirt and you have an instant Halloween costume.
Hide your sweaters. These sweater hats are addictive. I’ve made 4 of them tonight.

And, as always, I like to see how much money I saved by making stuff myself. These pumpkin sweater hats retail at Gymboree for $15. (although they were on sale this weekend.) I just made 2 for free in less than half an hour. That’s $30 in my pocket. I’ll take it. 🙂
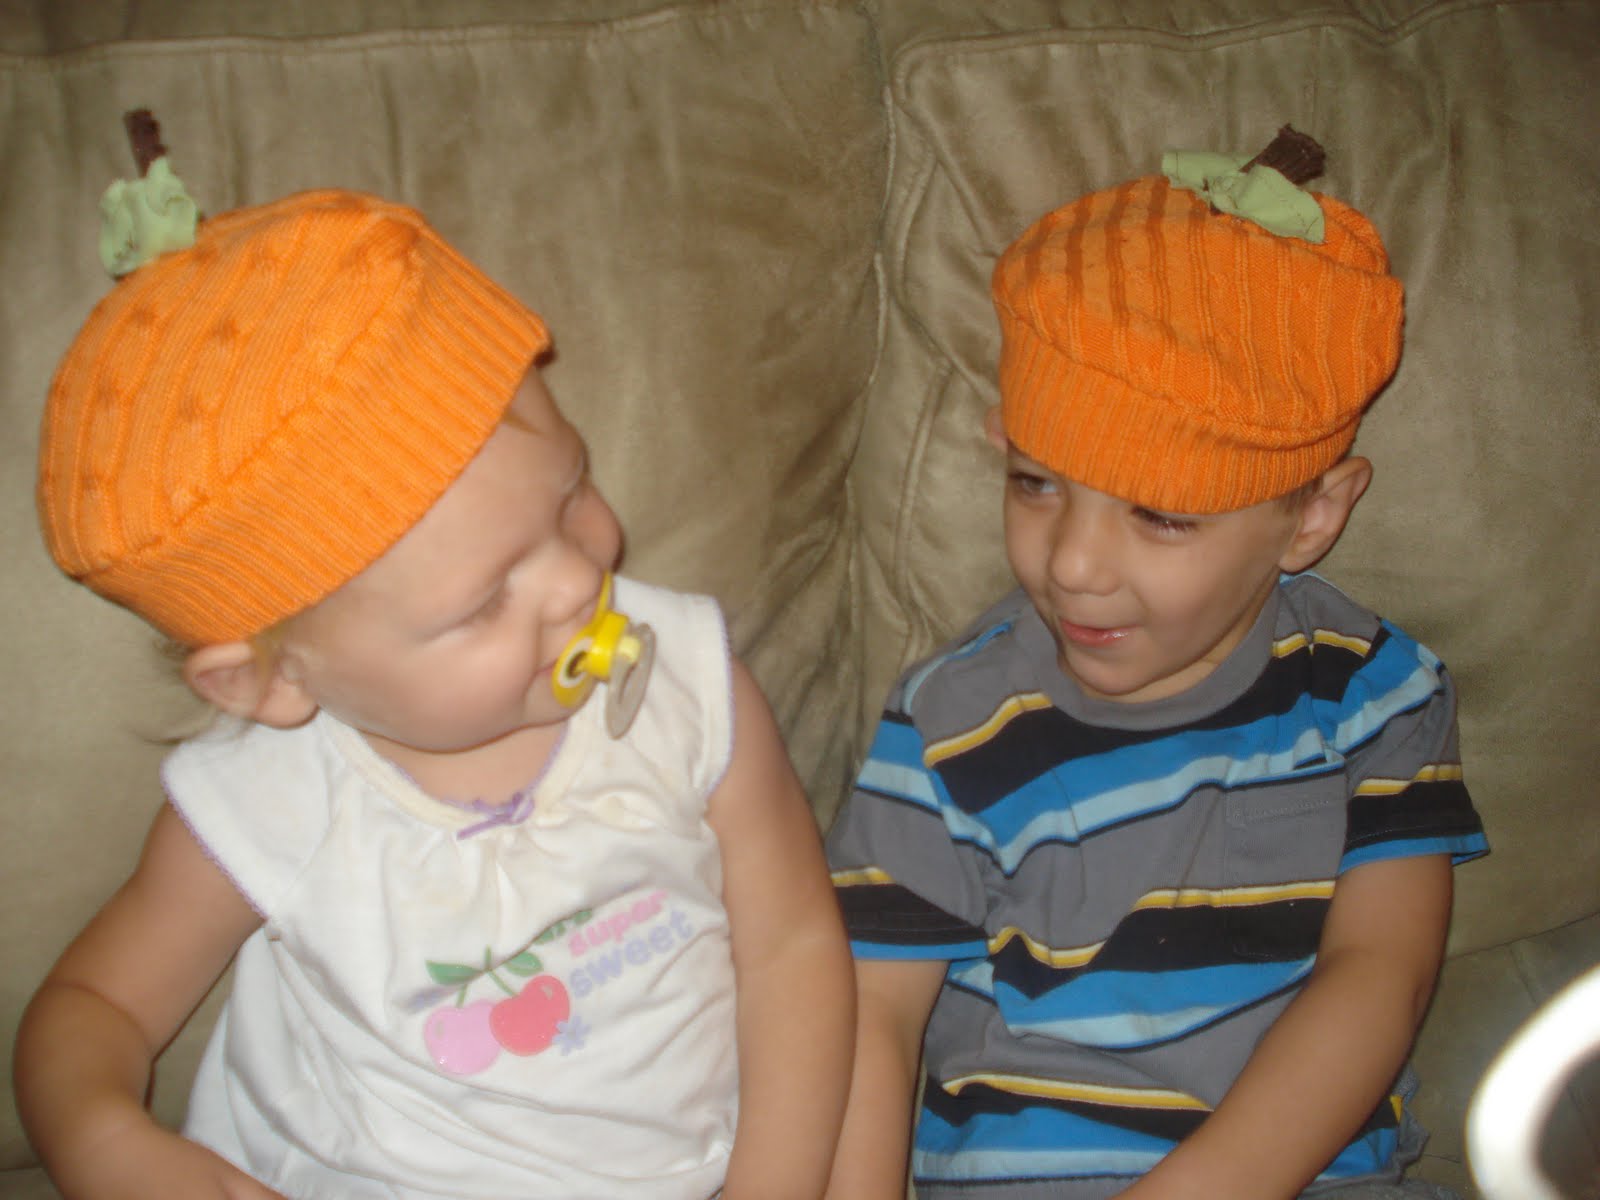
Ok, that’s better. real life models the next morning:


You’re so creative! How about making some big, fat worms out of sweater sleeves? (Just a thought – I have never tried it).
Oh those are so adorable!
I would love to have you join me tomorrow over at our Sassy Sites blog party! It’s our Feature YOU Friday! Come by and check it out! xoxo
Marni
@ Sassy Sites!
These are so adorable! I’m lucky enough to have a mom who knits and made my daughter a pumpkin hat but I love this version. I’ve saved sweaters that end up with holes and am always wondering what’s something crafty I can do with them. Now I know what to do with my red ones, turn them into apple hats using the same method! Thanks for the inspiration? Would love you to join me at A Crafty Soiree, every Thursday.
Thanks for joining our blog hop over at Sassy Sites! There are some amazing blogs out there, and you are definetly one of them! I’m a follower of yours too! Happy Friday! xoxo
Marni @ Sassy Sites!
Oh my goodness, these are adorable. Thanks for linking up. And…do you mind
redoing your link because the thumbnails are all blurry because I edited the size. They were so small I could barely see them. Oops! Sandra
So cute! What a great idea. Thanks for sharing your adorable project.
I will be linking to it.
Brooke
thecraftcave.blogspot.com
I am blown away by this wonderful project. Too cute!
Fabulous! Its a great idea,thanks for sharinging.
Stephanie – this is so great! I have a tutorial for a hat made from old sweatshirts that I’m posting tomorrow… but I didn’t even THINK of sweaters – genius! It’s like faux-knitting 🙂
I saw your sweater hats featured over at the Creative Maven. They are ingenious and your models, including the Raggedy one are adorable!