We needed a master closet makeover. We are fortunate enough to have a walk-in closet in our master suite, but honestly, it’s one of the stranger closets I’ve ever seen.
Our closet is shaped like a sideways letter A, with one side much longer than the other. It also has no door and is completely open to our master bathroom. We can’t install a door (at least without spending quite a bit of money to have one custom made, which is not in the budget) because the opening to this closet is a very narrow archway, and we can’t open it up without relocating the plumbing for our shower (also not in the budget). So, every time anyone uses the bathroom, they are staring straight into this closet.
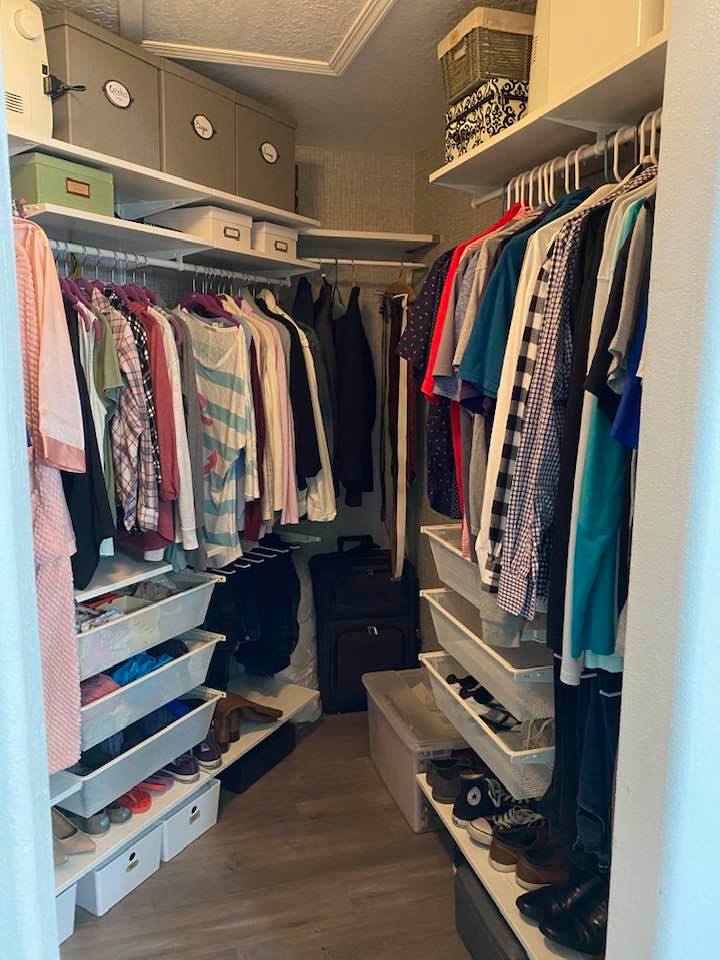
Here is what it looked like before.

And around the corner

Because we live in Florida, this is the only climate-controlled storage in our entire house. We do not have a basement or usable attic space. We do have a garage, but the temperatures here are too hot for most of the year to store things like instruments or anything valuable like photos out there. This space is all the storage we’ve got. For seven people. It was driving me bananas, and I needed this space to be more organized.
But have you tried pricing out closet organizers? We needed something customized because of the weird shape of this space. Some of the quotes I received were around $10,000! Um….no thank you. It’s a closet.
Thankfully, I married an engineer who is both very handy and good with planning software. Eddie drew up a design that would be much more efficient for our needs. He thought about things that honestly would never have occured to me like making sure the drawers were positioned so they wouldn’t hit each other when they opened and measuring how far the hanging clothing would stick out into the space (that’s what the dotted lines in the drawing represent).

Our ethernet panel is also right in the middle of the closet and needed to be redesigned because it wasn’t functioning well.
After a LOT of research, we settled on the IKEA Boaxel system because the price was amazing (it came in at half the cost of the next least expensive option), and it was the easiest to customize for the unique shape of our space.
To be honest, I was nervous about this system. I wasn’t sure I loved the idea of replacing cheap white wire shelves with different cheap white wire shelves. I was worried that we might do all of this work, and spend all of this money, and it would still look and feel cheap. To combat that problem, we decided to splurge on a nice peel and stick wallpaper to elevate the space a bit. Eddie took a while to come around to the idea of wallpaper, but in the end we both love it!
We used NuWallpaper from Lowes in the neutral linen color. The first wall was tricky, but after that it went on super quickly. It definitely helped to have two people working together. It had no problem sticking to our textured walls and it’s my absolute favorite part of this makeover!
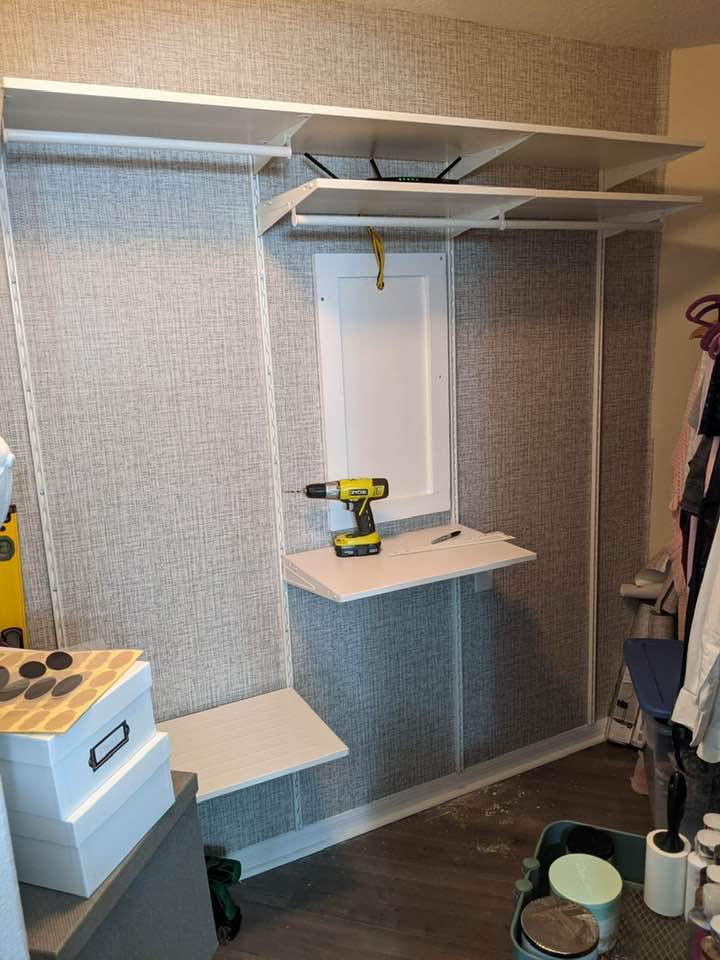
The IKEA Boaxel system is a series of vertical rods you attach to the wall, then there are shelves and baskets you can arrange wherever you want and snap into place. We loved how easy it was to change our minds and rearrange things as we were installing them, which is an option you don’t always have with more expensive systems.
We bought $700 worth of shelving, but realized we didn’t actually need as much shelving as we thought and ended up having over $100 worth of materials to return.
The cost of this makeover came in at just under $1400, but that included the wallpaper, wall organizers for our hidden corner, and quite a few storage boxes (which were all purchased from IKEA as well) in addition to the shelves.
This awkward corner was not deep enough for traditional shelving, so I decided to use a pegboard and some spice racks to hold our accessories. The utility cart is also from IKEA and holds extra toiletries that don’t fit in our tiny bathroom as well as random odds and ends like my hand weights and some candles.

Because we added drawers with our Boaxel system, we were able to donate the dresser that used to live in this closet, which gave us a lot more floor space. We also saved some space (and money) when Eddie realized he didn’t need as much hanging space as he originally thought he would. Adding the pant hangers to our Boaxel system allowed him to condense his clothing into less square footage.
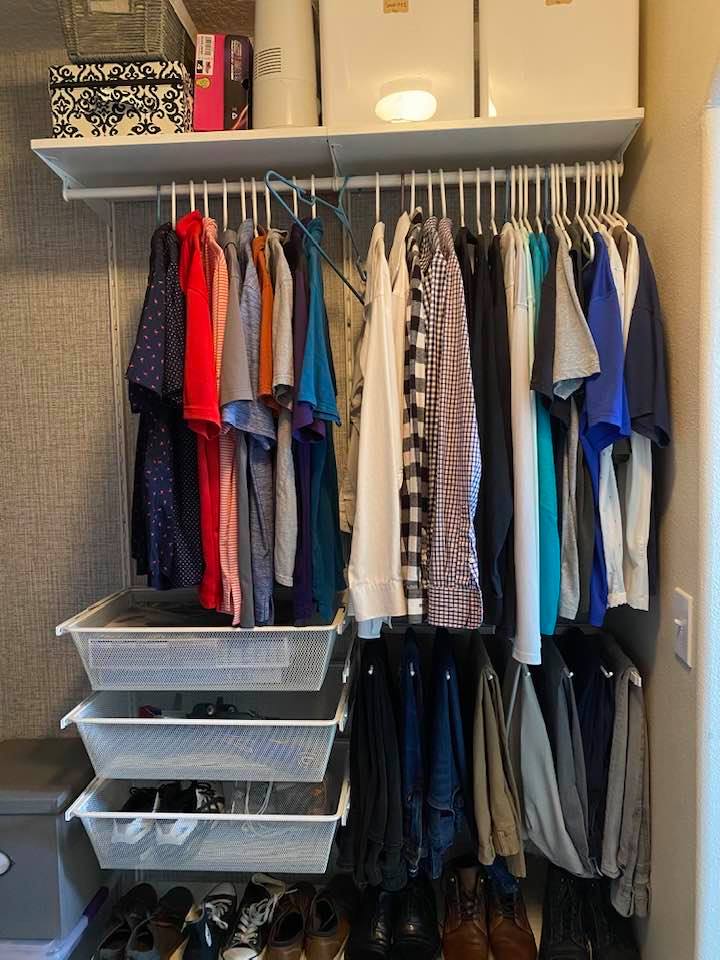
This is my side.

We were able to complete this entire project in three days, working mostly at night when the kids were asleep. It was about 8-10 hours worth of work, so it’s something that could definitely be done in one Saturday.


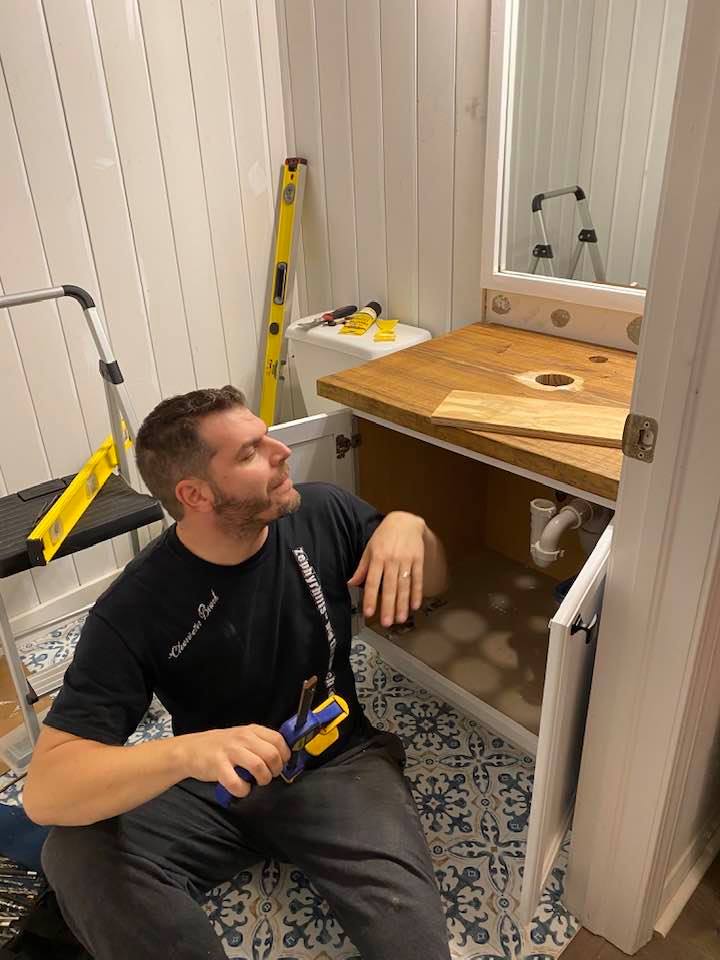
Let me know what you think, and be sure to check out our latest budget bathroom remodel while you’re here! Don’t forget to pin and share!


What You’re Saying