I figured the day after I posted about eating healthier would be a great time to post a recipe that is literally half sugar. ; )
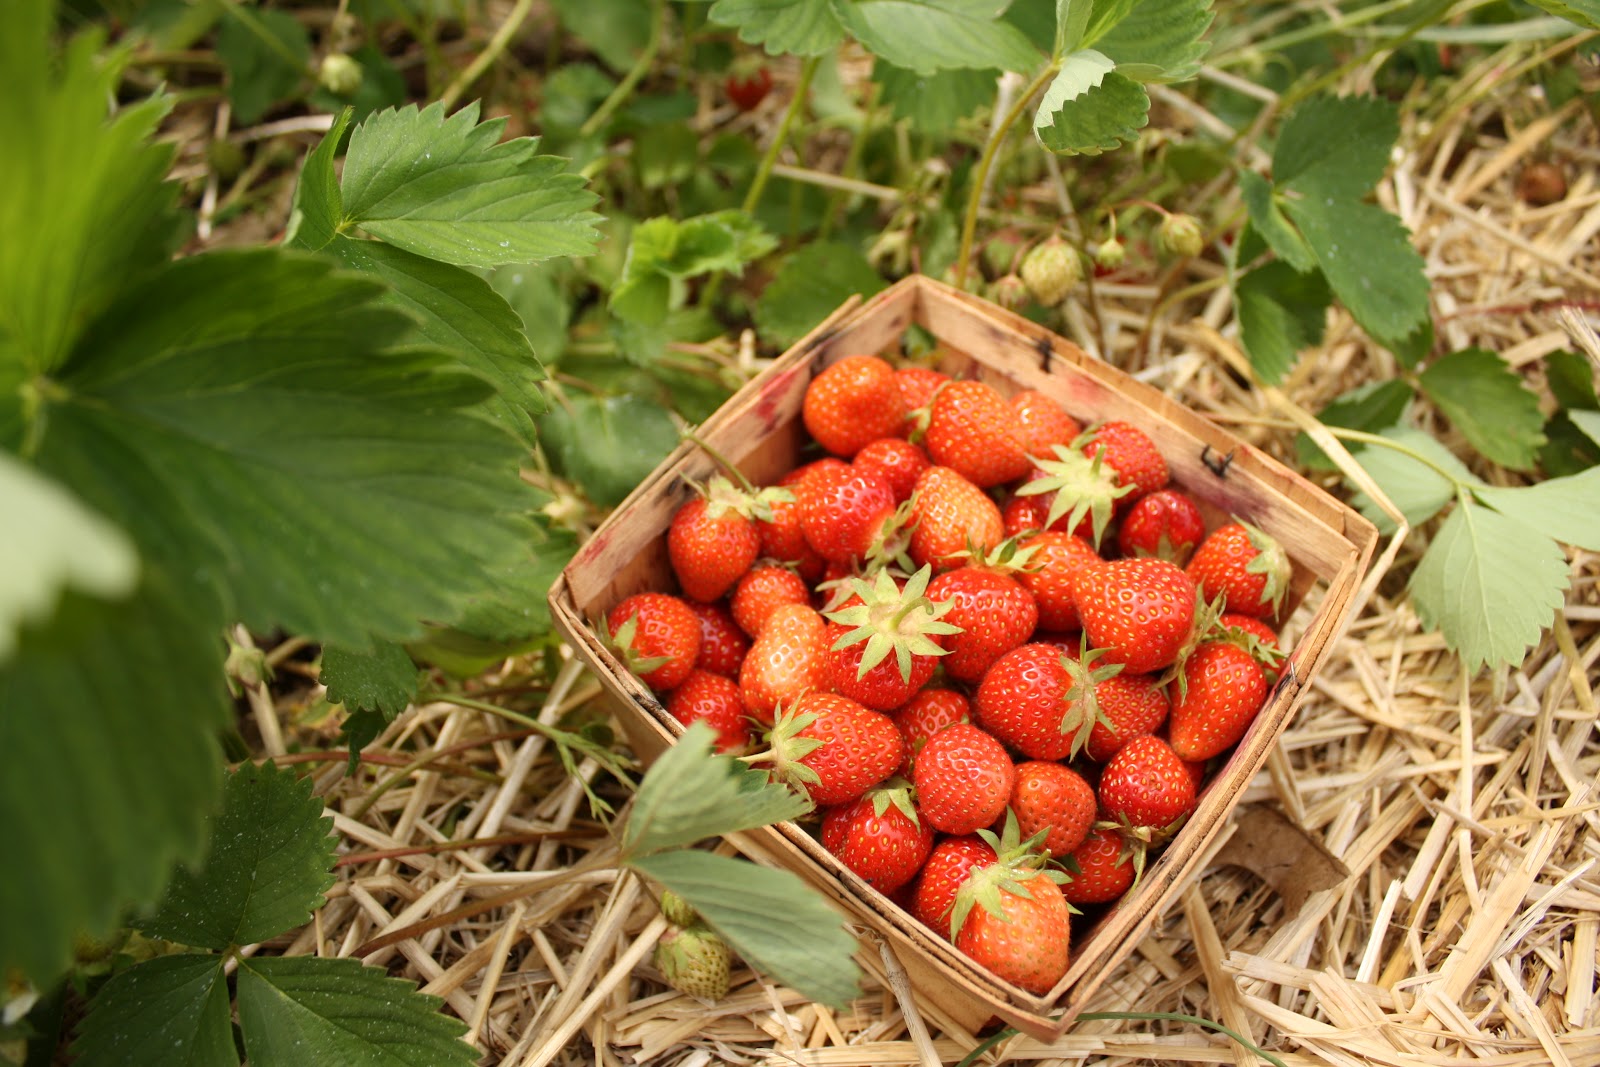
When I first started canning two years ago there was a lot of trial and error on my part because I couldn’t find a tutorial that explained exactly how to do it, but now I know, so I’m going to try my best to write one up to tell you how to turn these:
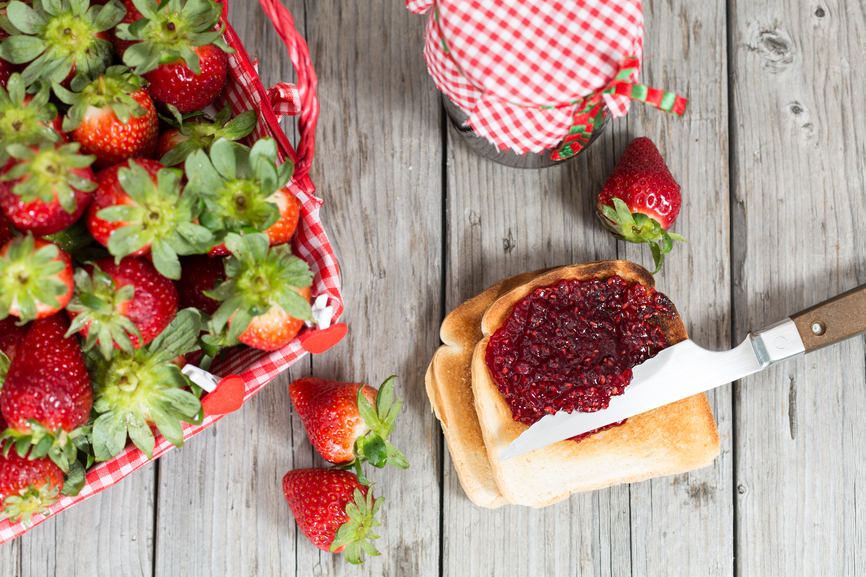
into this
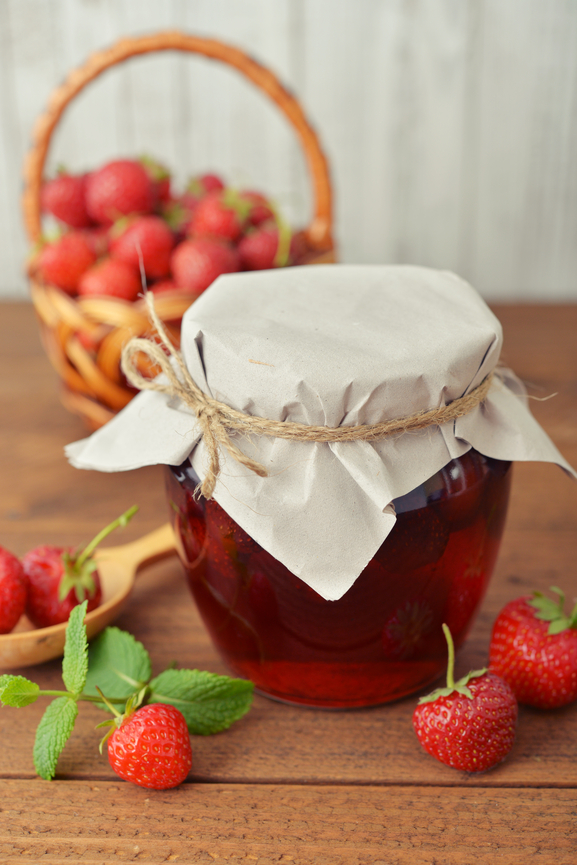
I’m sorry for the poorly lit photos below. I usually do our canning late at night because it’s not really a safe activity for little kids to be around. That’s why I had to buy the stock photo above to show you someone else’s jam in better lighting. 🙂
I’m going to teach you the water bath method, which just means process the cans in boiling water, because it’s really easy and it makes sure to keep the food safe. (Some people might tell you to just put the jars in the freezer or turn them upside down, which will seal them but does not keep out bacteria, but if you are going to go through all the trouble of getting the jars ready to that point it really is just as easy to place them back in boiling water for a few minutes for the peace of mind that they are safe to feed your family.)
It might seem overwhelming, but just read through the steps a few times before you try it. Most of the steps are very easy. It is not hard to can your own food, it’s just time consuming. It took me a little over an hour last night to can this batch.
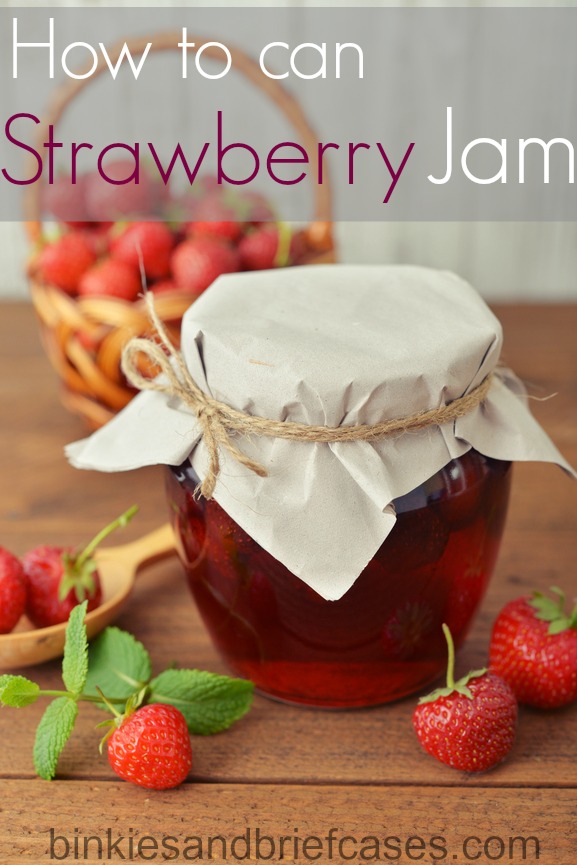
How To Can Strawberry Jam
You will need:
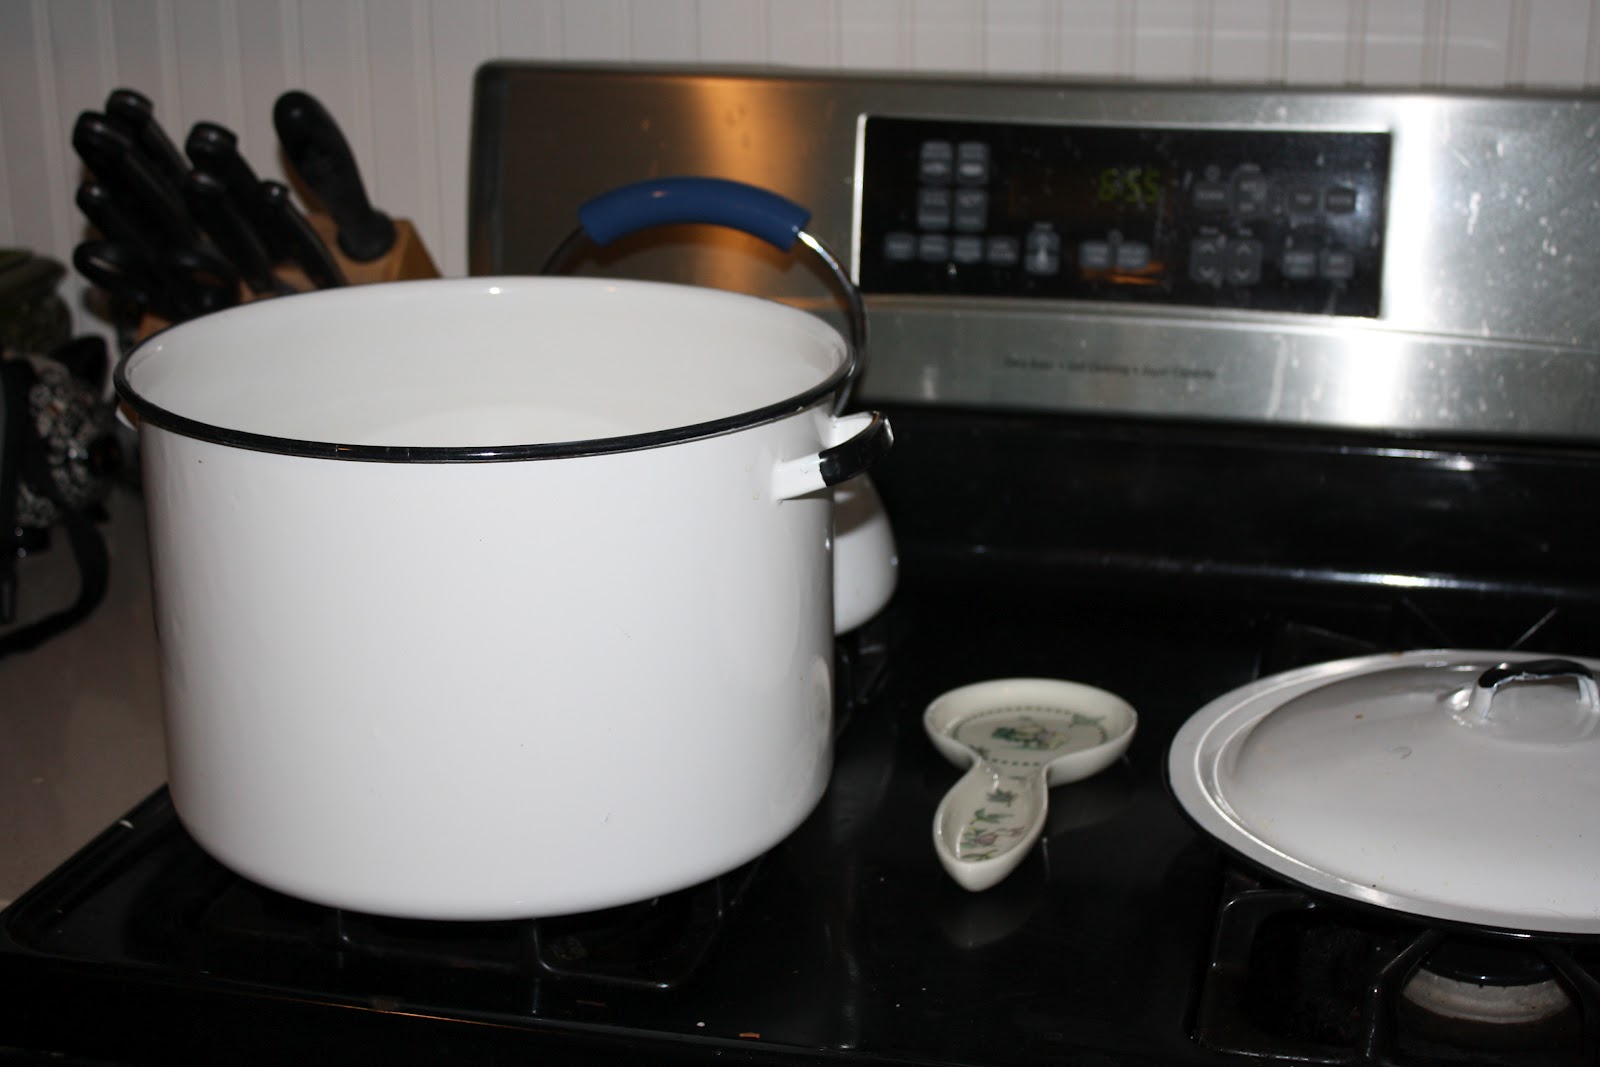
- 2 large pots, 1 for water and 1 for actually making the jam
- Several half pint size canning jars with lids and rings (they usually have these at the grocery store or craft stores)
- a wide mouth funnel
- tongs
- 2 clean kitchen towels
- a ladle
- a cooking spoon
- a potato masher
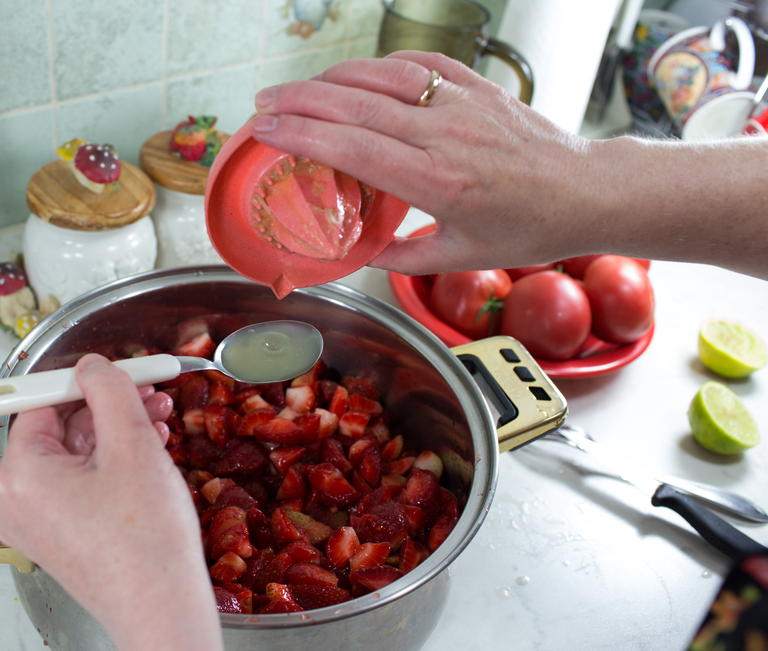
- strawberries (4 cups, mashed)
- sugar (2 cups)
- lemon juice (1/4 cup)
- a freezer safe plate
- labels for your jars
Step 1:
Fill a large pot with water and bring it to a boil on the stove. Also, go ahead and put your empty plate in the freezer.
Step 2:
While you are waiting for the water to boil, wash your strawberries, cut off the stems, and mash them up. (I just use a potato masher)
Step 3:
Step 8:
Place a wide mouth funnel on top of your first jar and ladle in your jam. Leave a small gap (1/2 an inch or so) at the top, that’s called “head space.” Be careful because both the jam and the jar are very hot.
**Wipe the rim of your jar with a clean kitchen towel. **This is a small step that’s easy to forget, but it’s one of the most important. If there is gunk on the top of the jar it might not seal and it could make a huge mess, plus then it’s not safe to eat
Also, take a clean knife and slide it down inside the jar along one side. this will help remove air bubbles.
Place the lid back on the jar and then put the ring back on and tighten it. You only want it to be finger-tight.
Step 9:
This is where people have lots of different opinions. I use the method from the Ball canning book, which is the one recommended by most experts. Knock on wood, I have never had a jar that didn’t seal with this method.
Carefully place the jars back into the boiling water and put a lid on the pot.
Once the water is boiling, leave the jars in the boiling water for 10 minutes without removing the lid.
After 10 minutes, turn off the heat and remove the lid. Wait 5 more minutes.
Step 10:
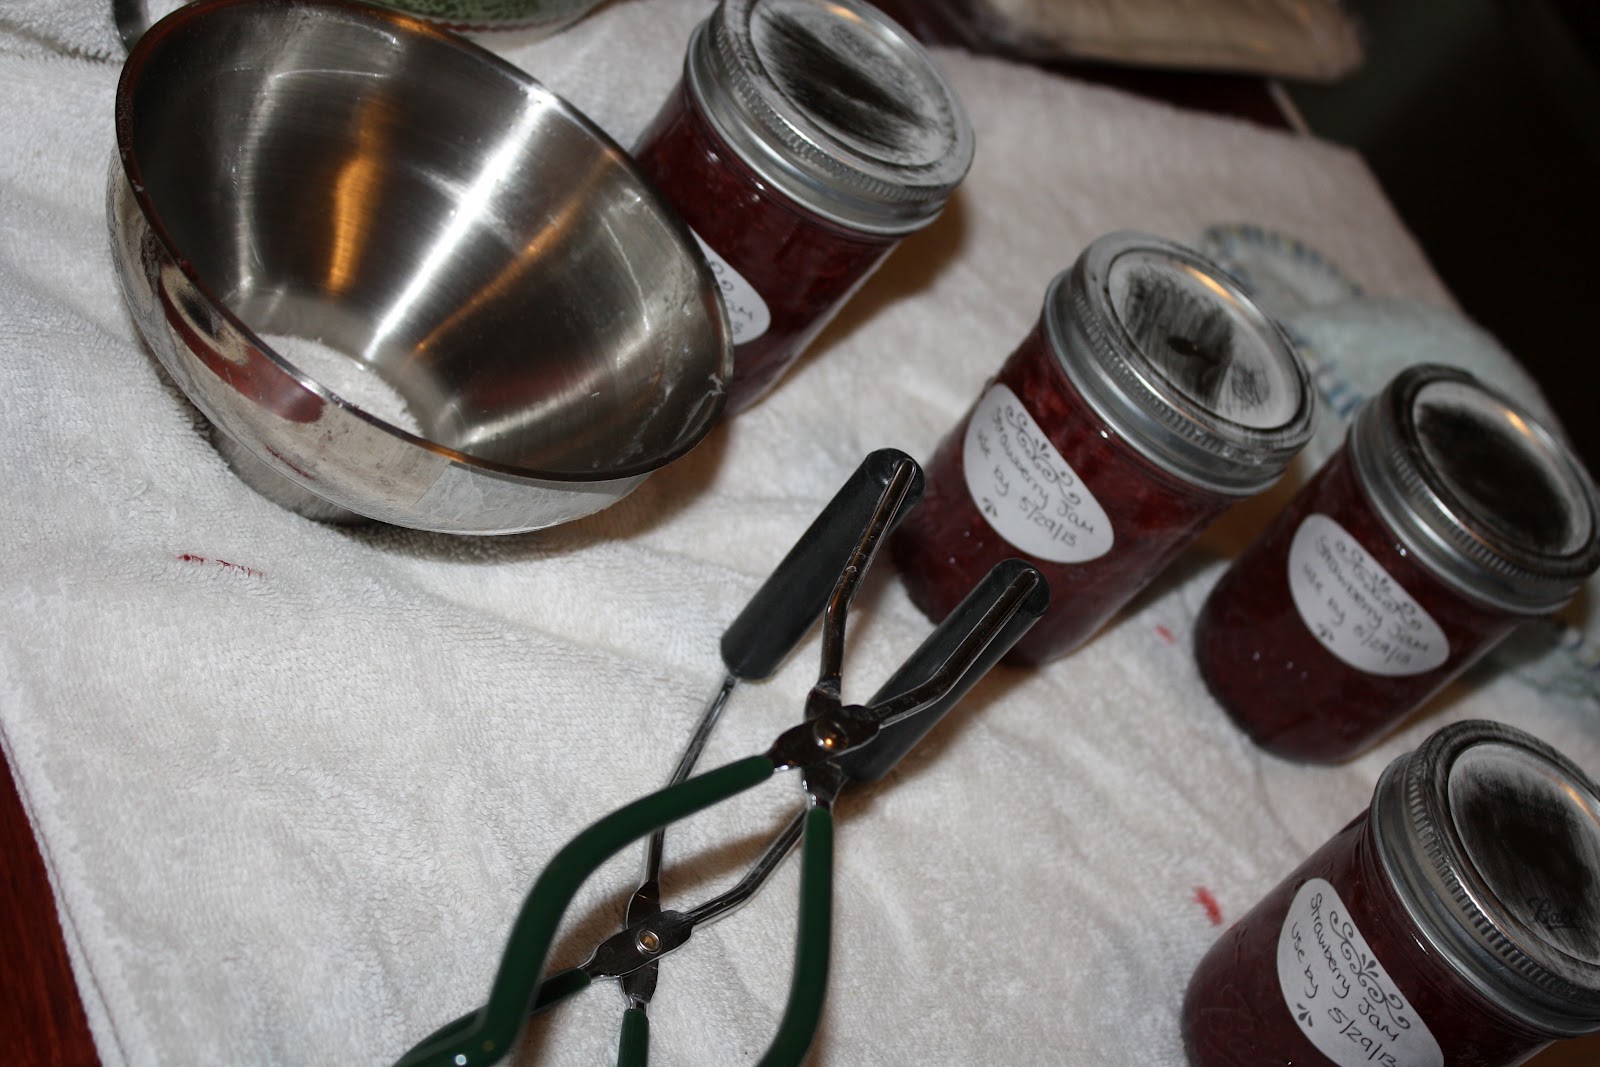
After the additional 5 minutes, use tongs to carefully remove the jars. Be very careful not to tilt them.
Place the jars onto your clean kitchen towel. You will probably hear a small pop come from each jar within the first few hours. (Mine always pop after just a few minutes.)
Step 11:
Leave the jars alone for 24 hours. Try to press the lid in with your finger. If there is no give, then the jar is sealed correctly.
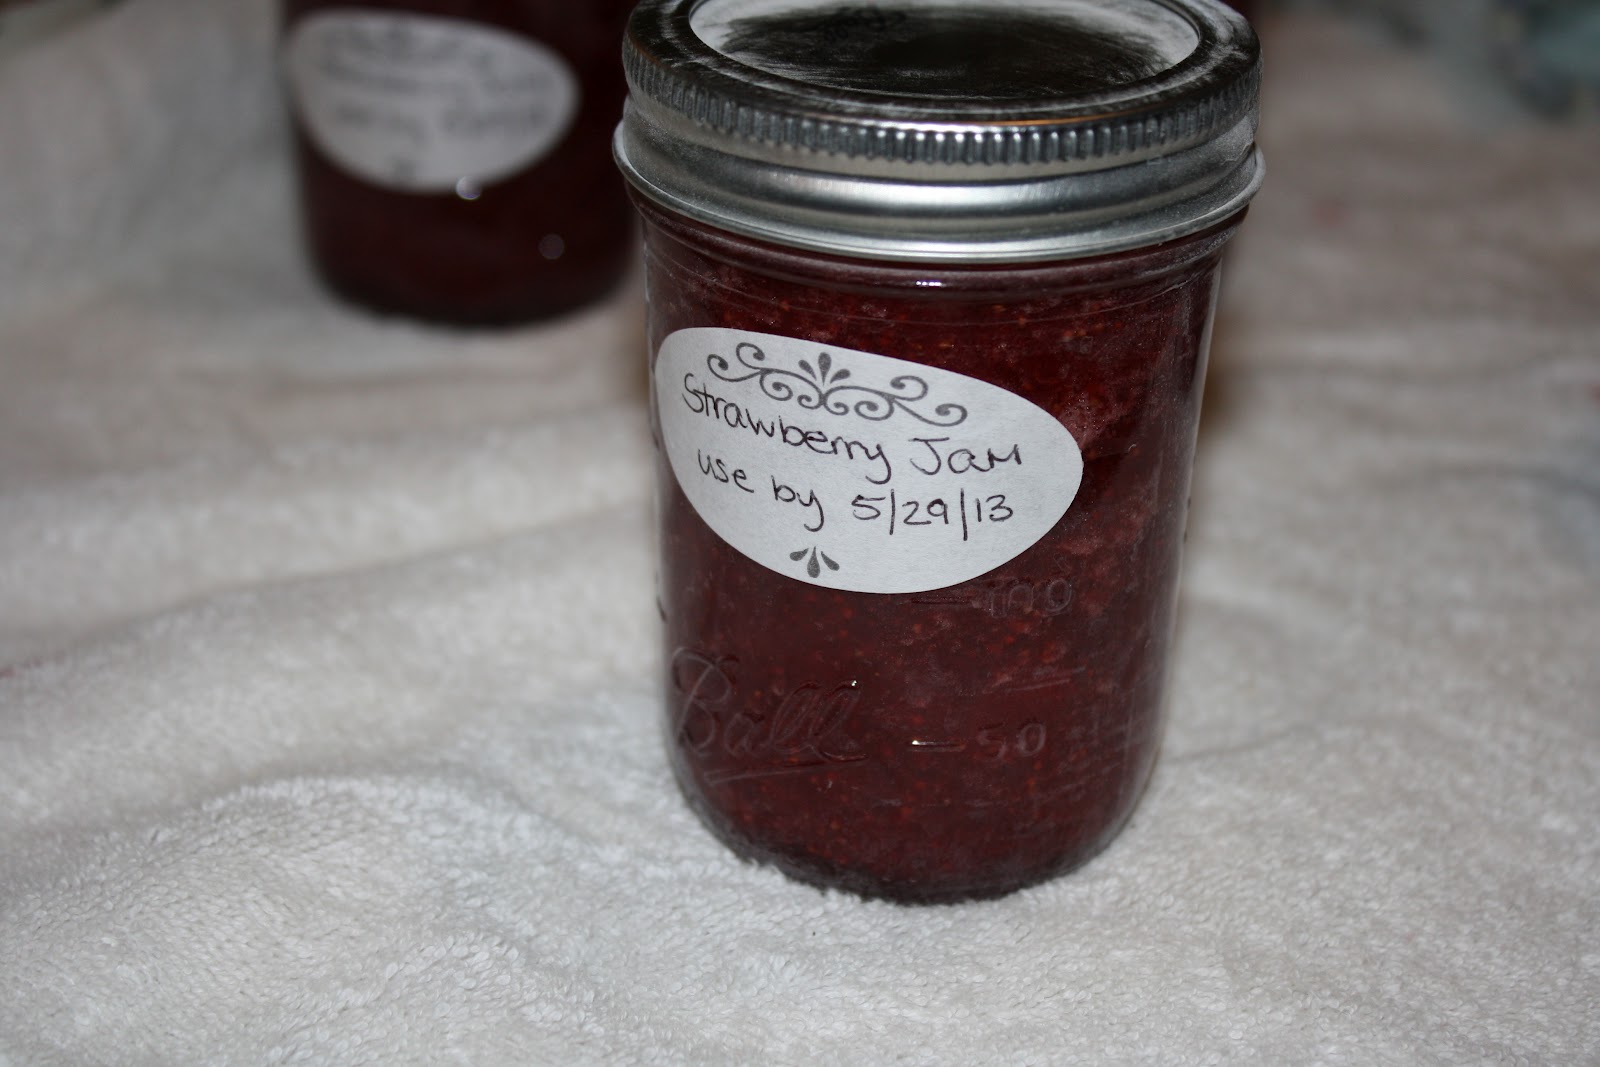
Step 12:
Label the jars with the content and date. They will be safe to eat for a year but if your house is like mine, they won’t last that long. 🙂
Once you finish a the jam you can save and reuse the jars and rings, but not the lids. You can usually purchase lids separately at the grocery store or even places like Target this time of year.


Leave a Reply