Binkies and Briefcases

SUBSCRIBE

  • About
    • Work With Me!
      • Blog & Small Business Consulting
    • Disclosures
  • Popular Posts
  • Adoption & Special Needs
  • Saving Money
  • Recipes
    • Breads
    • Breakfasts
    • Sides
    • Soups
    • Entrées
    • Desserts
  • For the Home
    • For the Home
    • Beauty
    • Crafts
      • For Kids
  • My Books

Dollhouse Diorama

July 29, 2010 By: Stephanie5 Comments

If you're new here, you may want to subscribe to my Email Newsletter. Thanks for visiting!

Welcome back! Be sure to check out my Email Newsletter. Thanks for visiting!

Bear with me, both the second grade teacher and little girl in me are about to come out simultaneously in a an explosion of handcrafted cuteness otherwise known as my third no-spend Christmas gift: the dollhouse diorama.

I am especially proud of this one because I stuck with it and finished it (Ok, I’m not totally finished, I still have some embellishment left to do) even though it took a looooong time by my standards, 3+ hours (Normally I have a 1 hour patience threshold.) and also because after I finished it I searched my friend the internet to see if anyone else had made one the same way. I couldn’t find one. Maybe it’s out there, but since I couldn’t find it I’m going to bask in the moment and assume this is an original idea.

My inspiration was this adorable puffy dollhouse over at Little Page Turners.

Seriously, how stinkin’ cute is that? I wanted to make one, but I had taken a solemn vow to make my dollhouse strictly with stuff I already had. Sadly, I did not have any of the plastic sheeting used for the structure. What I did have was an abundant supply of cardboard and a love of shoebox dioramas dating back almost 20 years to when I was a little girl making them for book reports.

My mission was to take this shoe box and transform it into a puffy dollhouse.

I started by cutting along the edges to get 5 pieces: the bottom (which became the back), 2 long sides, and 2 short sides.

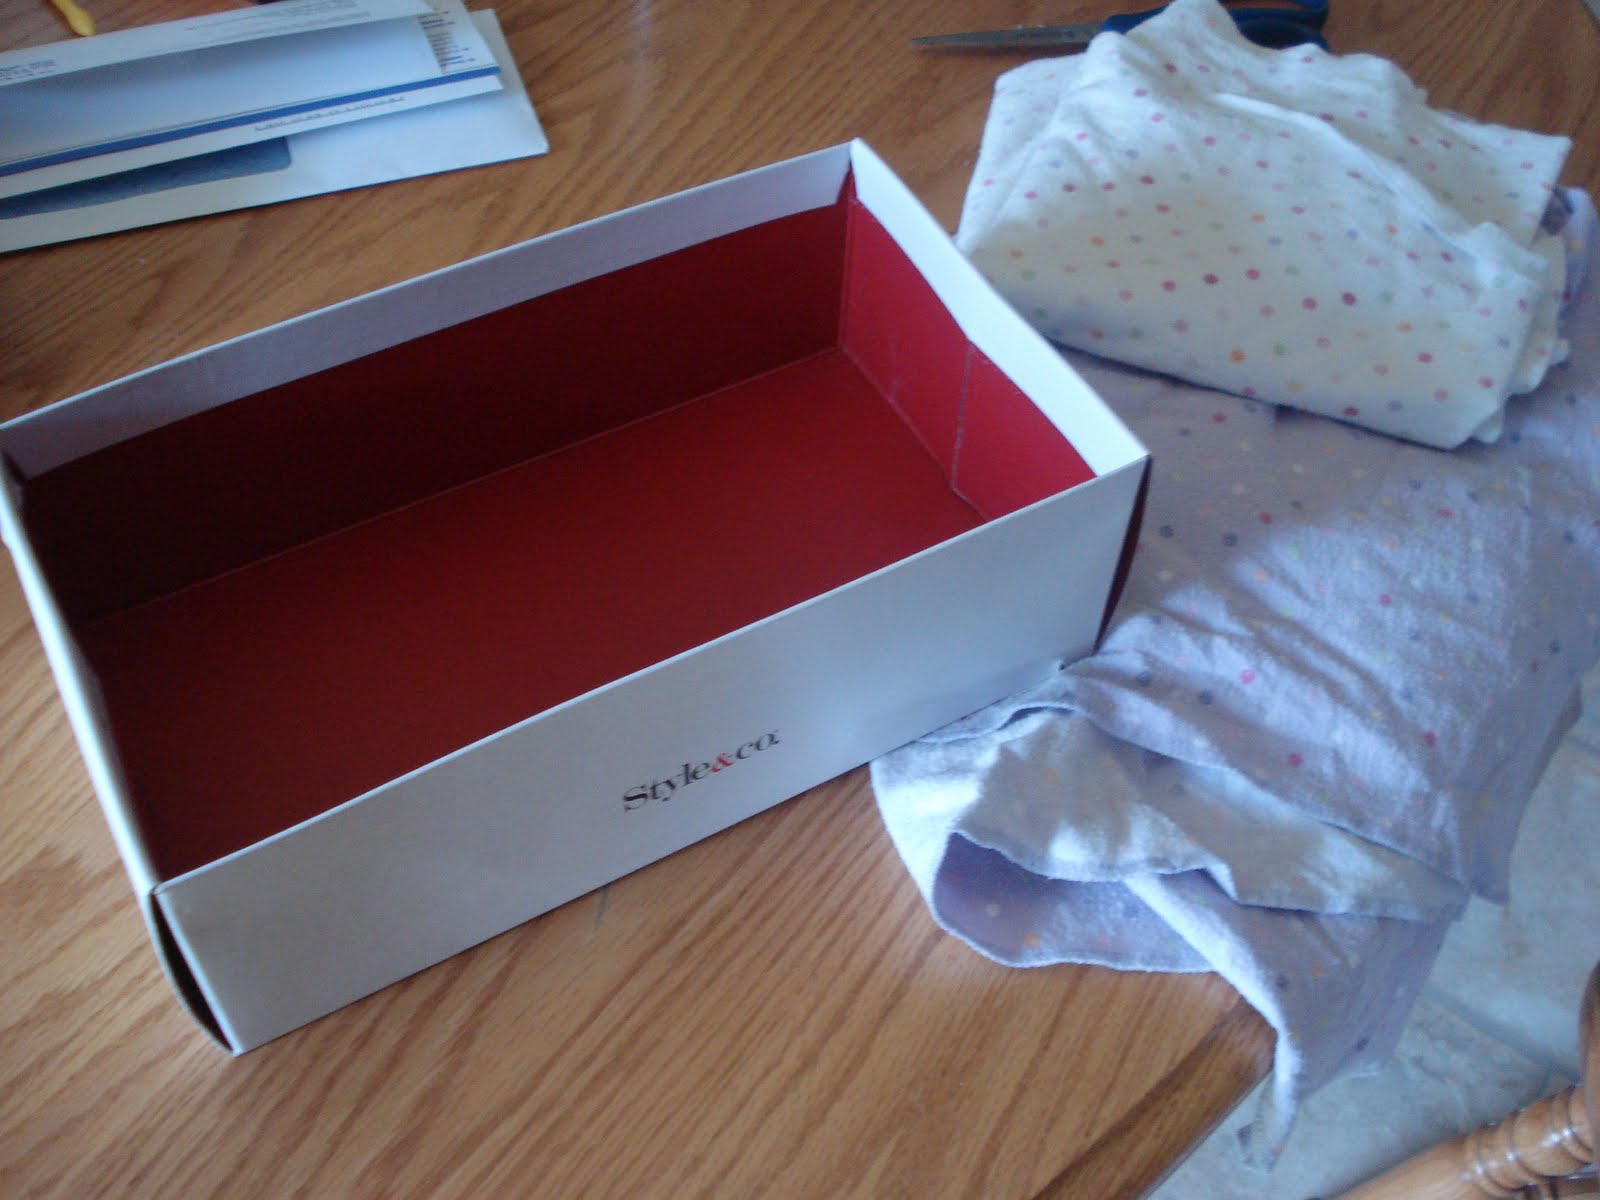
I traced each side twice. Once onto the purple fabric and once onto the white fabric. (and by fabric I mean two old spit up rags that had been thoroughly washed)

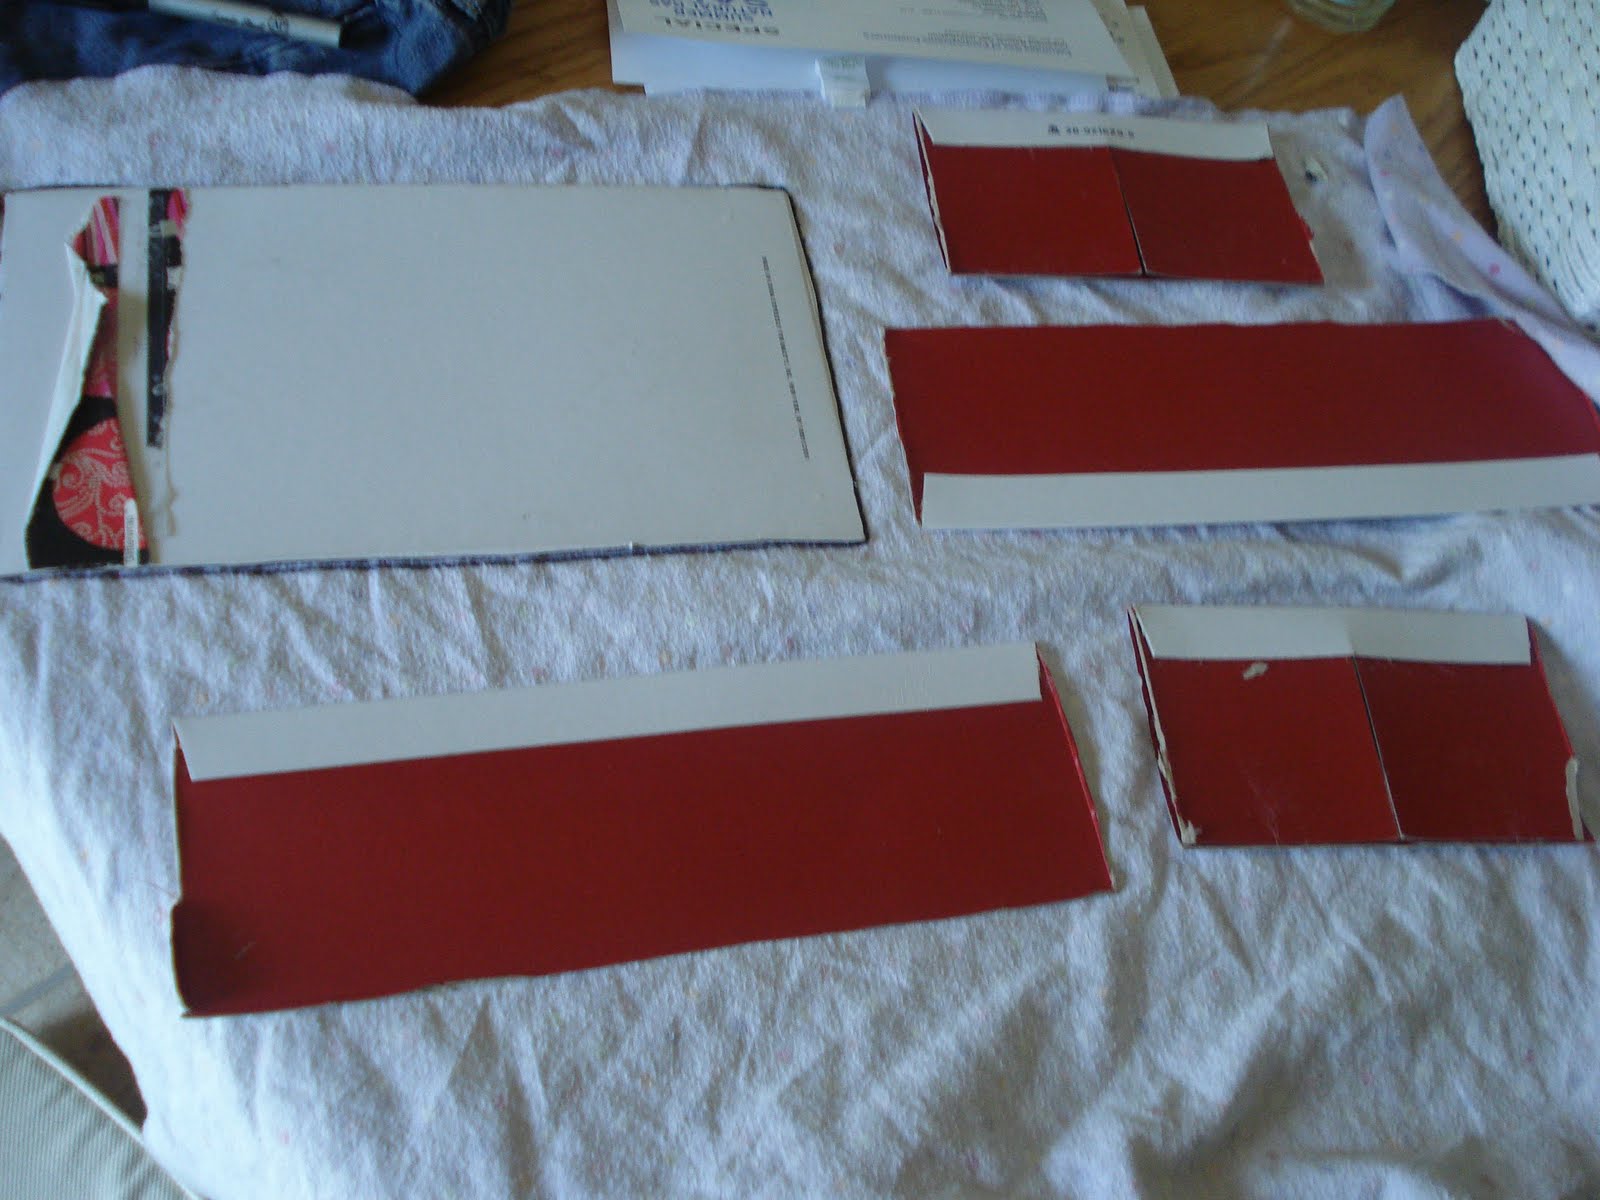
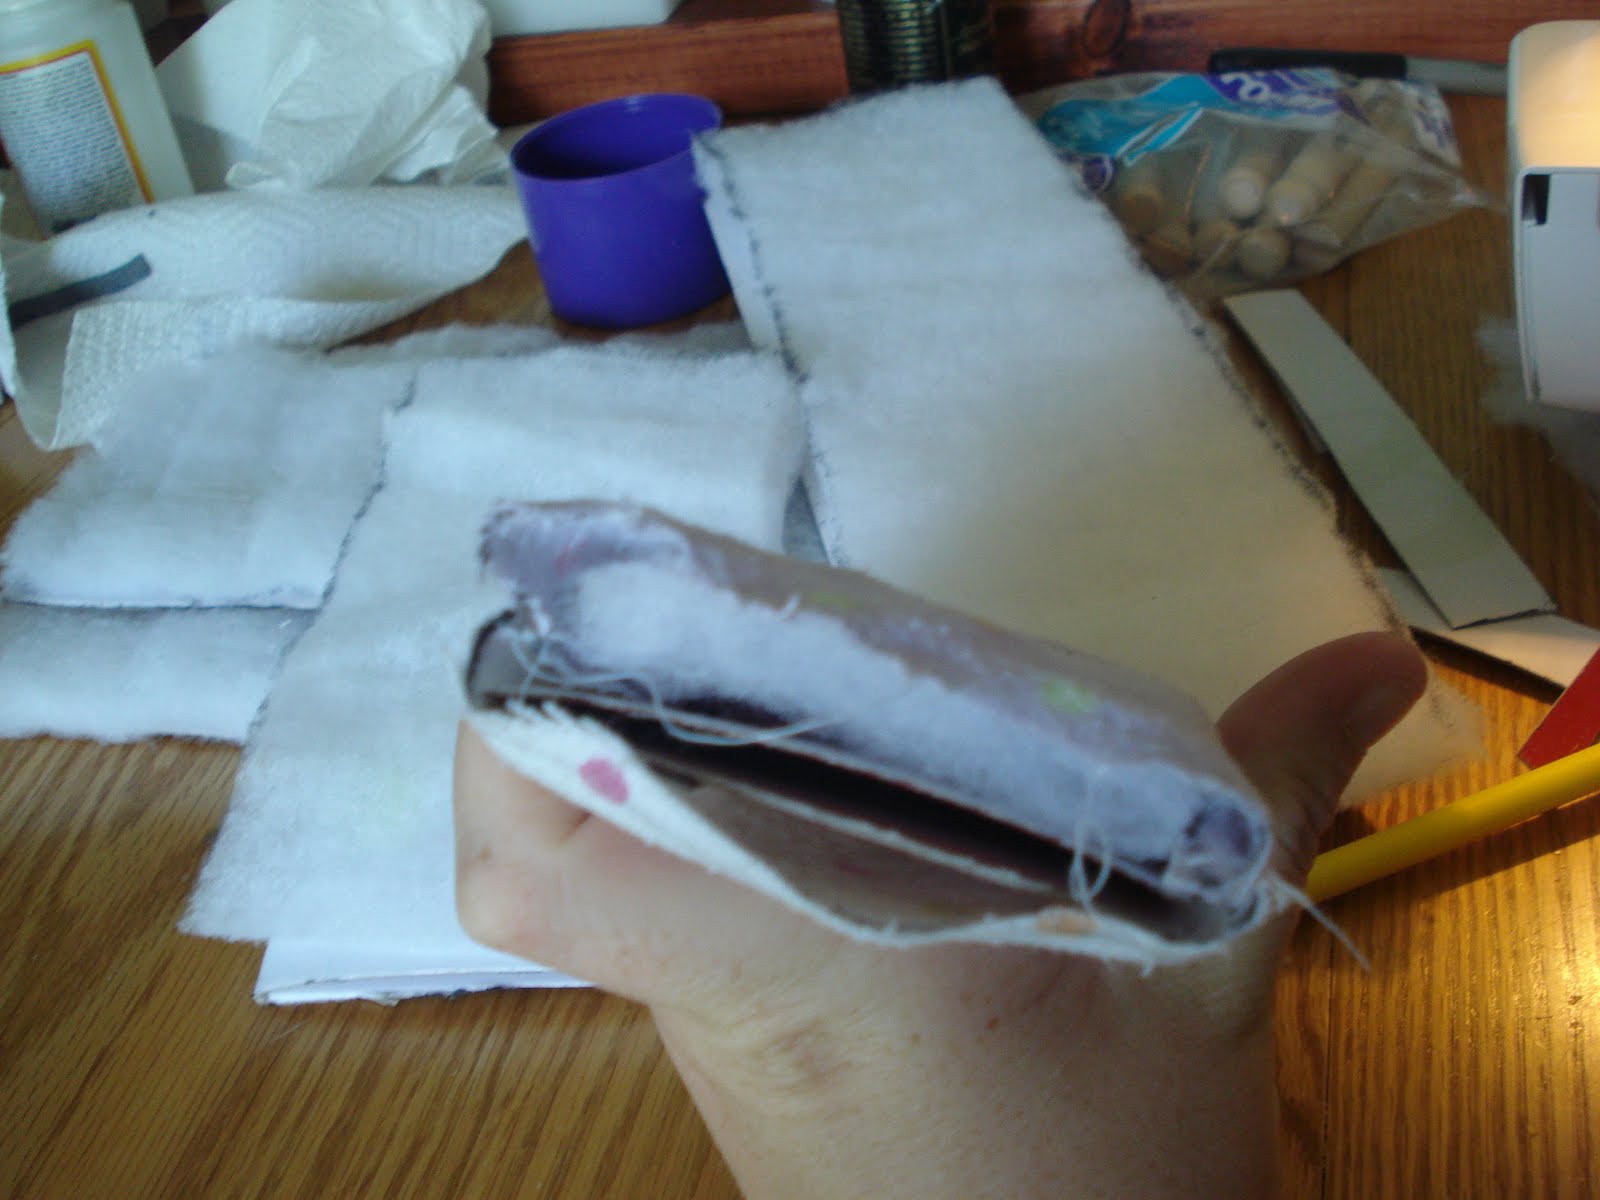
Then I cut out all of the pieces and sewed the matching ones, right sides together, together on three sides. Turn them back right-side-out and you have basically made a slip cover for each piece.

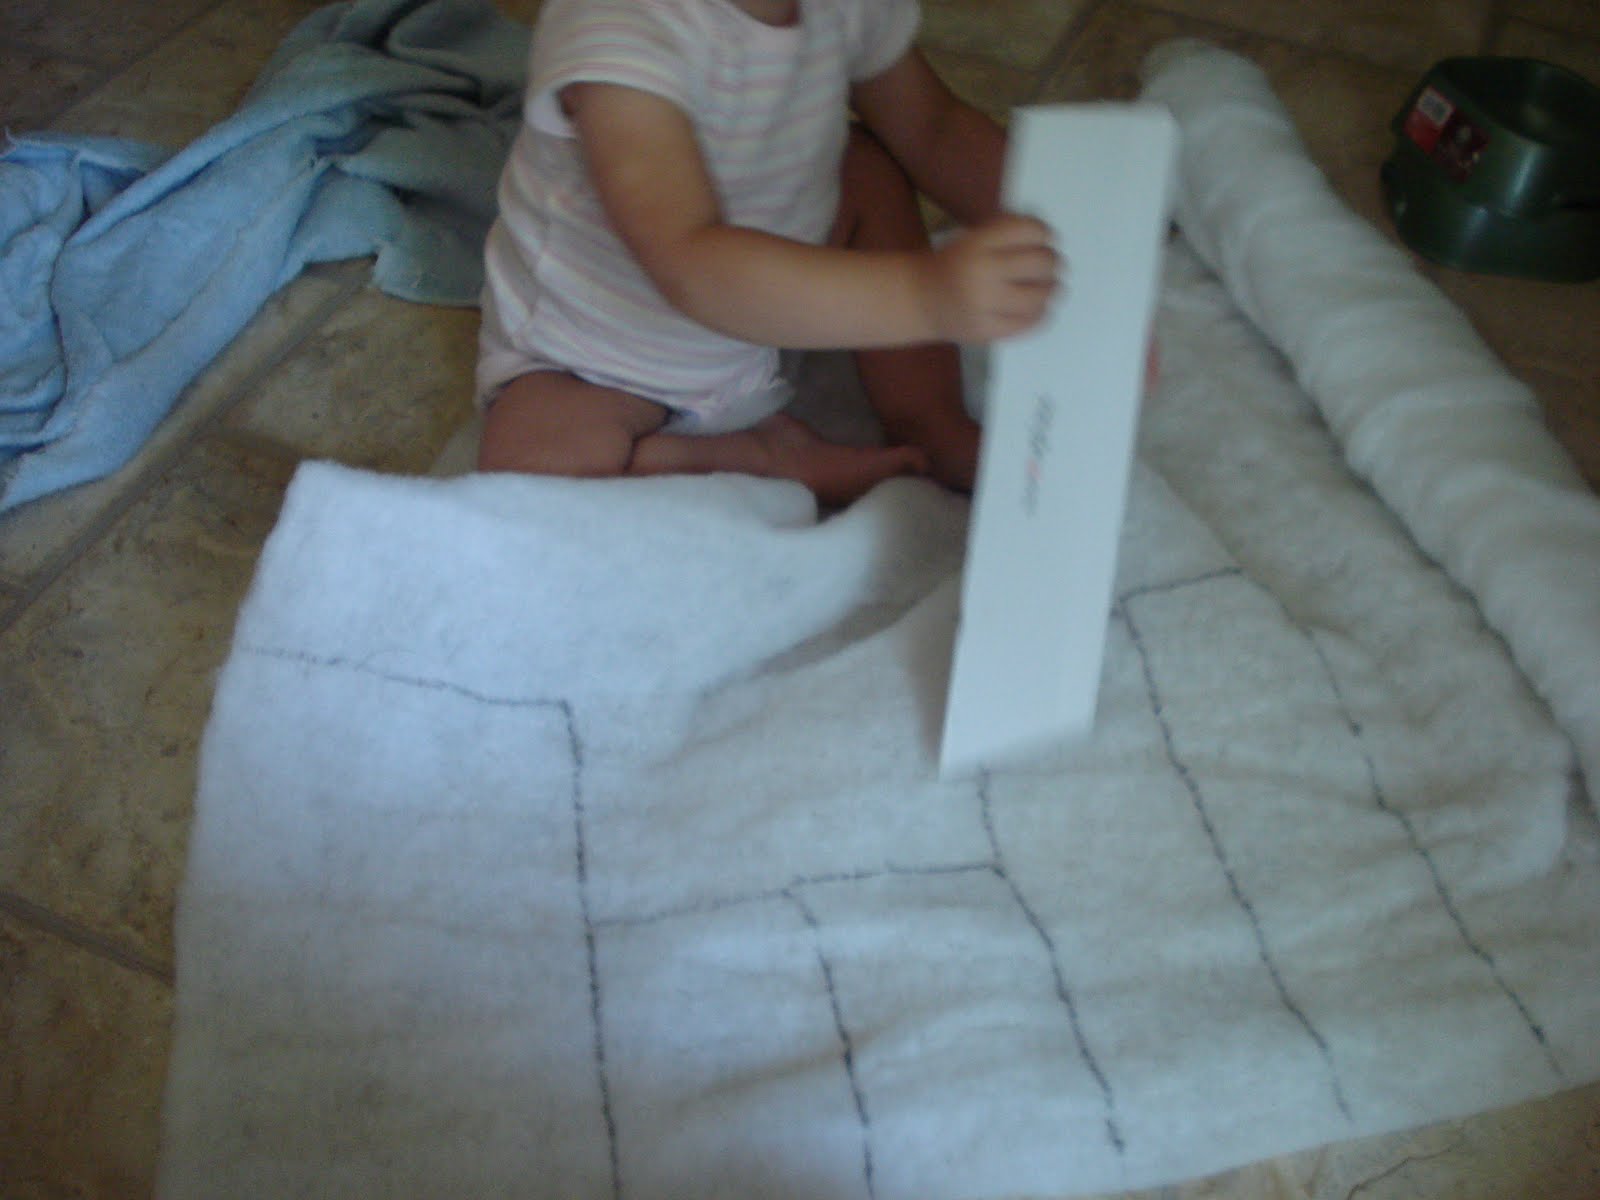
Then, with my little helper (big brother was napping), I also traced each piece onto quilt batting. (Which I bought 4 years ago with the bright idea that I was going to make a friend a quilt as a wedding gift. Said “quilt”-all two rows of it- is still in my craft basket. They got a nice store-bought embroidered blanket from Things Remembered instead.)

Then I used a can of spray adhesive that I must have had sitting in my craft basket unused for at least 5 years to stick the batting to each piece.

Each piece needed to be trimmed in order to fit inside my slip covers. I just made sure to keep the scale of the overall box the same. (The edges that are going to wind up touching each other need to match.) Then slip each piece into its corresponding cover, with the padded side towards the fabric that you are using for the outside of the dollhouse.

Hand stitch the last side of each piece closed.

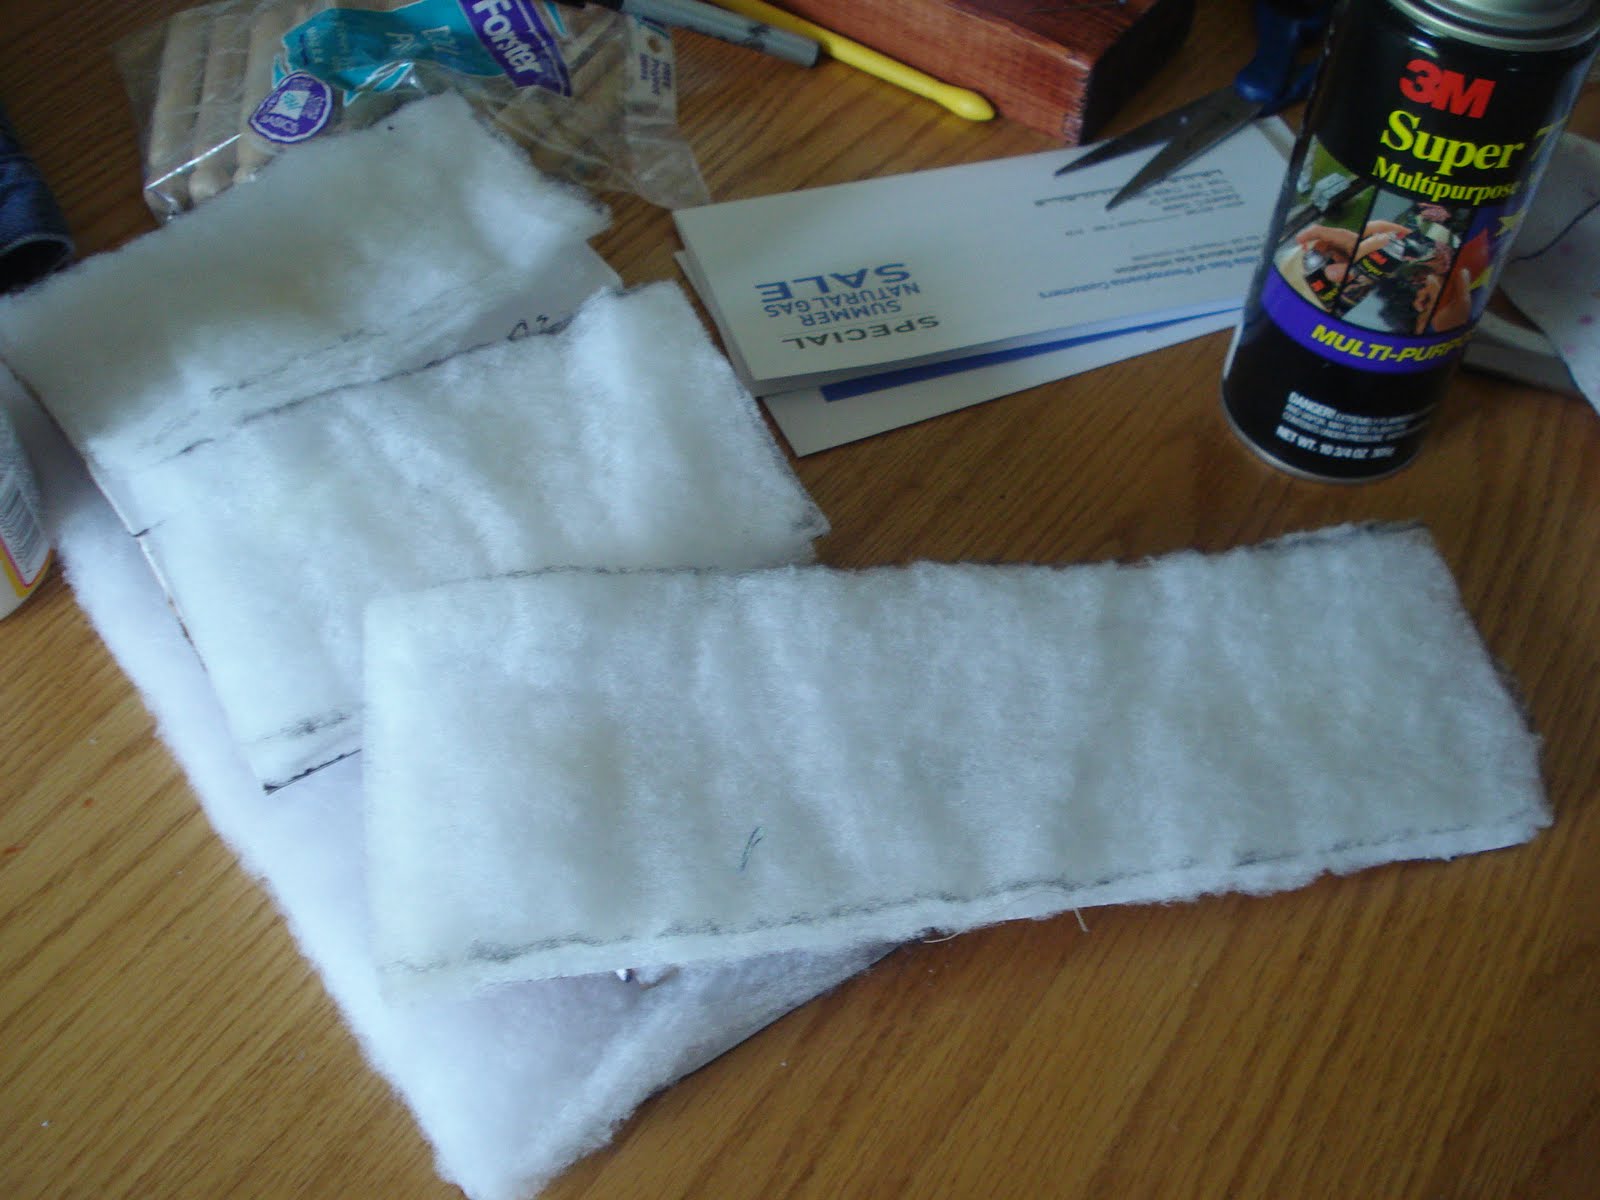
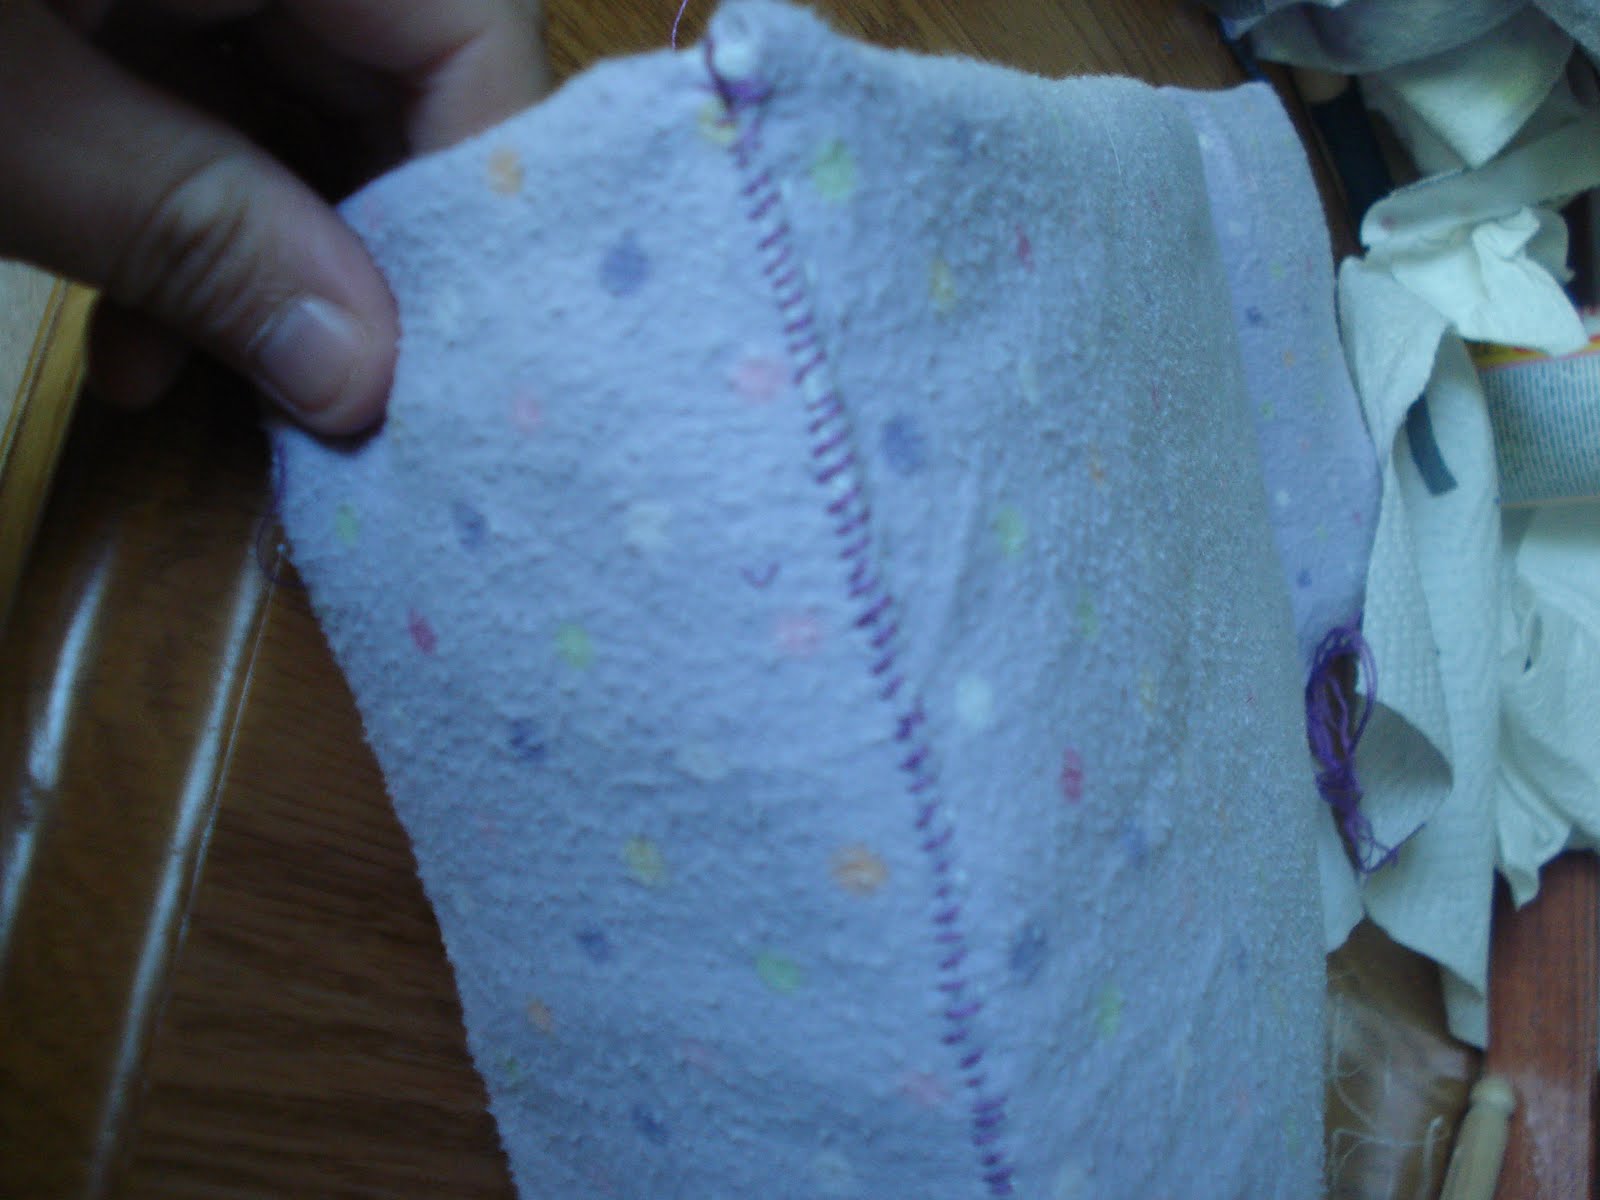
Ok, here comes the hard part….Use embroidery thread to hand-stitch the outside edges and put the box back together. I am NOT skilled with embroidery thread. (In fact the only reason I even have embroidery thread is because I went through a “I think I’ll learn how to cross-stitch” phase, but then I realized it was hard and I quit.) This part took the longest. It’s not perfect by any means, but I wanted the overall look to be whimsical and homemade, so I’m ok with that.

Each edge should look like this:

I chose to leave the top and bottom of one of my sides un-stitched so that I could have a real swinging door. I did reinforce the door by stitching on the inside edge as well.

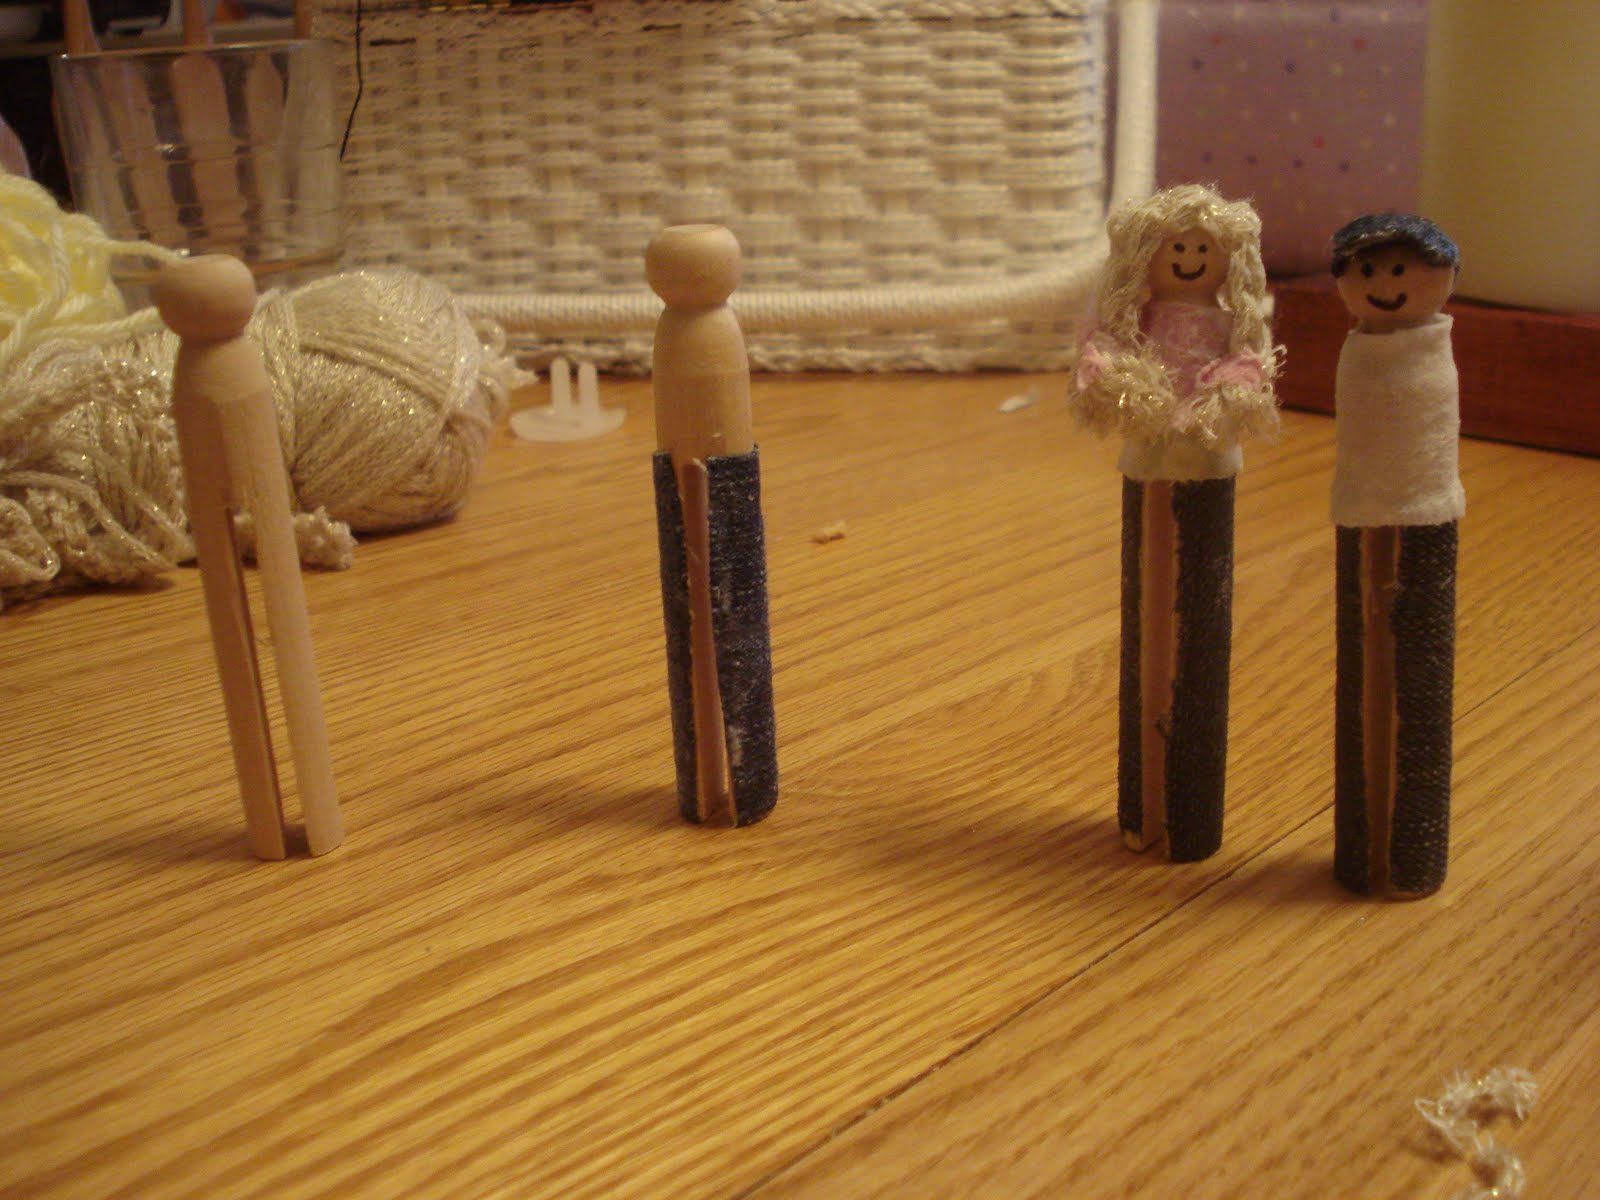
Once the box was padded and back together I was really sick of hand-stitching and fighting with embroidery thread-that stuff is so annoying! So I decided to make the people who would live in my dollhouse. I was so excited when I remembered I had these doll pins! I bought them at the dollar store by accident a few years ago. I thought I was buying clothes pins to use in my classroom. I couldn’t use these for what I had intended, so they have been sitting with my craft stuff for at least three years.

I just modge-podged on some fabric scraps for clothes, yarn for the girls’ hair, and used a black sharpie for the faces.

See: before… during… after

I managed to get that all done yesterday and then this morning I couldn’t sleep very well so I went back and added some embellishment to the inside before the kids woke up.

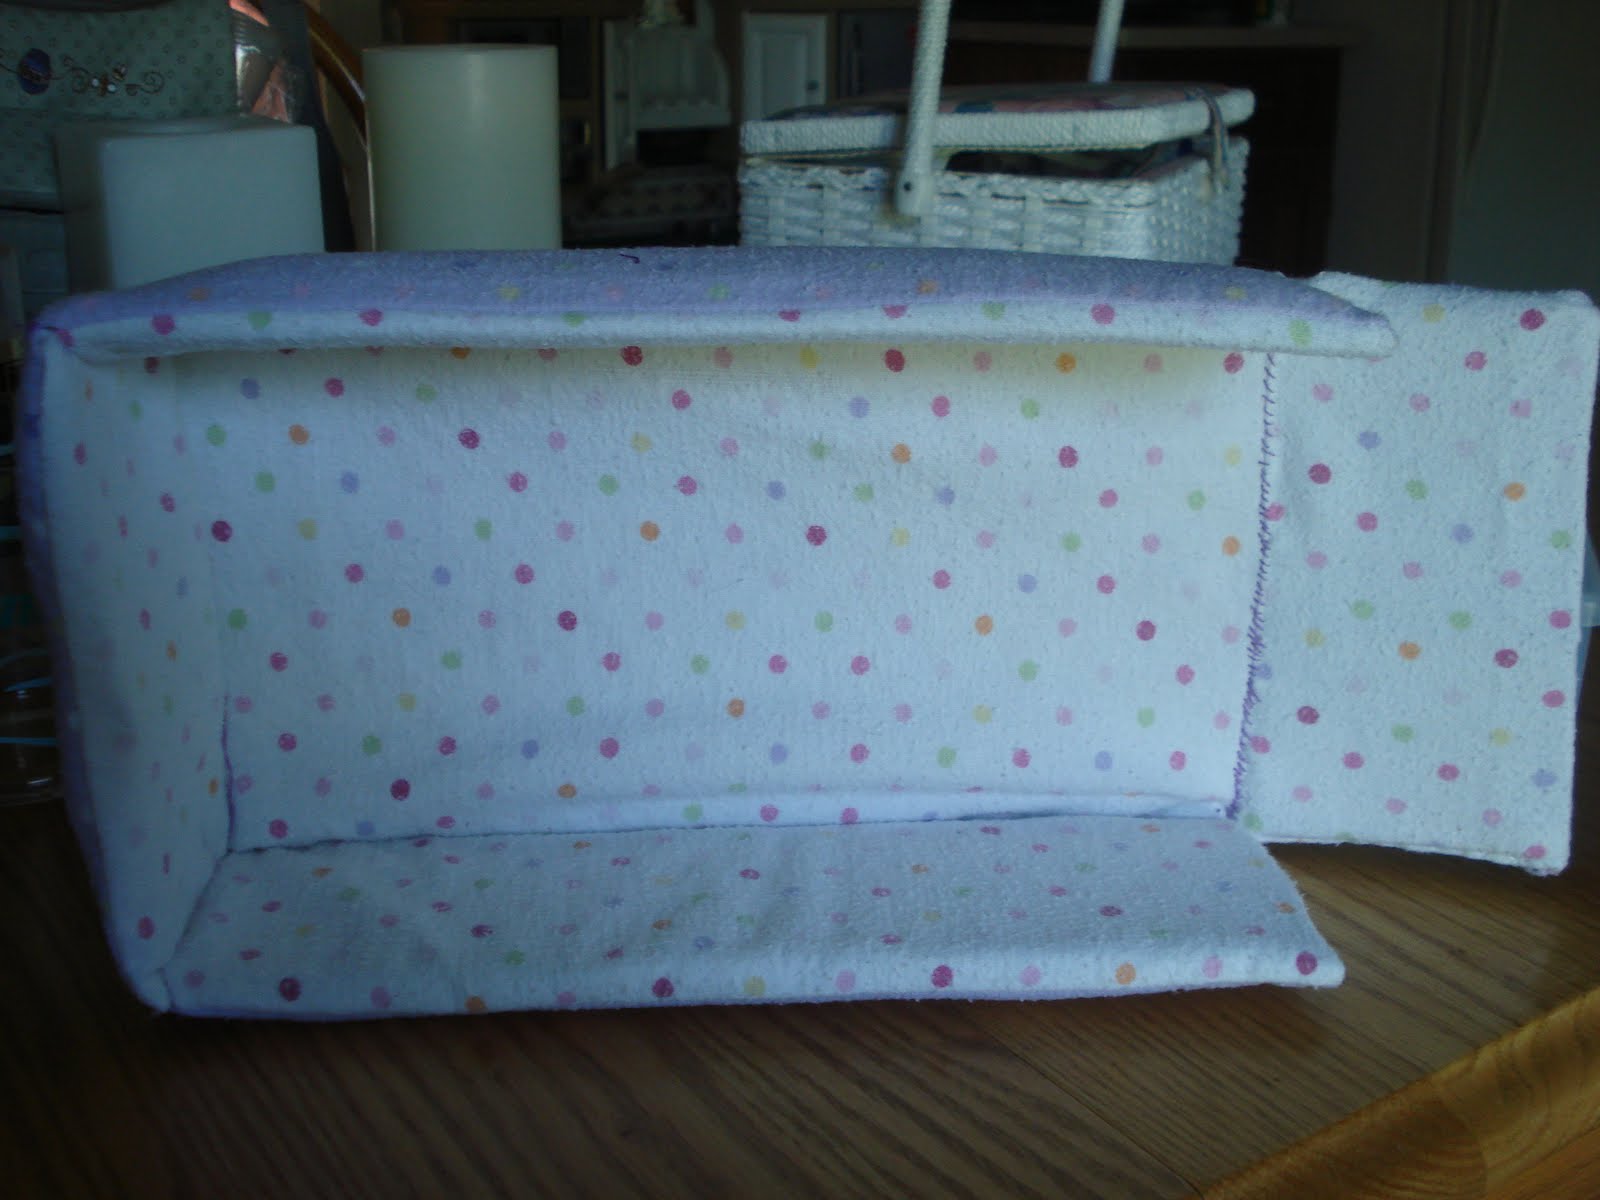
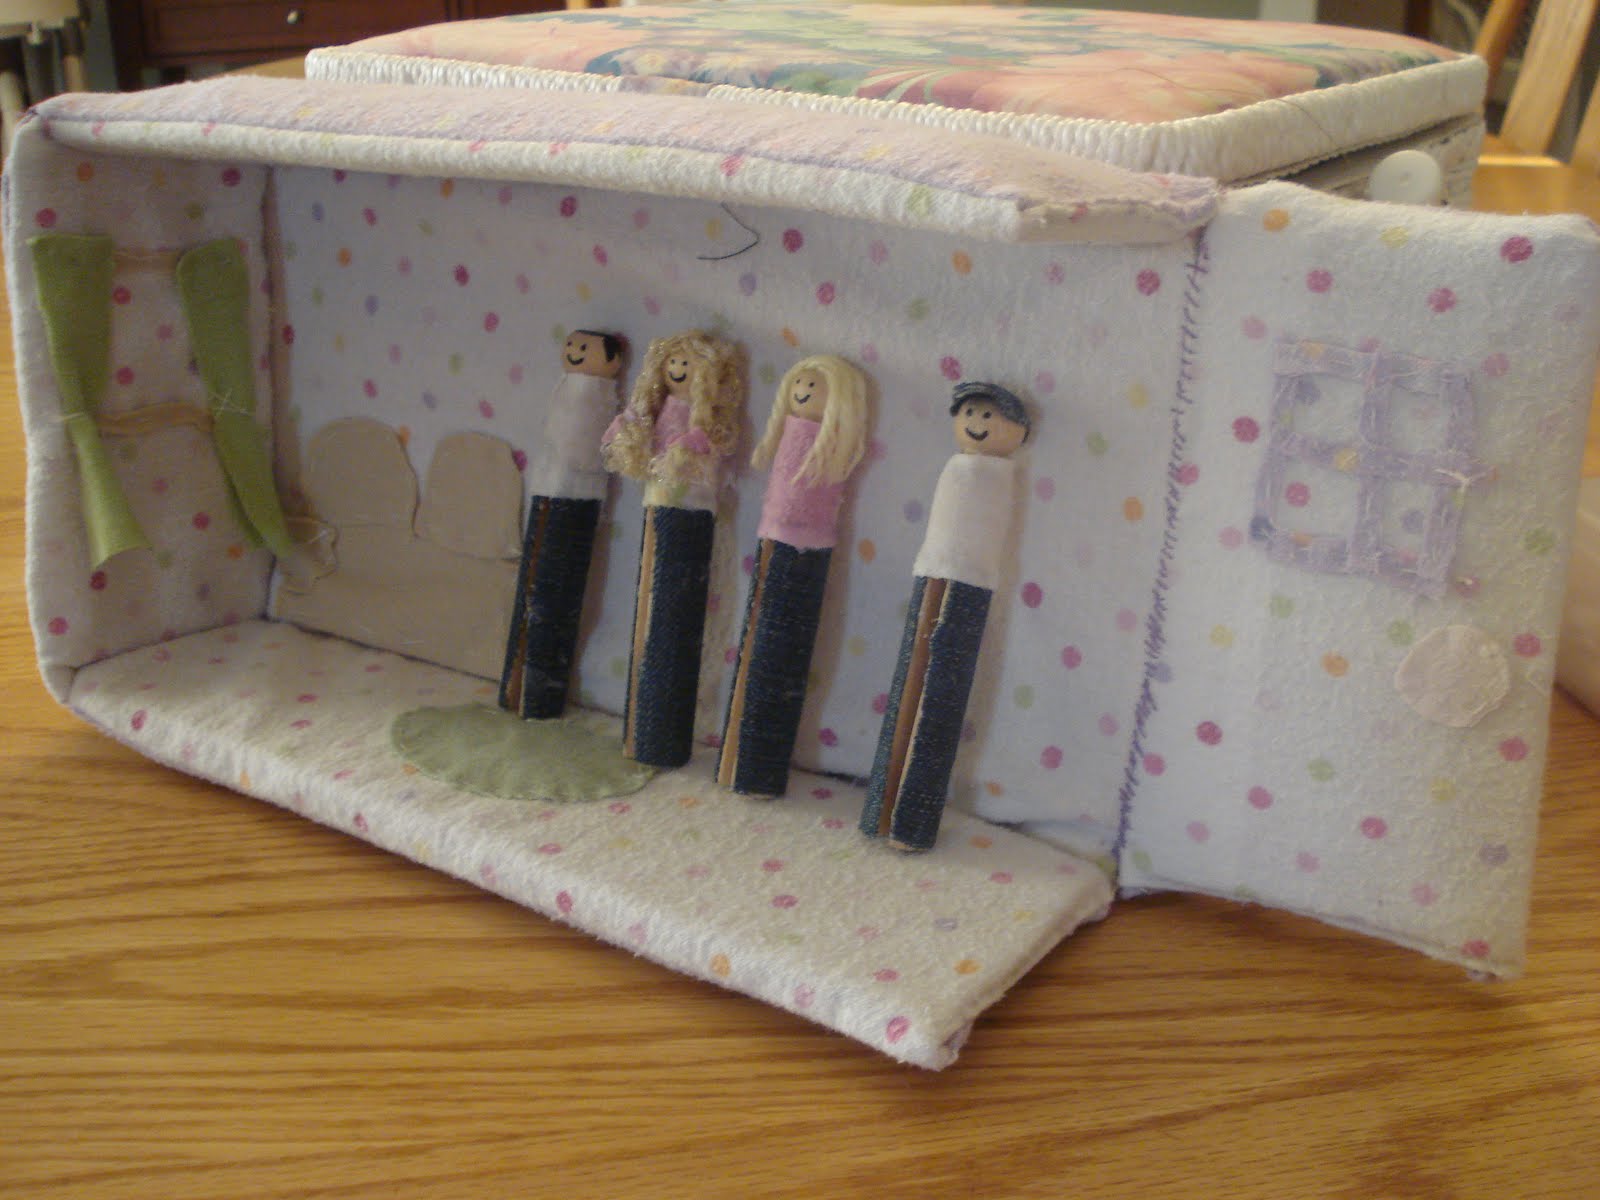
It’s done! Well, it could theoretically be done, but I still have some stuff I want to add. I just hand-stitched fabric scraps to the inside to look like windows and furniture. I wasn’t even that careful about it because I wanted it to look like it came straight out of a child’s imagination.

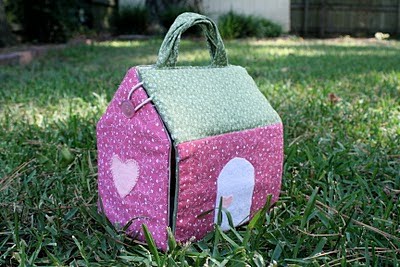
Here’s a picture with the door open:

And one with it shut:

There you go. Free puffy dollhouse with dolls, courtesy of mommy.

UPDATE:

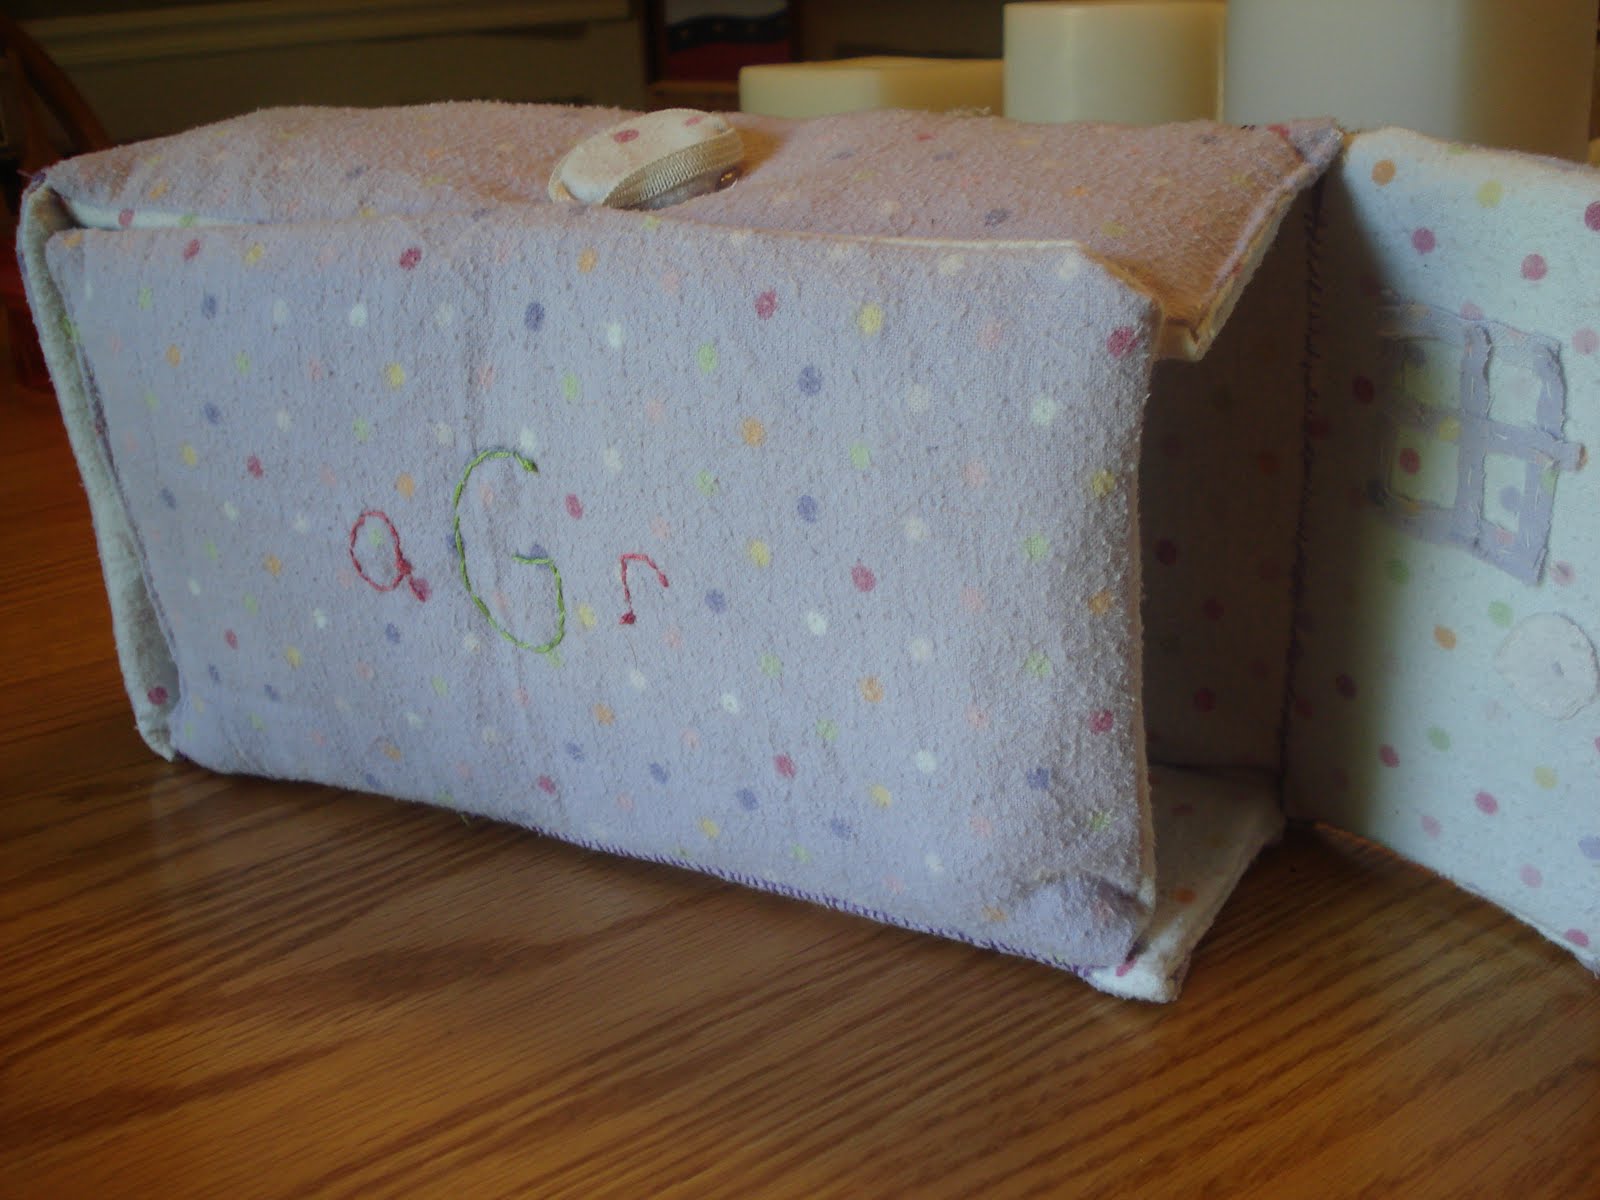
Ok, that’s better. I wasn’t satisfied with this one yet. It was looking a little too “I made this out of a shoe box” for my taste. I needed it to live up to the inspiration piece. So I took the lid frm the shoebox, gave it the same treatment with fabric and batting, and added a hinged front, just like the one from Little Page turners. I personalized the front with a monogram of my daughter’s initials. It closes around a fabric-covered button on the top.

Closed:

I could totally see making one of these into a mailbox. Maybe that will be my next project for Nicholas.
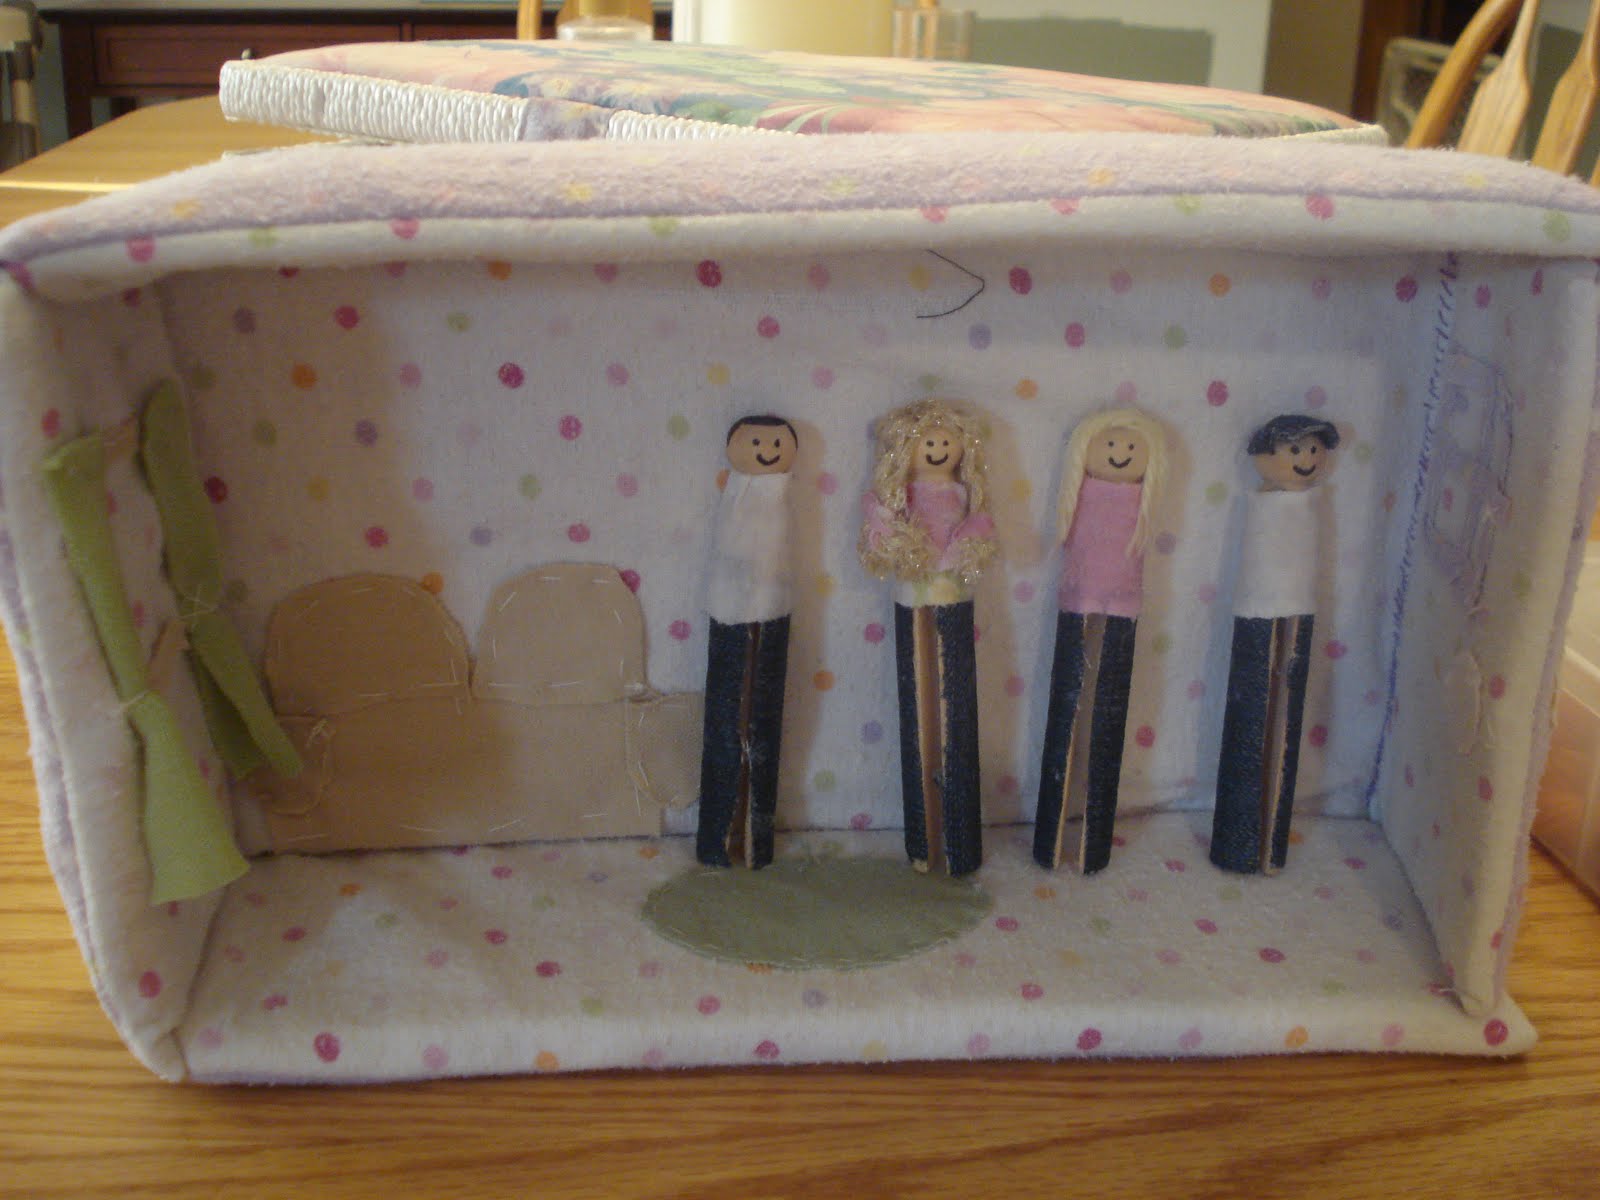
And open:

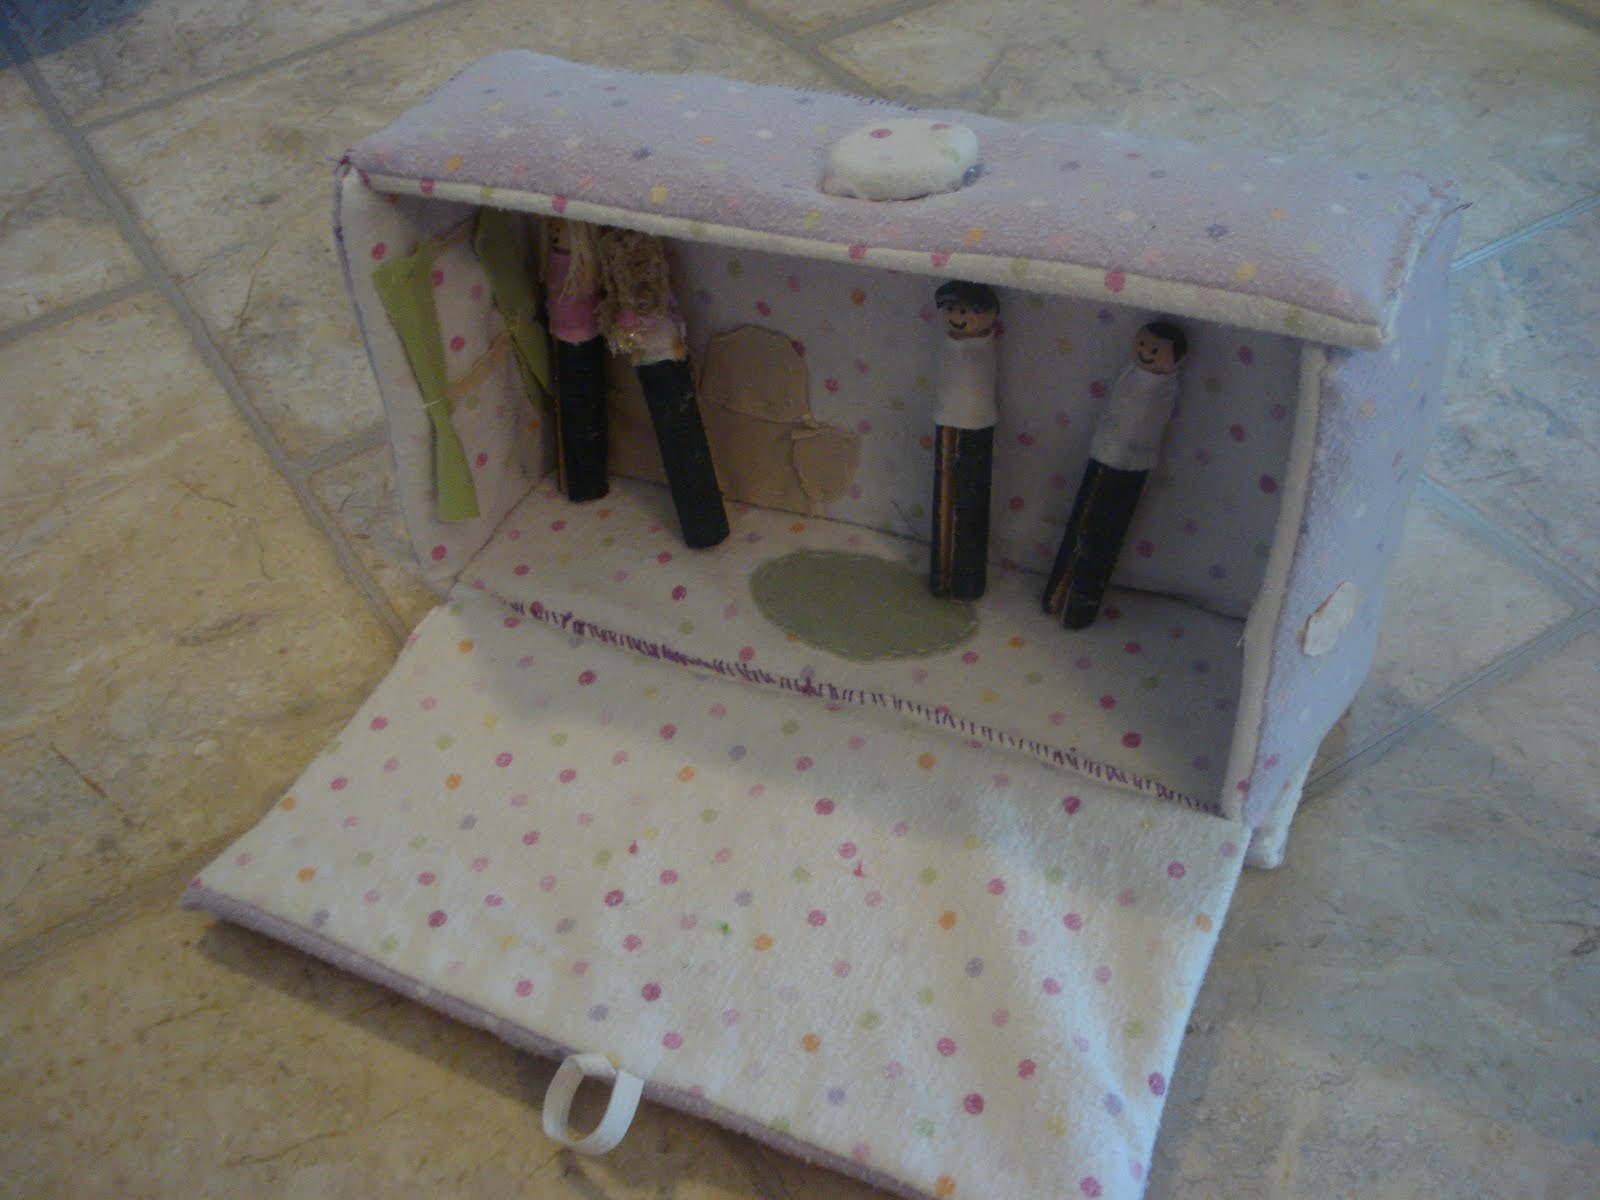
I also like that this gives more surface area to play with the dolls.

I feel better now.

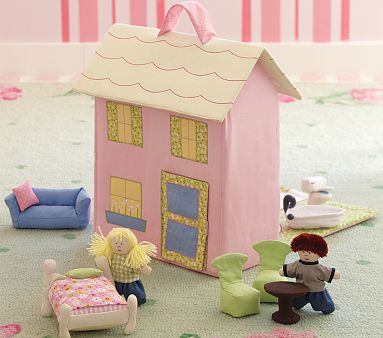
And I didn’t need to spend $49 on this Pottery Barn puffy dollhouse


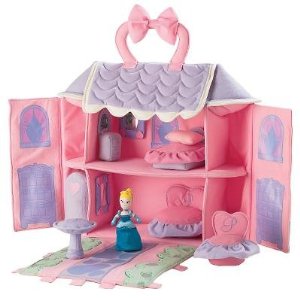
Or the $89 Amazon.com wanted for this one from Disney

I might still make some puffy furniture to go with mine. Either way, I saved at least $49, bringing my 3 day total to $127 in savings.

giveaways

Share this:

  • Click to share on Facebook (Opens in new window)
  • Click to share on Pinterest (Opens in new window)
  • Click to share on Twitter (Opens in new window)
  • More
  • Click to share on Pocket (Opens in new window)
  • Click to share on Tumblr (Opens in new window)
  • Click to share on Reddit (Opens in new window)
  • Click to share on LinkedIn (Opens in new window)
  • Click to print (Opens in new window)

Comments

  1. TheVirginiaHouse says

    July 29, 2010 at 11:20 am

    your kids are so lucky to have a mom so creative! Thanks for linking up to We can Do It Cheaper!

    Reply
  2. Christianne @ Little Page Turners says

    July 29, 2010 at 12:57 pm

    Love the dolls! And the idea of using spray adhesive is genius. Thanks for the shout-out!

    Reply
  3. Jenglamgirl says

    August 1, 2010 at 11:17 pm

    way to go mama… and to save money too! SUPER DARLING, LOVE IT! thNx FOr LinKIng Up tOo! Jenn

    Reply
  4. AUDRA says

    September 20, 2010 at 6:13 pm

    love it! visiting from the iron crafter!!

    Reply

Trackbacks

  1. Money Diet Christmas • Binkies and Briefcases says:
    March 5, 2021 at 12:32 pm

    […] A fabric house of her own, but this one will be more of a dollhouse like this. *UPDATE: I checked this project off my list and I didn’t have to shell out the $49 for the Pottery Barn version. Check out the fabric dollhouse HERE.  […]

    Reply

Leave a Reply Cancel reply

  • Facebook
  • Instagram
  • Pinterest
  • RSS
  • Twitter

Welcome! I’m Steph.

This is a little corner of the internet we like to fill with honesty, heart, and humor. Read More…

Cover for Binkies and Briefcases with Stephanie Giese
19,380
Binkies and Briefcases with Stephanie Giese

Binkies and Briefcases with Stephanie Giese

Stephanie Giese is an indie author based in Florida. She writes stories about realistic problems with humor, heart, and sass. Her work has a strong focus on mental health and consent. Her North Bay small-town romance series is set for release in 2025.

Binkies and Briefcases with Stephanie Giese

5 months ago

Binkies and Briefcases with Stephanie Giese
This one's on me, Bookworms! Grab your FREE book ... See MoreSee Less

Hello My Radiant RomCom Readers,

wix.to

I have fun news! For a limited time, as a special gift from me to you, the eBook version of Out of Left Field is totally FREE this week to download from Amazon. That's right, you don't even have to be...
View on Facebook
· Share

Share on Facebook Share on Twitter Share on Linked In Share by Email

Binkies and Briefcases with Stephanie Giese

6 months ago

Binkies and Briefcases with Stephanie Giese
Hello My Brilliant Bookworms ... See MoreSee Less

Hello My Brilliant Bookworms,

wix.to

I'm checking in from the pits of work-still-in-progress despair. (Book 3 is actually going pretty well, but I'm feeling dramatic today.) Way Off Base, Book 3 in my North Bay series, is set to go to th...
View on Facebook
· Share

Share on Facebook Share on Twitter Share on Linked In Share by Email

Reader’s Choice

Image HTML map generator

Follow Me on Pinterest

featured-on

What You’re Saying

  • 28 Best Stone Fireplace Ideas And Designs - Perfect Decor Place on DIY Stone Fireplace with AirStone
  • Kevin Hicks on How to Budget for Building Your Own Home
  • Amy on DIY Stone Fireplace with AirStone
  • Gendered clothing - GenderEd on A Target Intervention on Behalf of My Daughters
  • Wellshop Store on Dressing Our Daughters: How Target Responded to My Last Blog Post

Latest Posts

ALL I Never Knowed: The Book Is Here!

It’s finally here, in my hands. It has been a loooong time in the making, but our book, All I Never Knowed: Mental Illness, a Mother’s Love, and a Broken System, is available now. The official launch date is next Tuesday, Oct. 5th. But starting now, you can order from all major retailers. Here’s where […]

Share this:

  • Click to share on Facebook (Opens in new window)
  • Click to share on Pinterest (Opens in new window)
  • Click to share on Twitter (Opens in new window)
  • More
  • Click to share on Pocket (Opens in new window)
  • Click to share on Tumblr (Opens in new window)
  • Click to share on Reddit (Opens in new window)
  • Click to share on LinkedIn (Opens in new window)
  • Click to print (Opens in new window)

Save Money with Fetch

Hey everyone! This is Chelsea, Steph’s asistant, back with the simplest app for getting cash back on things you’re already buying! We’ve covered Ibotta, Shopkick, Coupons.com, Swagbucks and we’re all saving hundreds of dollars by now, right? RIGHT!? I’m really hoping you guys have jumped on the rebate app savings train because it’s just so […]

Share this:

  • Click to share on Facebook (Opens in new window)
  • Click to share on Pinterest (Opens in new window)
  • Click to share on Twitter (Opens in new window)
  • More
  • Click to share on Pocket (Opens in new window)
  • Click to share on Tumblr (Opens in new window)
  • Click to share on Reddit (Opens in new window)
  • Click to share on LinkedIn (Opens in new window)
  • Click to print (Opens in new window)

Splendid Spoon Review

I was excited to receive a box of products to try from Splendid Spoon this summer! They invited me to try their line of plant-based, ready-to-eat foods and delivered them right to my door. Check one in the pro column for convenience. I did receive these products free of charge in order to rate them […]

Share this:

  • Click to share on Facebook (Opens in new window)
  • Click to share on Pinterest (Opens in new window)
  • Click to share on Twitter (Opens in new window)
  • More
  • Click to share on Pocket (Opens in new window)
  • Click to share on Tumblr (Opens in new window)
  • Click to share on Reddit (Opens in new window)
  • Click to share on LinkedIn (Opens in new window)
  • Click to print (Opens in new window)

My Networks

#BlogHer15: Experts Among Us Voices of the Year Honoree