After completing all of the steps in Part 1 we are ready for day 2!
Day 2 steps:
1. Caulk all of the cracks with paintable caulk. It’s true what they say. This stuff really does hide a multitude of sins! To caulk just squirt the caulk into the crack, wipe off the excess with your finger, and then go back over the surface with a damp rag.
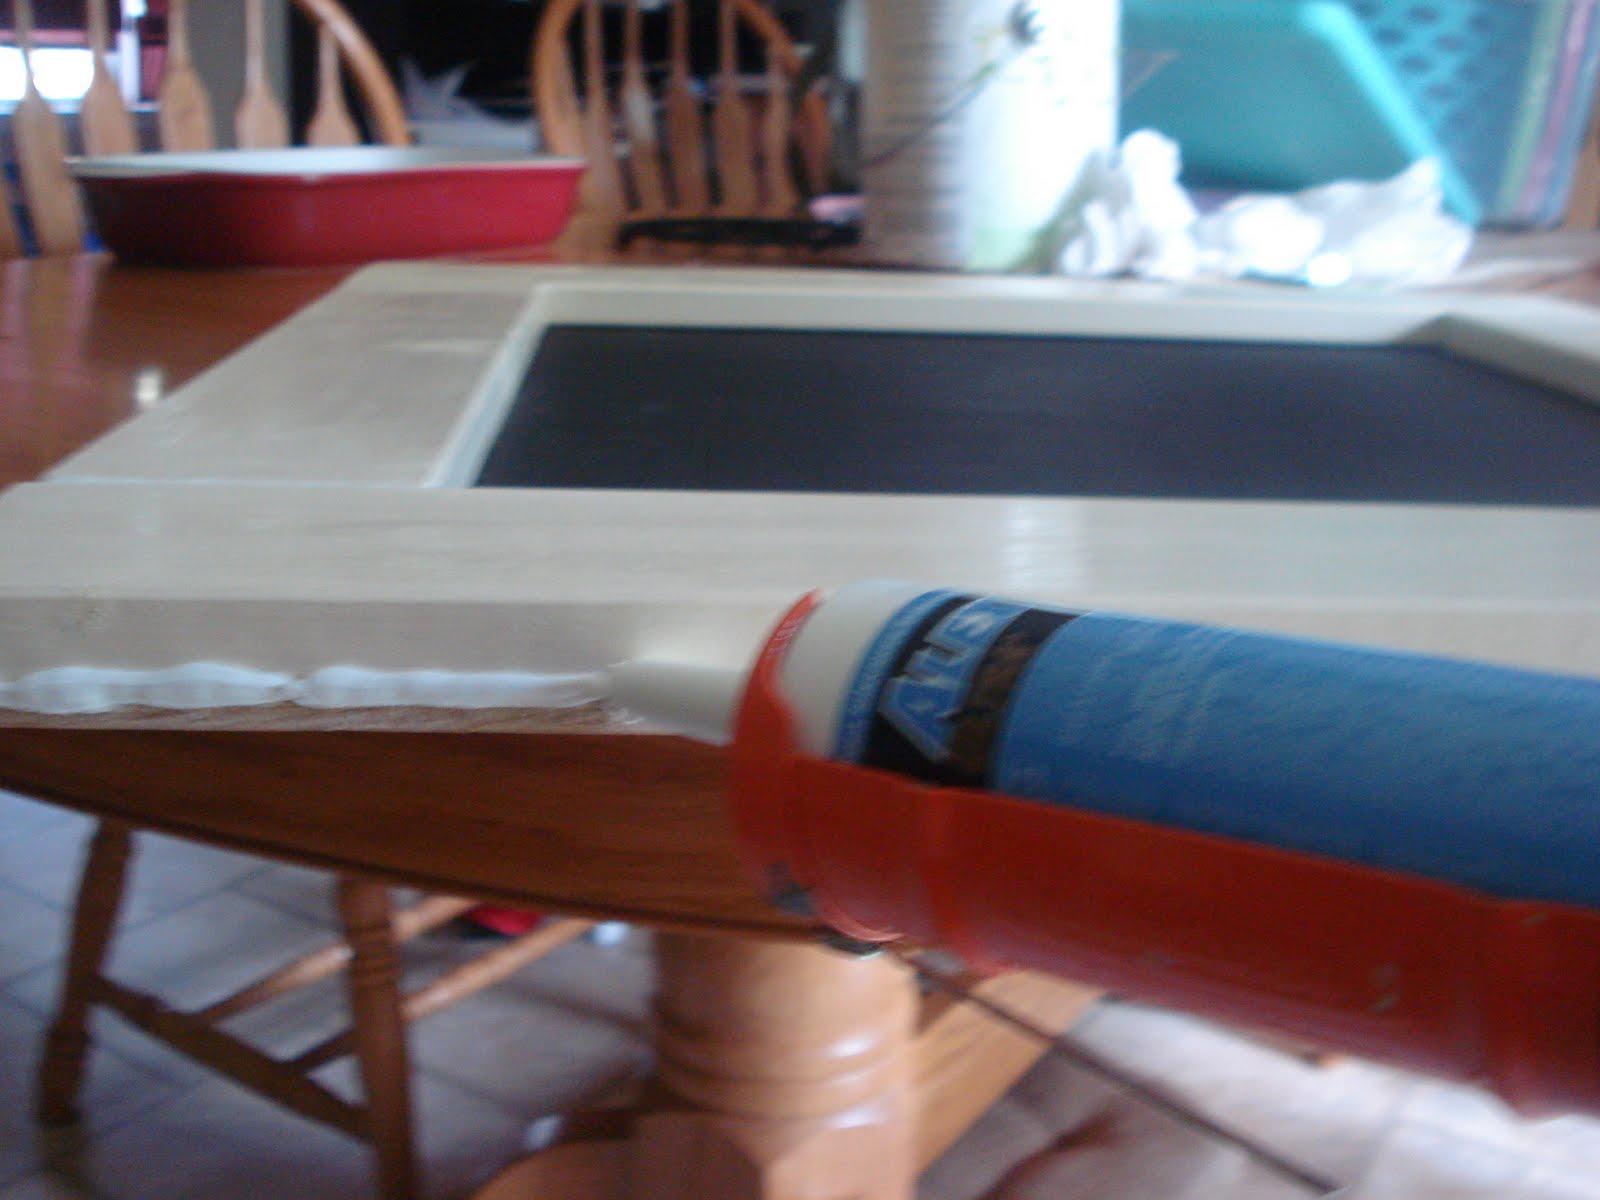
2. After the caulk dries, sand all of the edges again.
3. Put on another coat of paint.
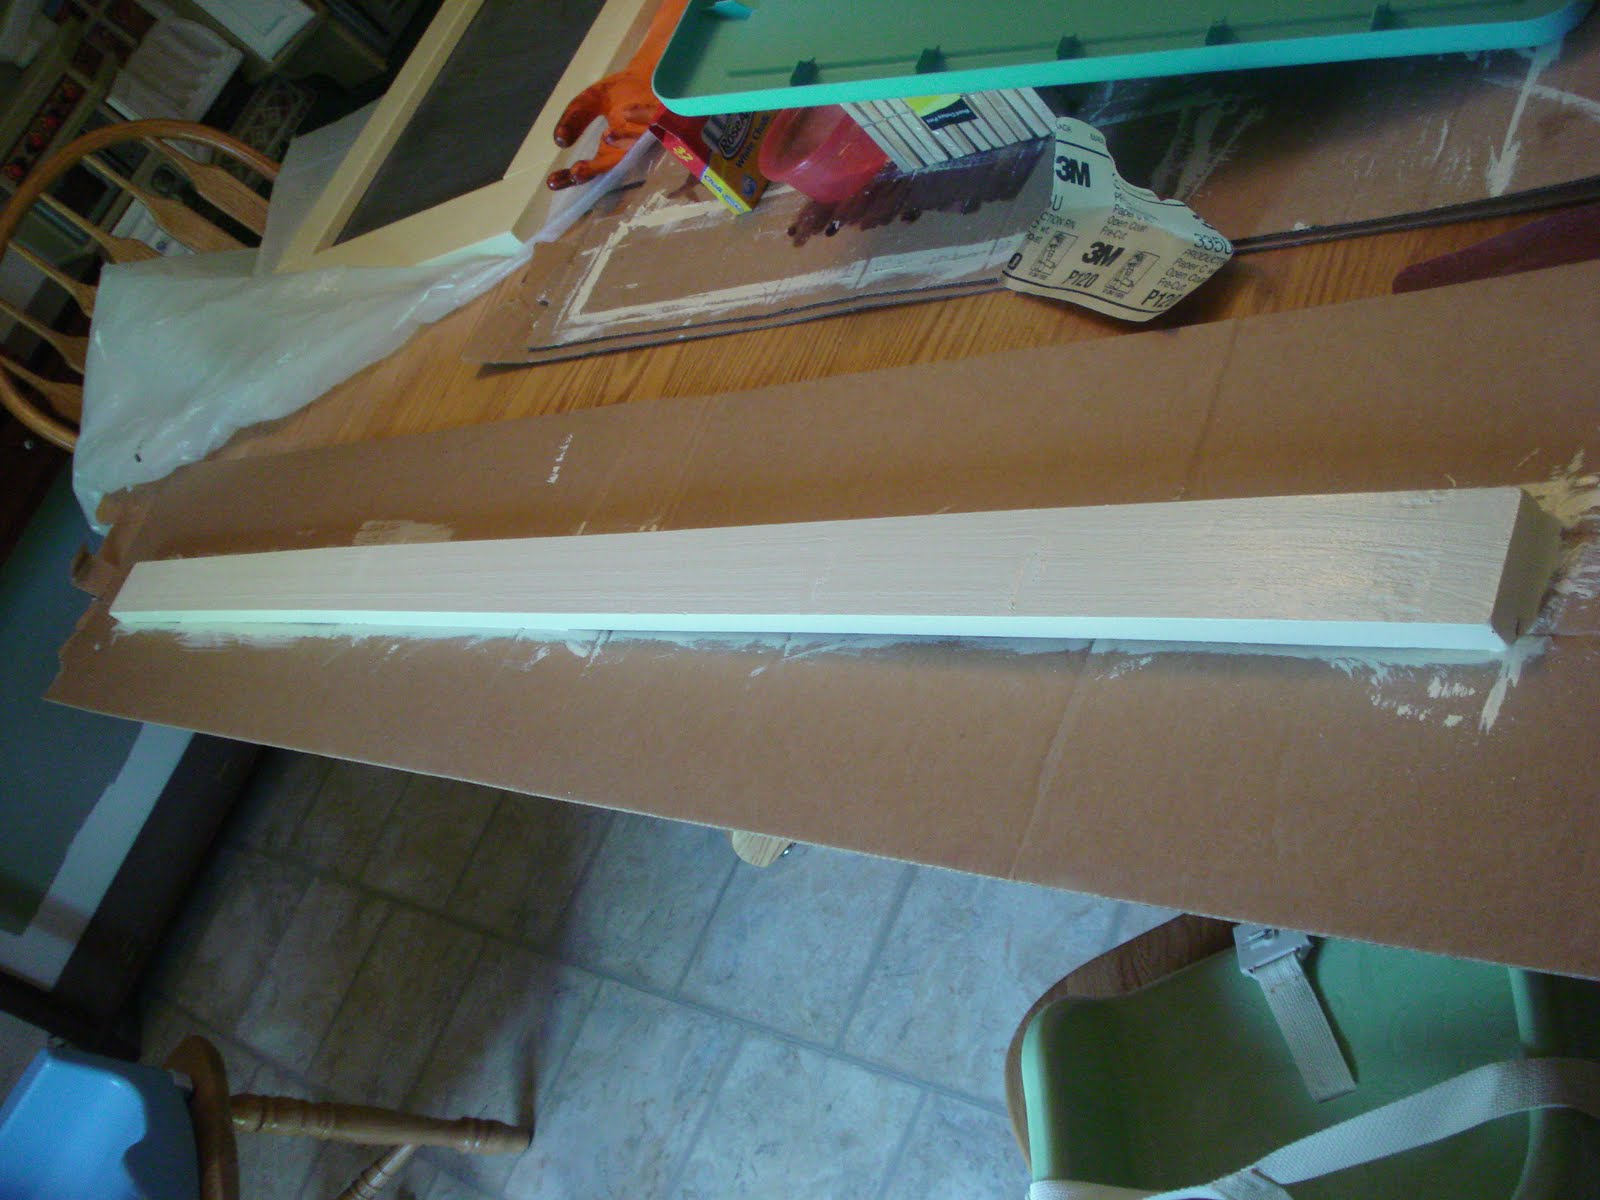
Ok…now we’re going to start on the art rail. I used a 1×3 because we already had one cut to the size I wanted, but you can have Lowes or Home Depot cut the extra piece of furring strip from the frame to whatever length you want yours to be.
4. Sand and paint your long strip of wood. This will be the clip rail.
I made things a little more complicated for myself. Originally, I was just going to antique the cream color with a little stain, but the more I did the more I decided I liked it darker.
To stain:
You will need a rag, gloves, a small paint brush, and the stain. I used Minwax stain & poly all-in-one in Bombay Mahogany.
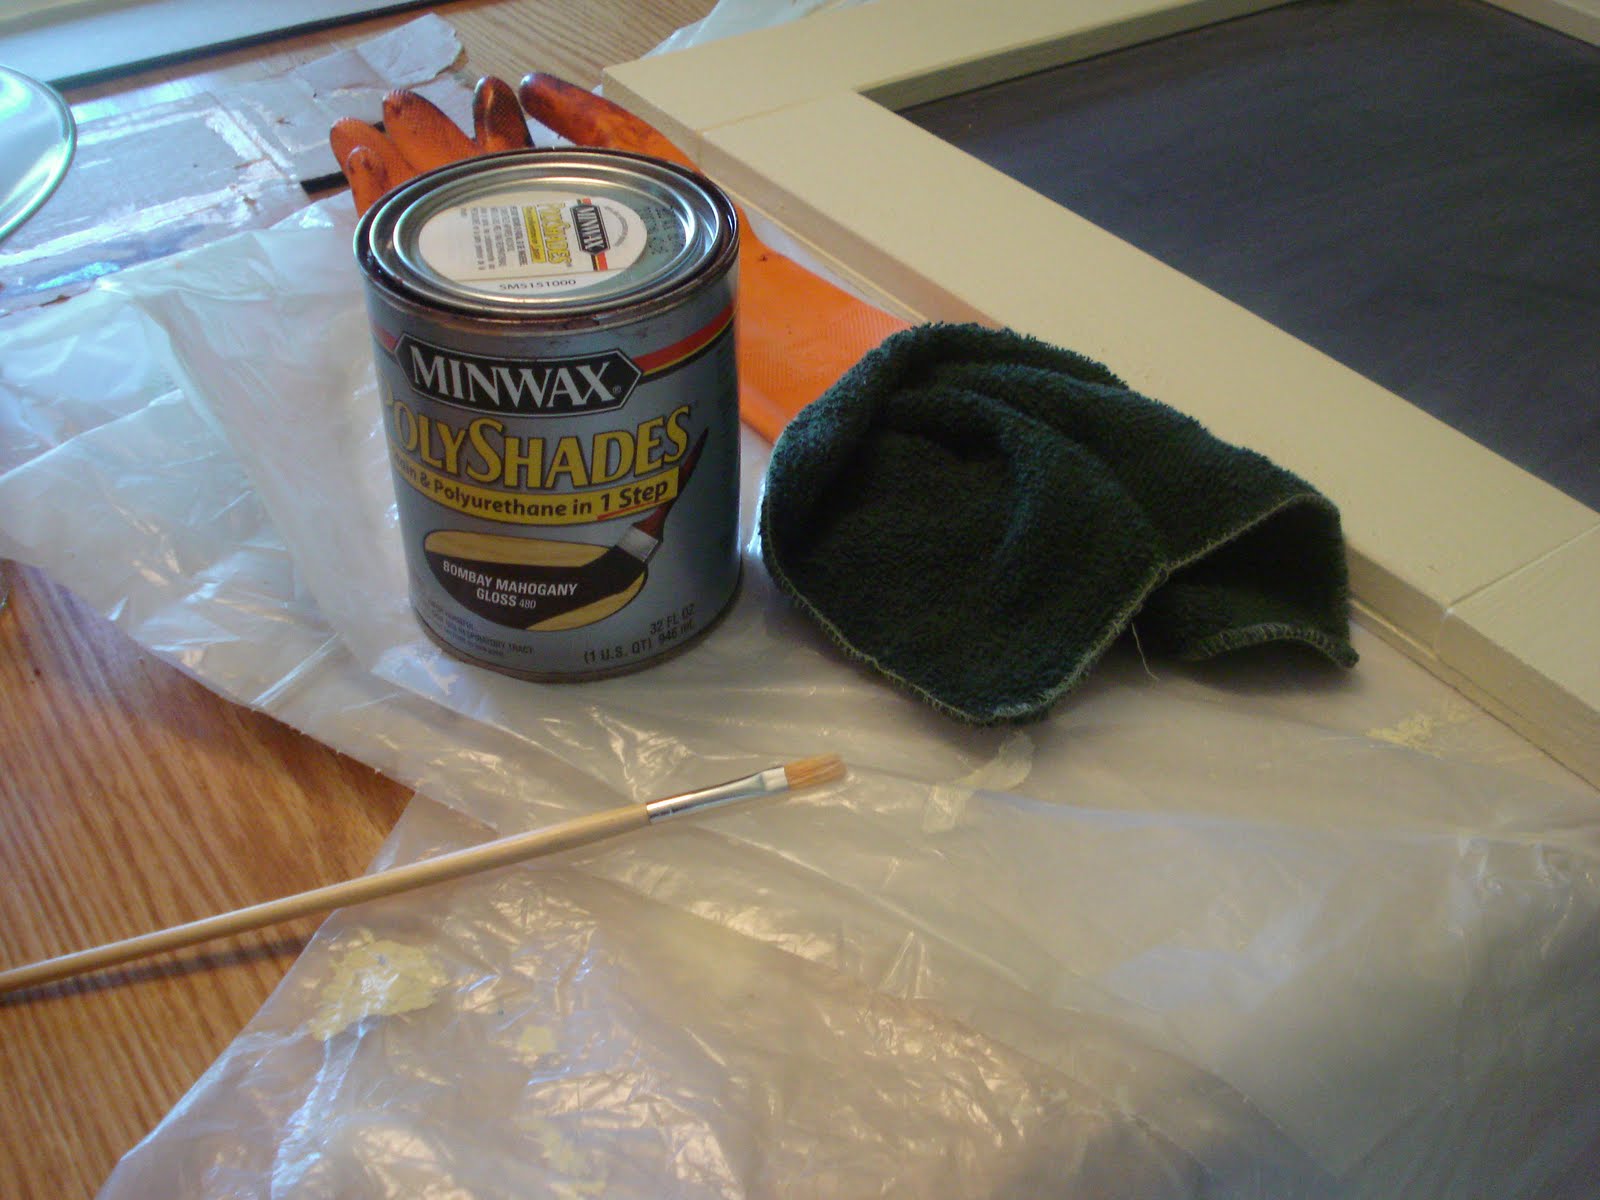
I like to rub the stain into the surface with a rag and use the brush for smaller areas, like the sides.
Ta-da.

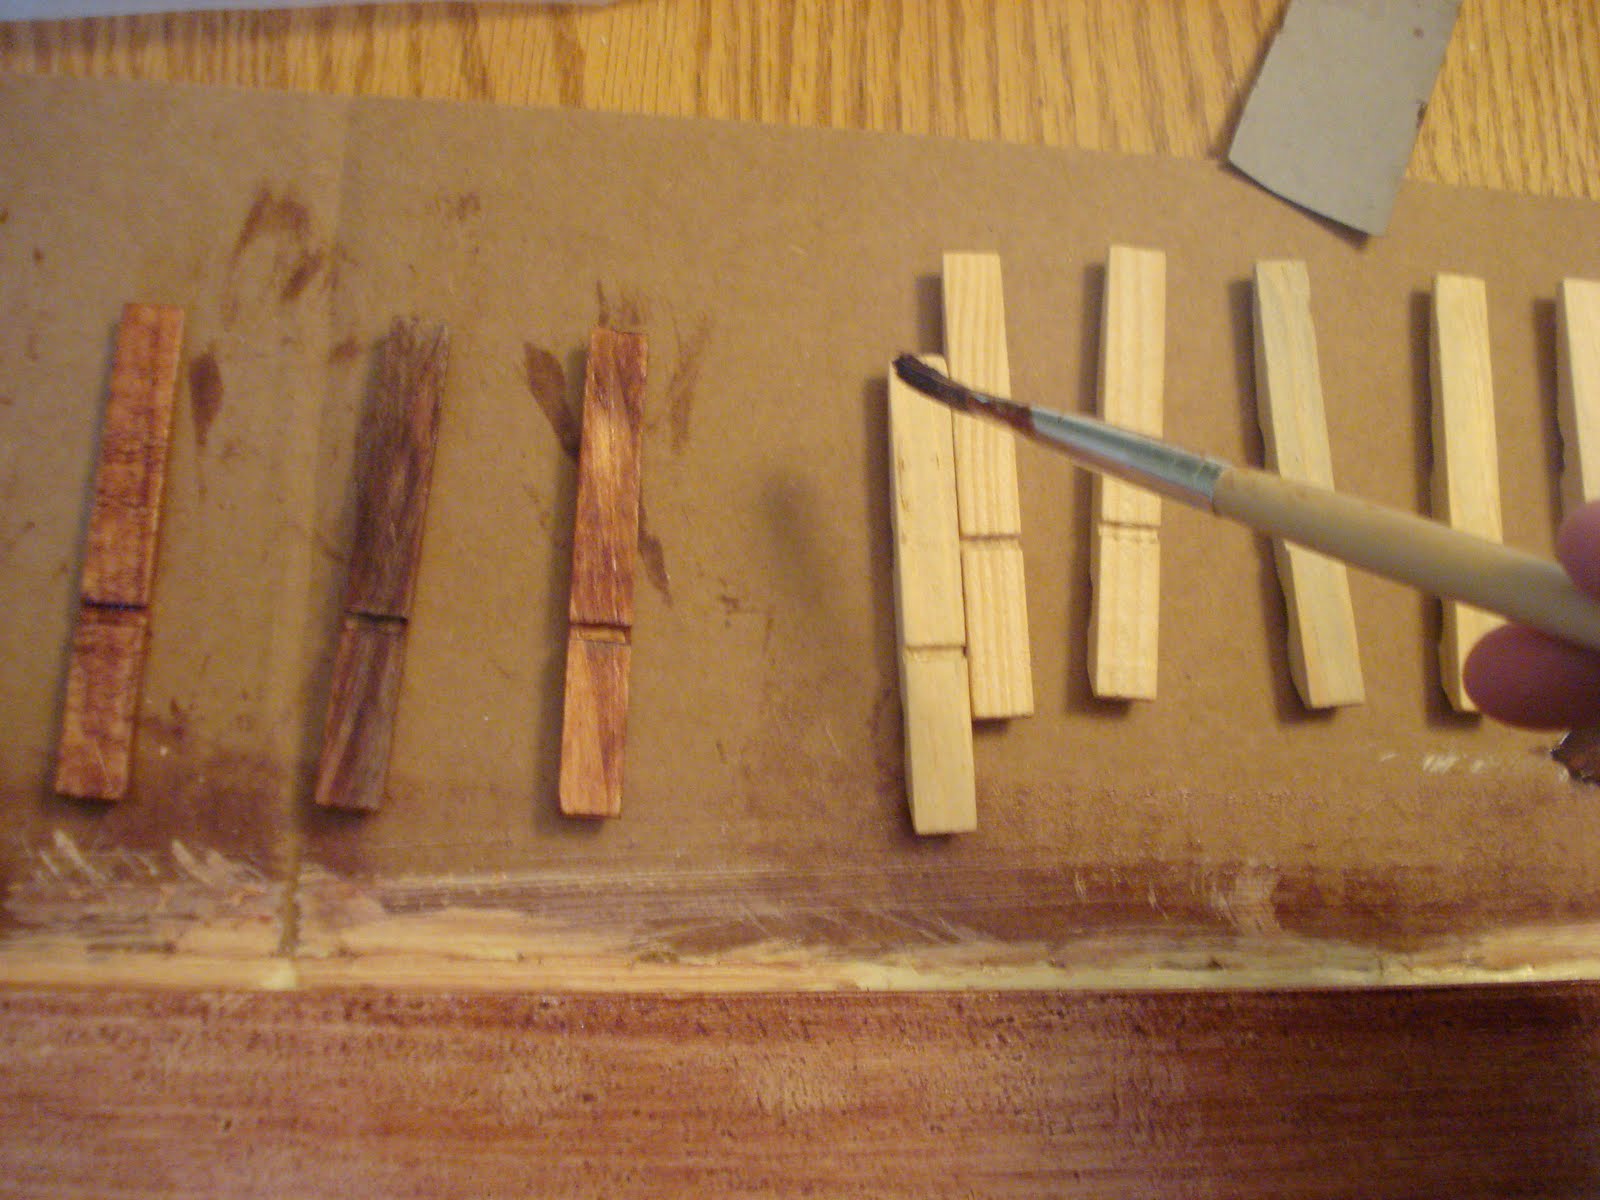
Now do the same thing to the clip rail.
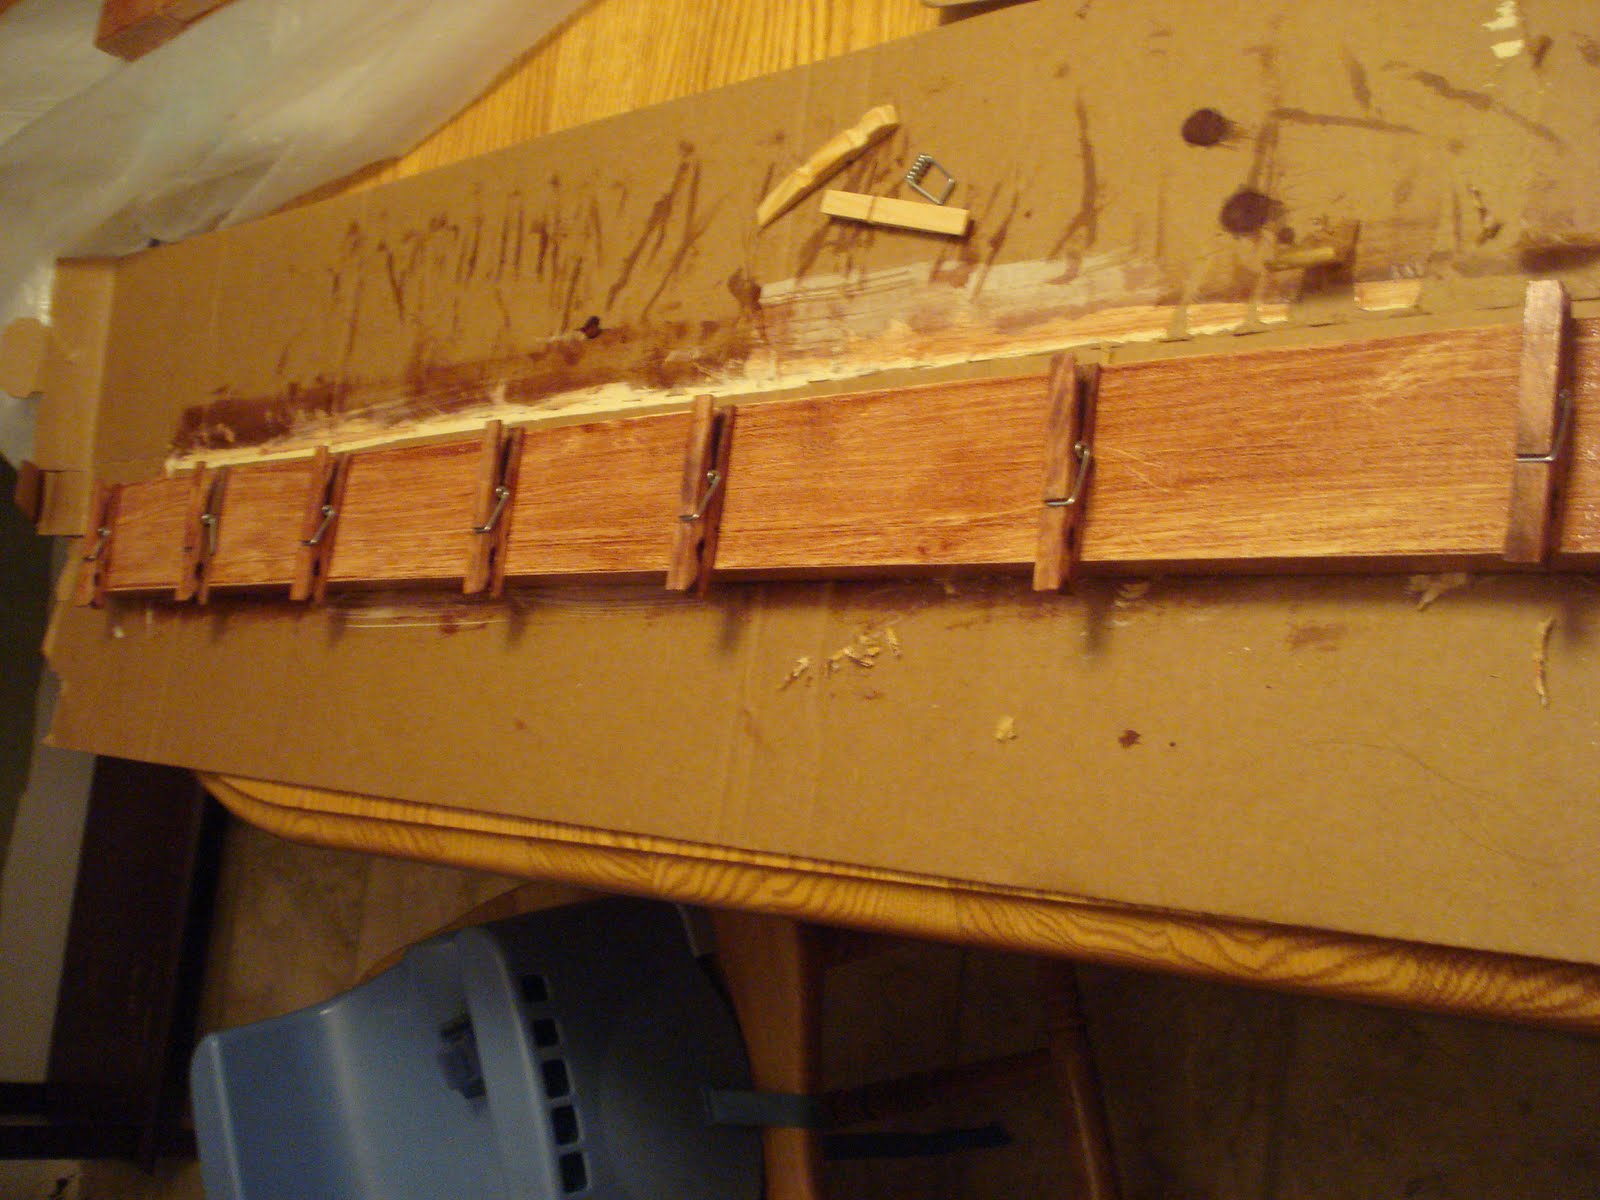
I also decided that I wanted to stain the clothes pins to match. This is way easier than it sounds. Just take the little metal things out, stain one side, and after it dies stain the other side. I used the paint brush for this. When both sides are dry, put the metal piece back in.
Ok, when the clothes pins are finally dry, the last thing you need to do today is use the paint brush to brush some wood glue onto the back of each clothes pin and stick the clothespins into the clip rail.


Leave a Reply