Chalkboards are super trendy lately, but my Aunt Charlotte has had chalkboards in her country home for as long as I can remember. They are such a great way to personalize your space. I still love it when we go to visit her and the chalkboard in the kitchen says “Welcome Steph, Eddie, Nick & Abby!”
Now that Nicholas will be starting preschool in a few weeks I wanted one where we could practice writing his letters, his name, shapes, etc. I also wanted a place to be able to display all those craft papers that will start coming home with him.
So I set out to make a matching chalkboard and clip rail, inspired by Knock Off Wood.
Why make my own? Because I like making stuff and I’m cheap. Chalkboards are freakin’ expensive! I don’t know why, but this one from CSN.com is $110.


Materials:
Chalkboard Paint $2.50 (It’s $10 a can, but you will only use about 1/4 of the can)
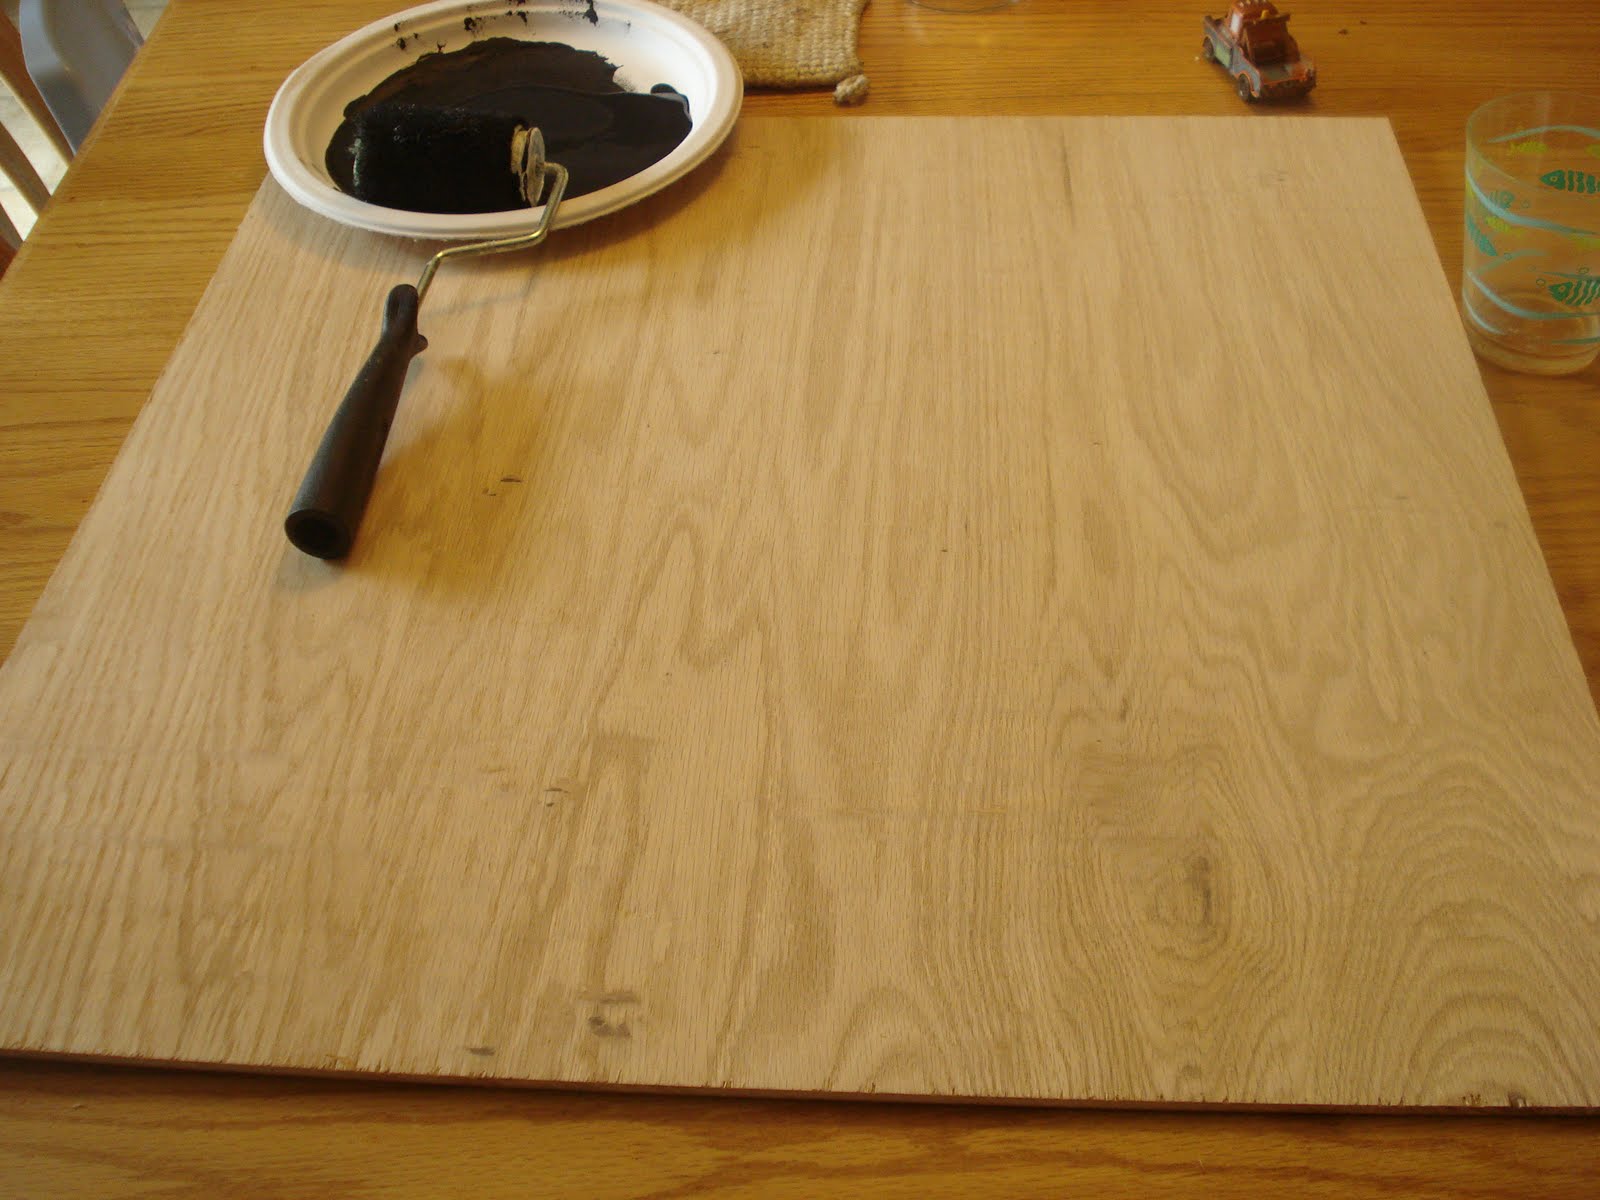
2’x2′ 1/4″ oak square, under $5 at Lowes.
2 furring strips, under $2 each- $3.75 (ask specifically for furring strips. They are about half the cost of the other boards.) Two is enough for the chalkboard frame and the clip rail.
Paint or stain $5 (You will only need about a pint. You can get oops paint very cheaply.)
Paintable caulk $3
Picture hangers $3
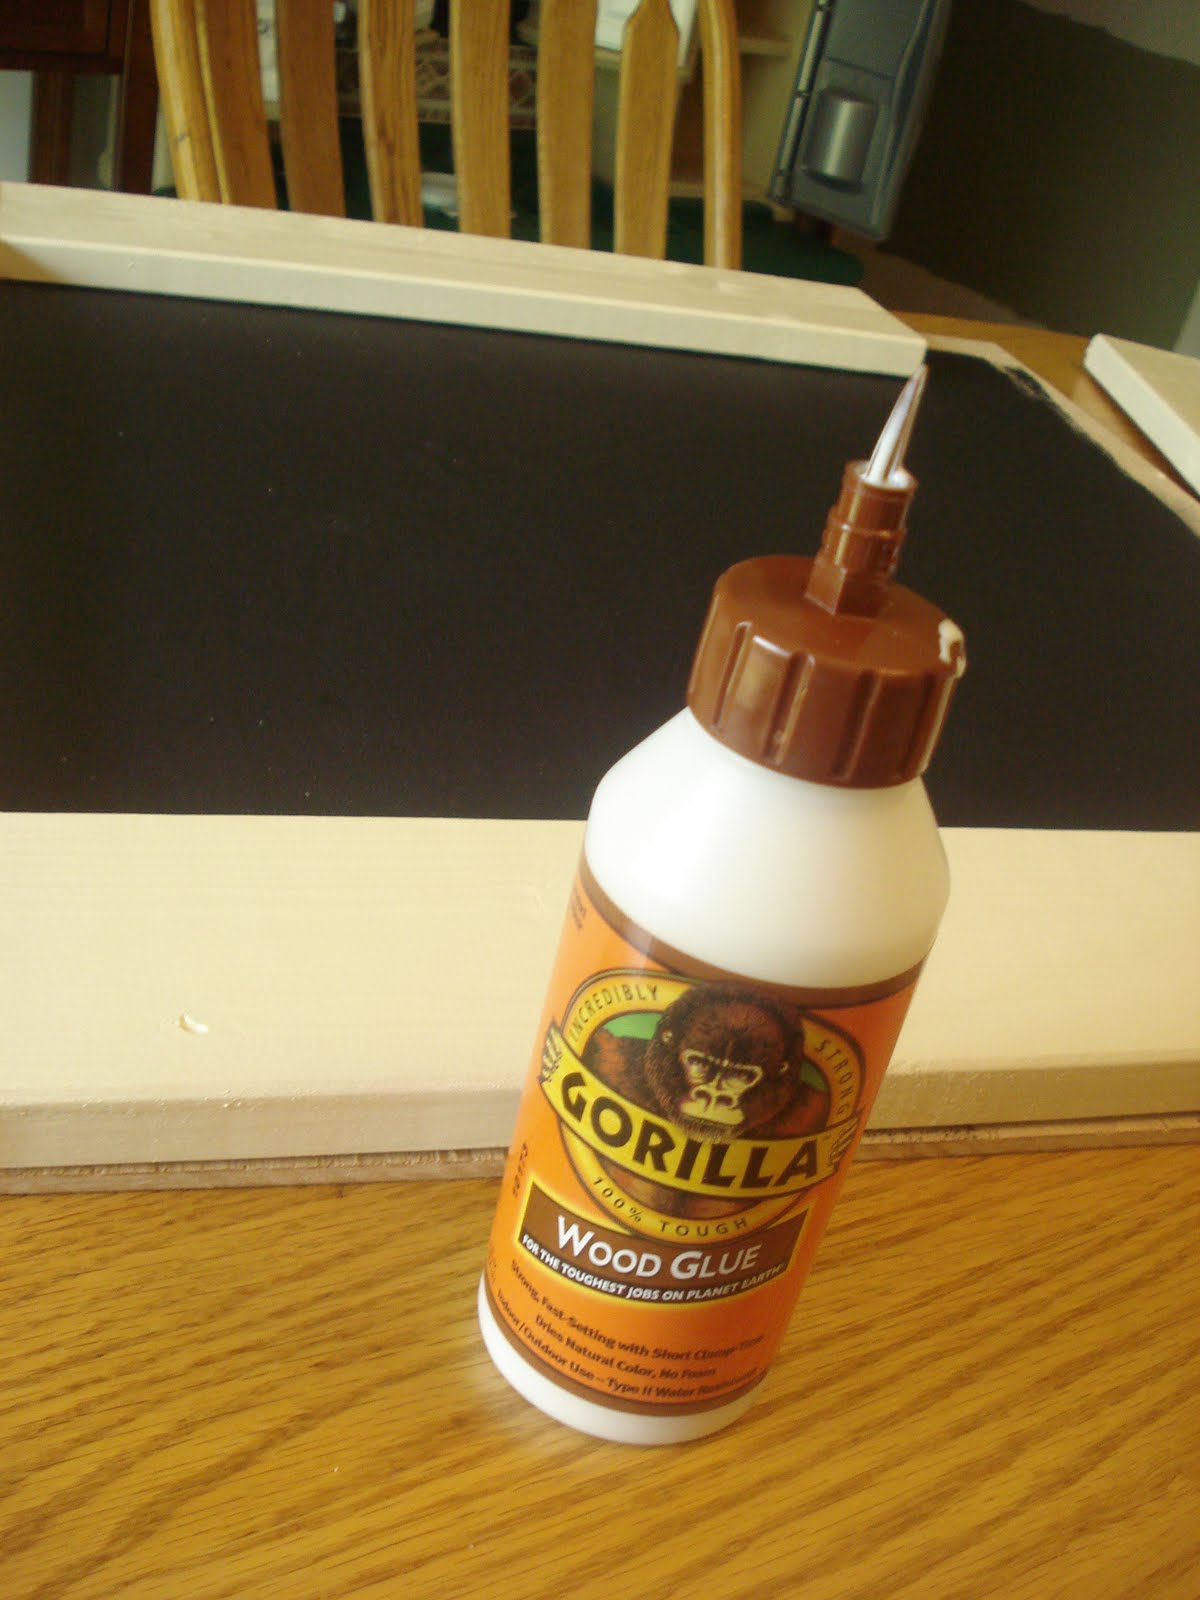
Wood Glue $6
Clothes Pins $1
Rag
Small paint brush (one that you are willing to throw away) & roller
Total: $29.25
And that will leave you with extra caulk, wood glue, paint, and probably some clothes pins for other projects.
Let’s get started!
It’s easy, but it takes a few days because there is a lot of wait time between steps.
Day 1:
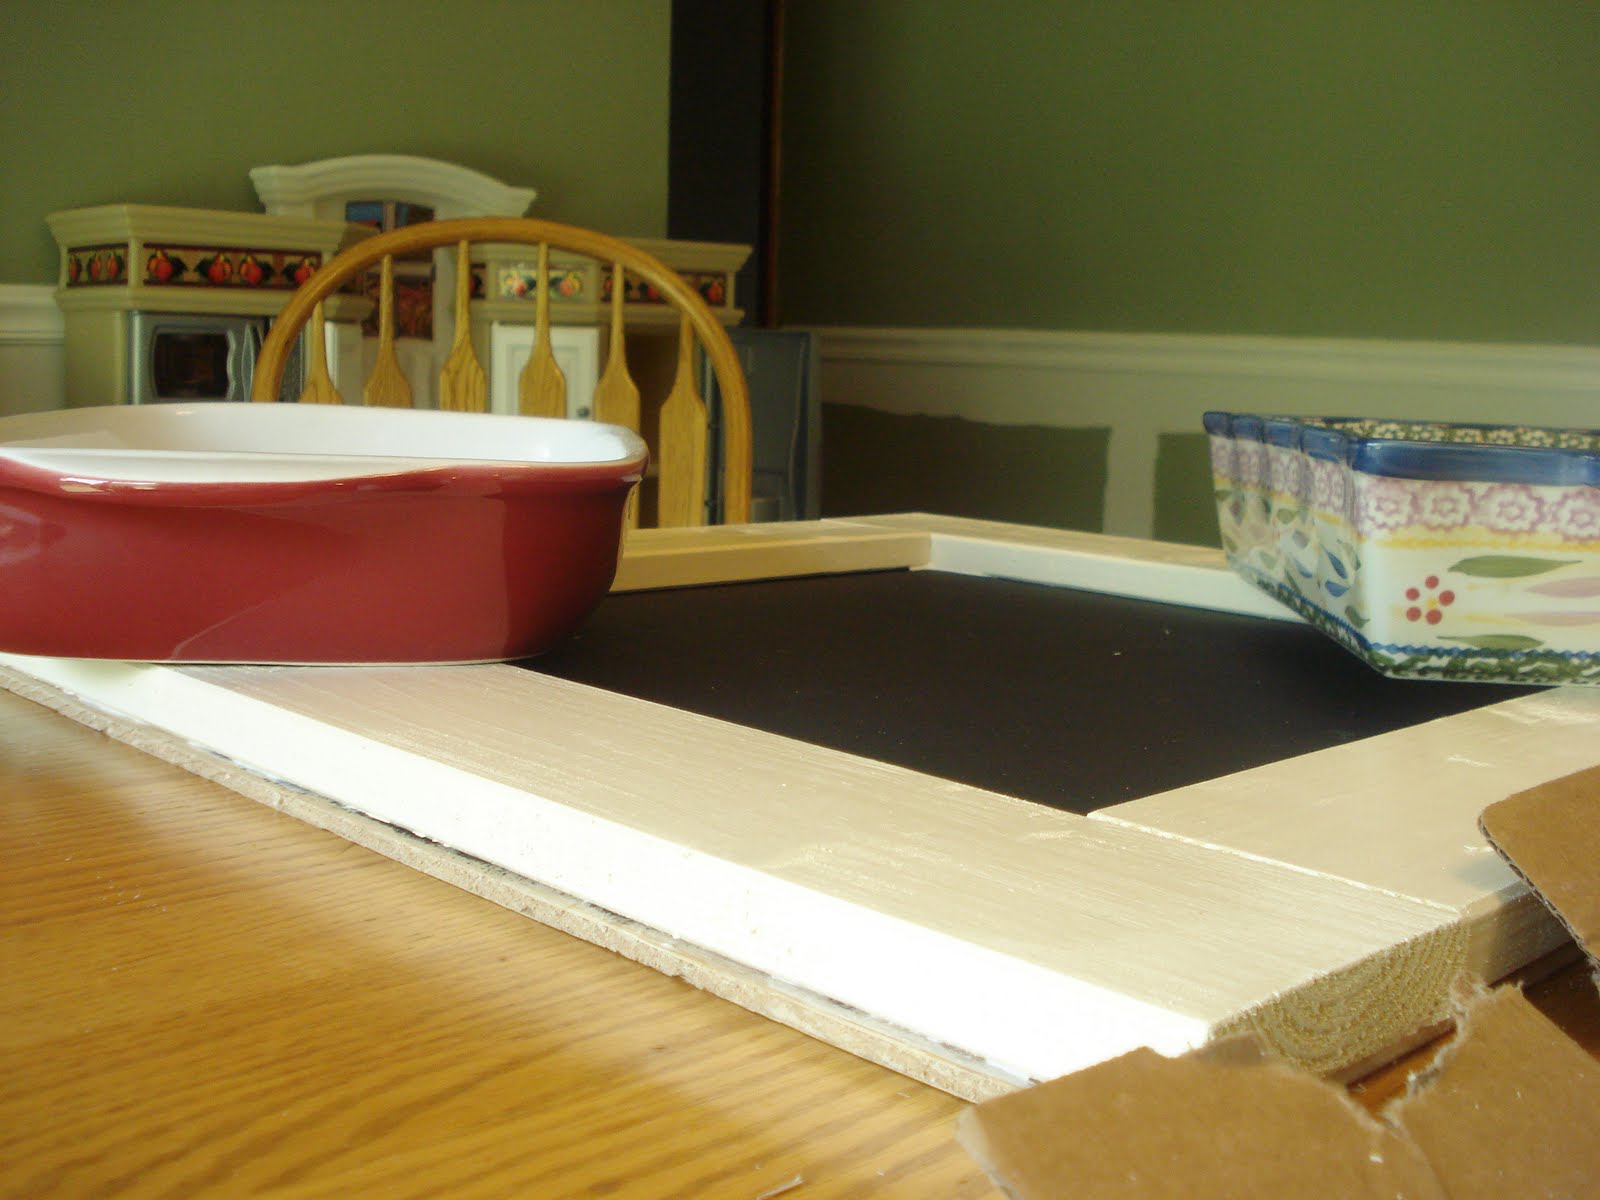
1. First I had them cut the wood for me at Lowes to fit around the oak square like a frame. 2 furring strips is enough to frame the square and have plenty left over for the art rail.
2. Then I rolled 3 coats of the chalkboard paint onto the square and let them dry for about an hour.
5. Then I stuck some heavy stuff on top like I saw Janell from Isabella and Max Rooms do when she built her message board.
Stay tuned to see my progress. 🙂
Update: Before painting make sure all your surfaces are sanded and wiped clean. Sorry, I forgot to mention that.


This is waaaaaaay late, but I wanted to thank you for mentioning the website “Picnik” on your post of July 22. I just tried it myself, and it is amazing. From now on our friends will be so envious of the super holiday pics that we can show them. (And I will pretend that it is all due to our super-cool and oh-so-cheap camera! Mum’s the word! Ha!)
So glad you tried it! I’m loving it too. I have been experimenting with out beach pictures all week! I also used it to create my new blog header. 🙂