Binkies and Briefcases

SUBSCRIBE

  • About
    • Work With Me!
      • Blog & Small Business Consulting
    • Disclosures
  • Popular Posts
  • Adoption & Special Needs
  • Saving Money
  • Recipes
    • Breads
    • Breakfasts
    • Sides
    • Soups
    • Entrées
    • Desserts
  • For the Home
    • For the Home
    • Beauty
    • Crafts
      • For Kids
  • My Books

Chalkboard & Clip Rail: Part 3

August 18, 2010 By: Stephanie3 Comments

If you're new here, you may want to subscribe to my Email Newsletter. Thanks for visiting!

Welcome back! Be sure to check out my Email Newsletter. Thanks for visiting!

Day 3

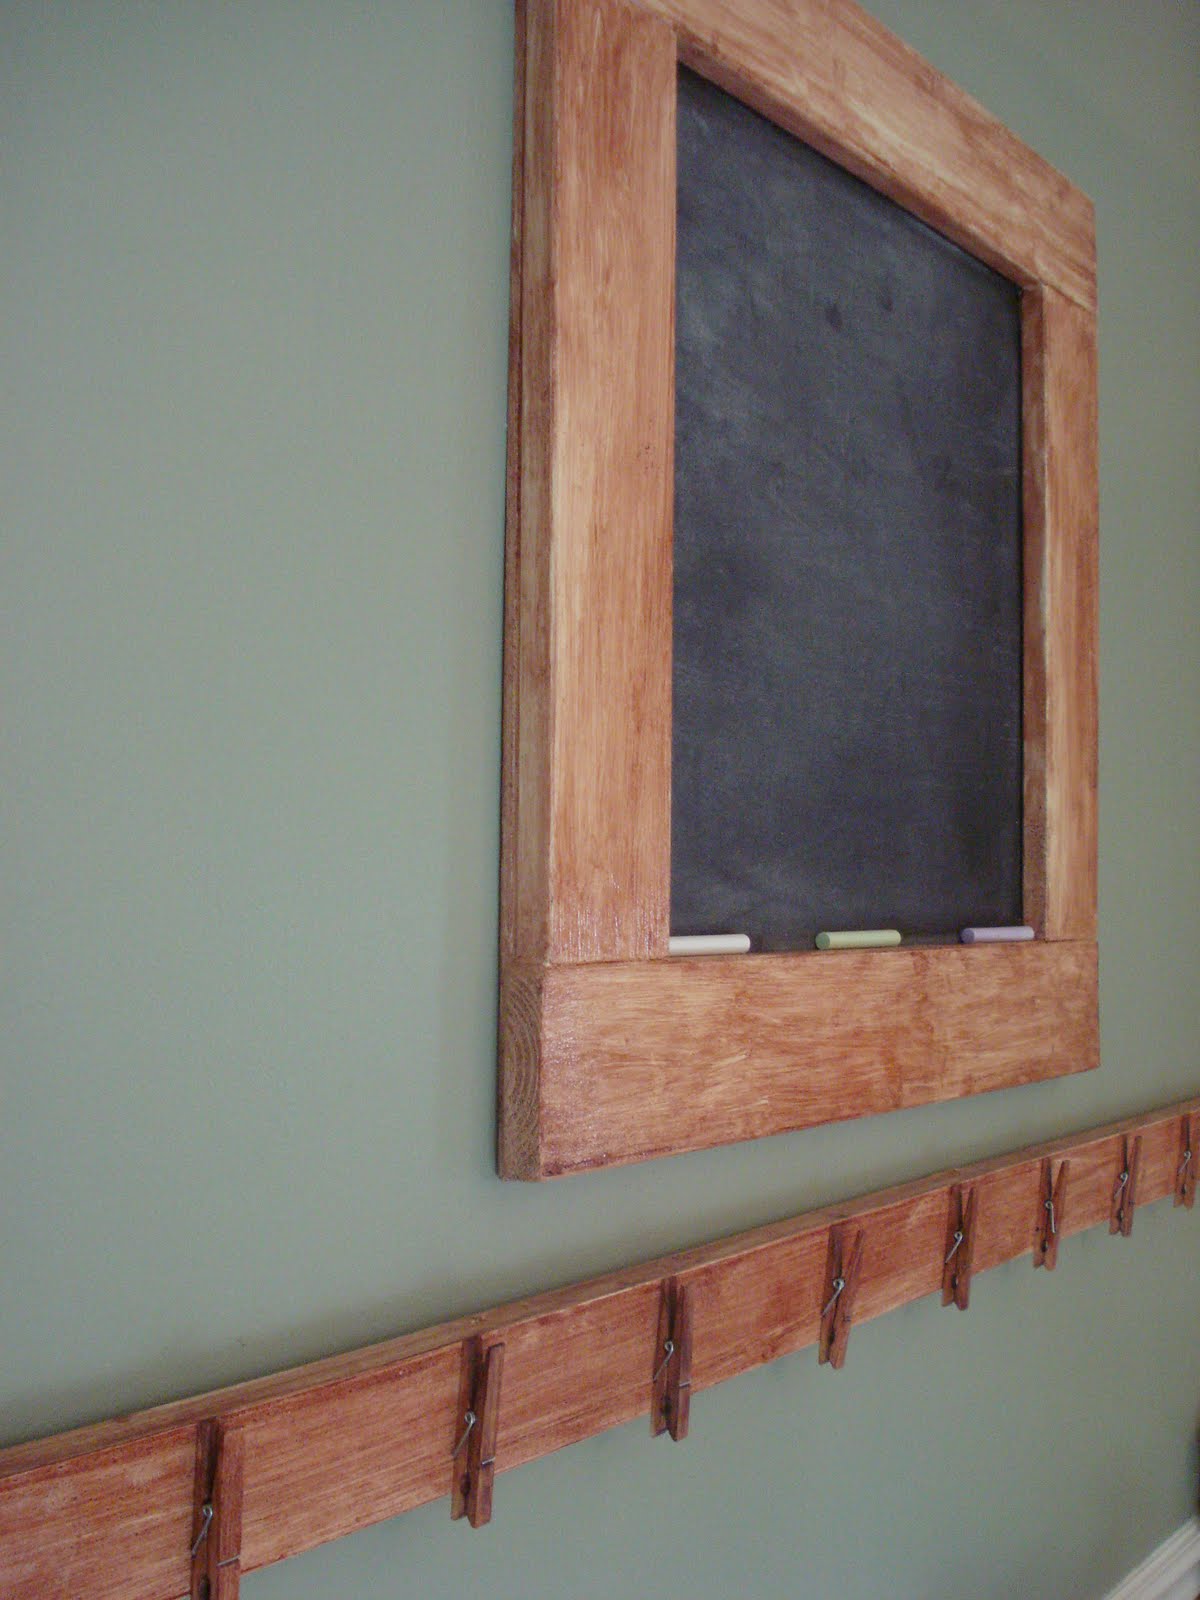
The big reveal….Here it is in all its glory.

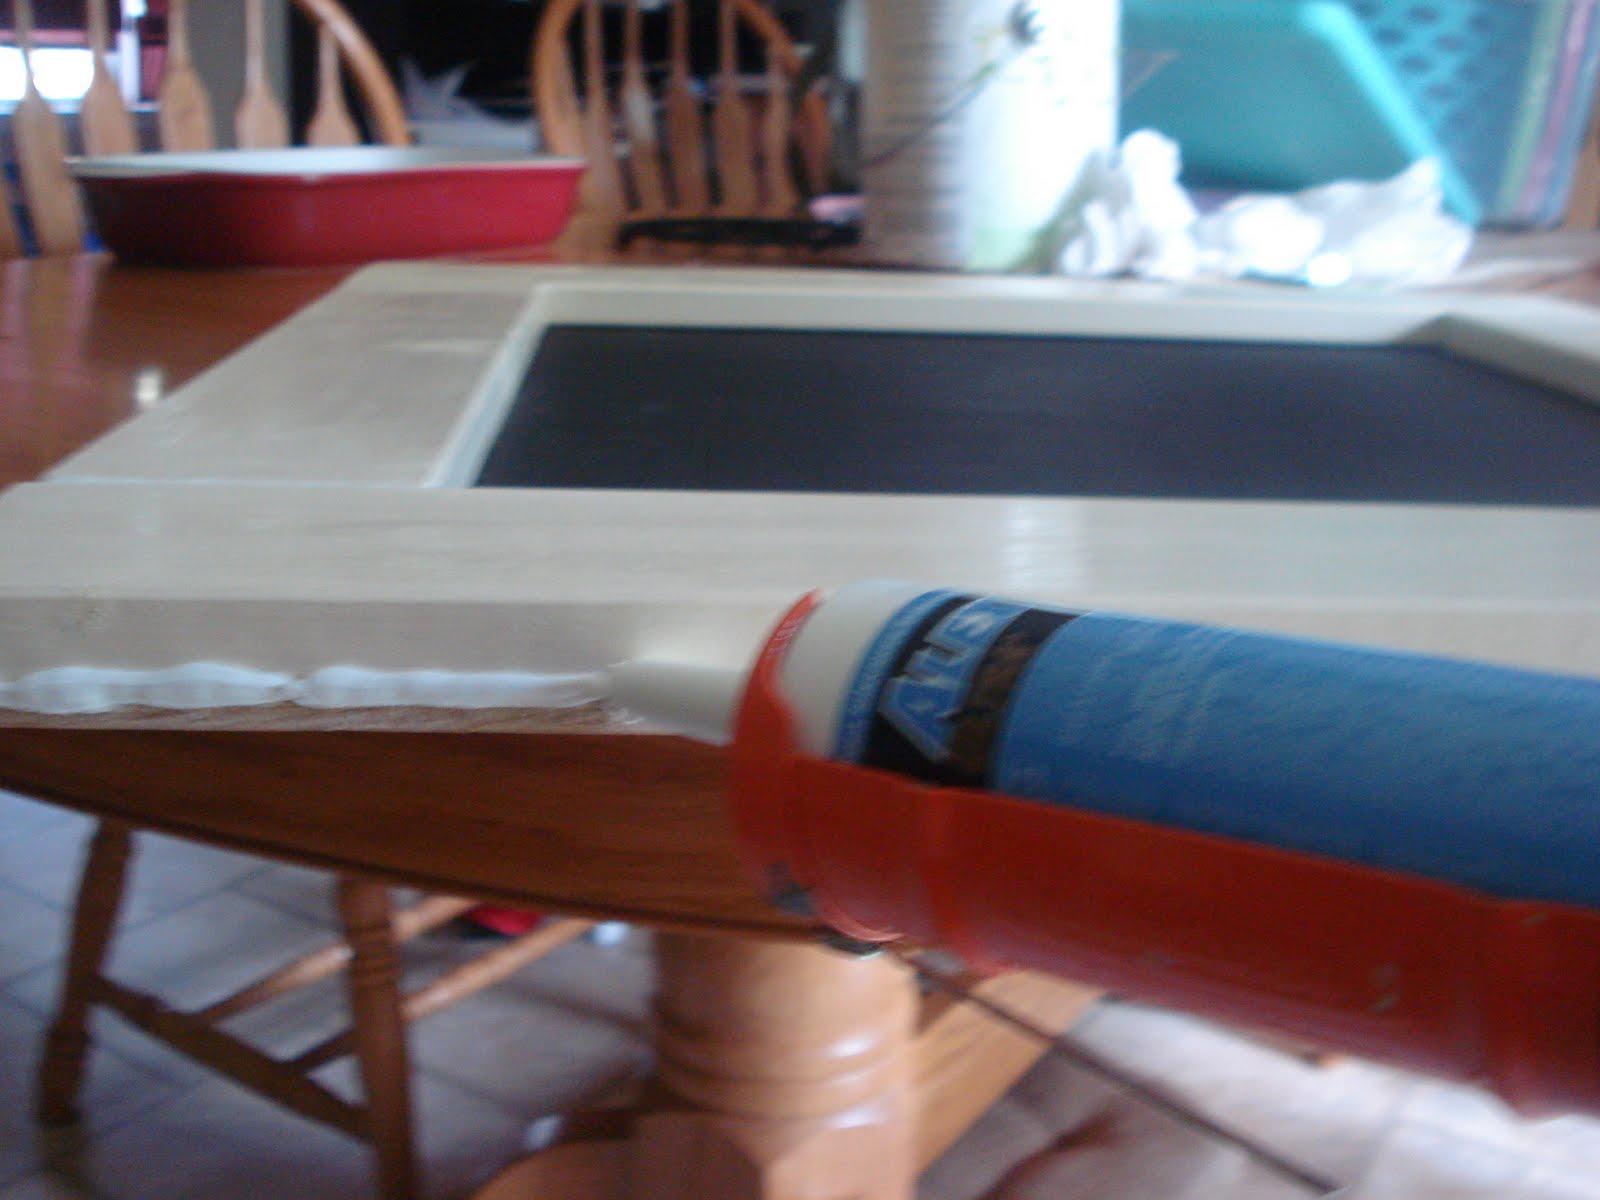
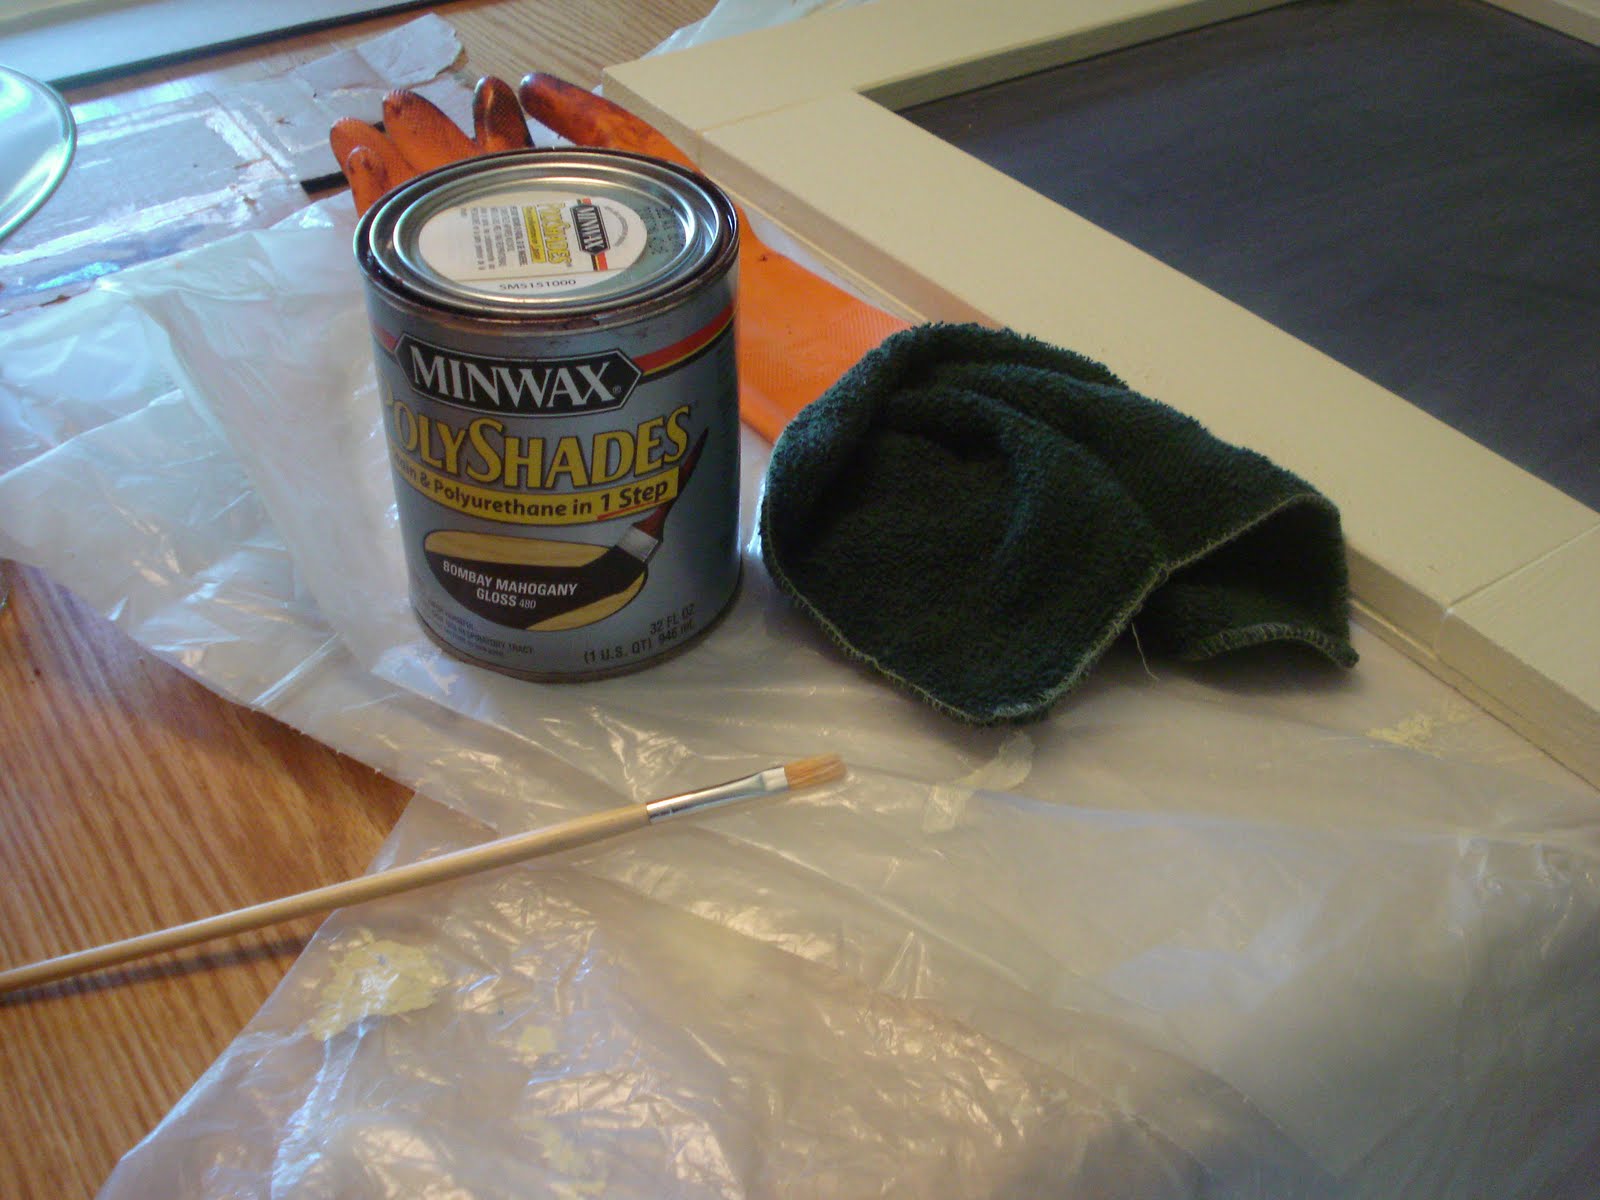
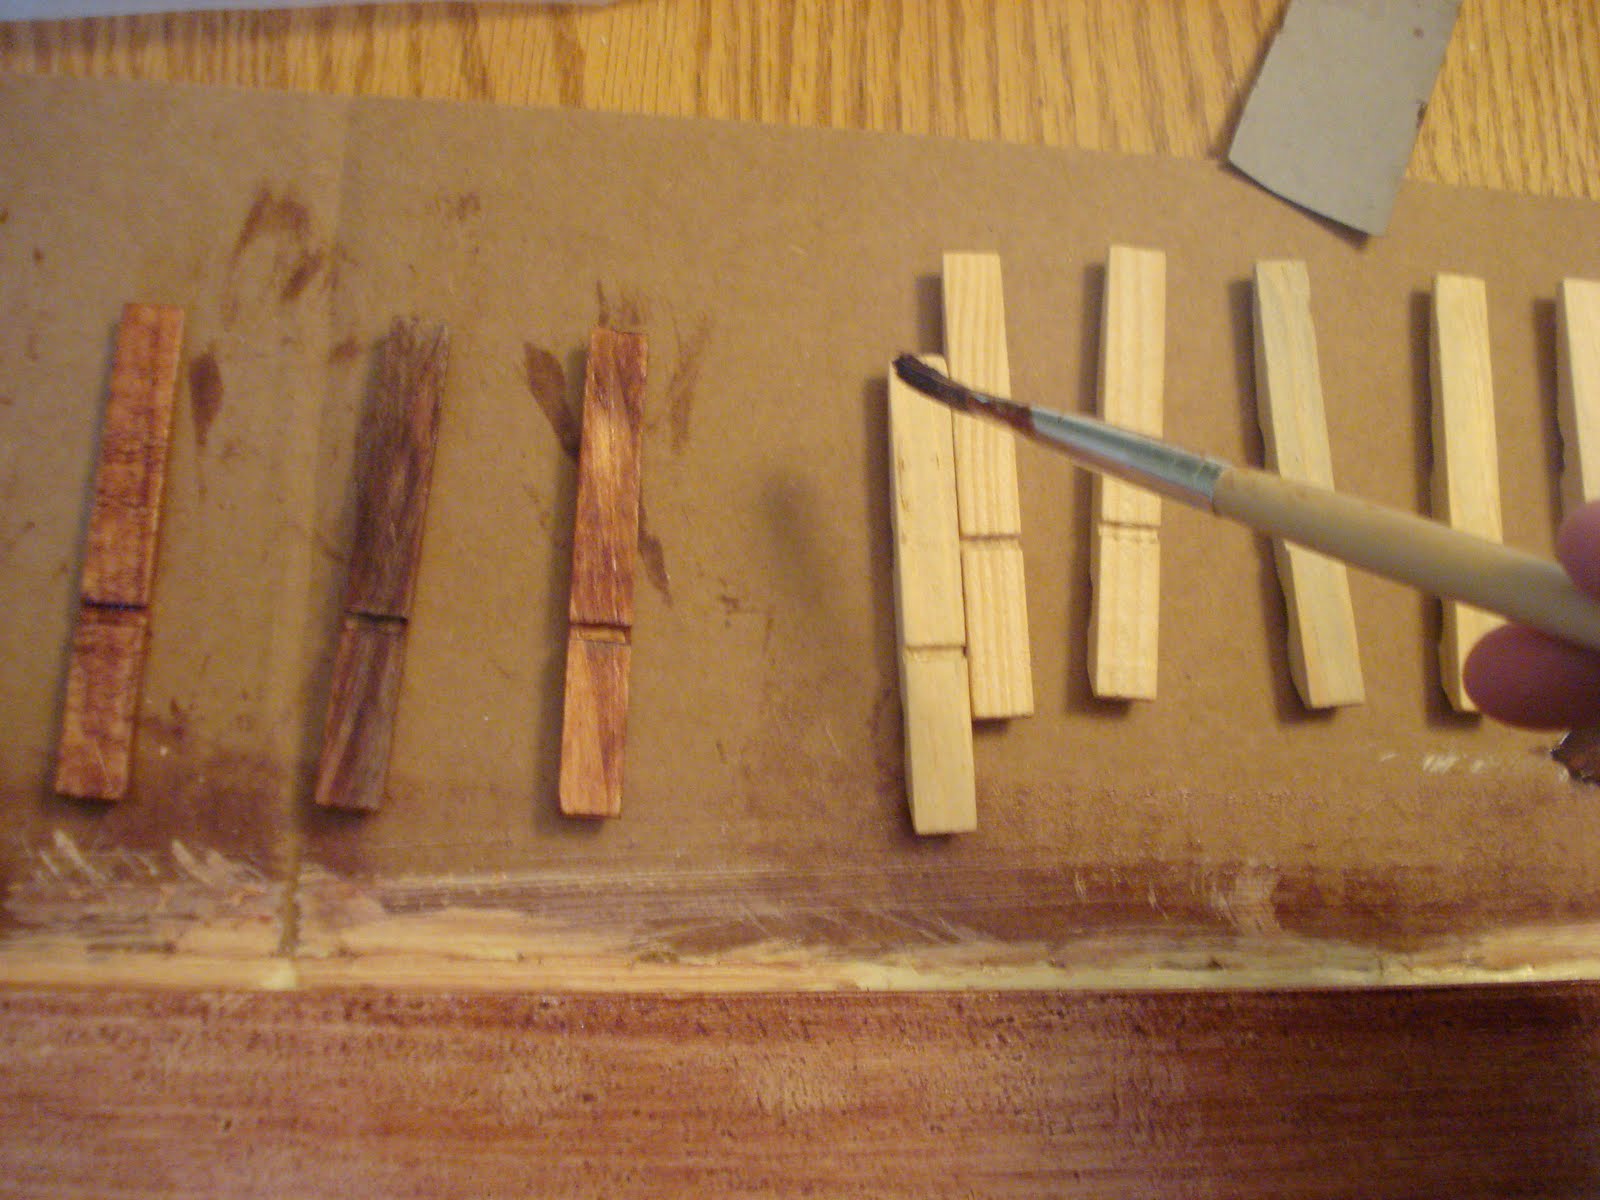
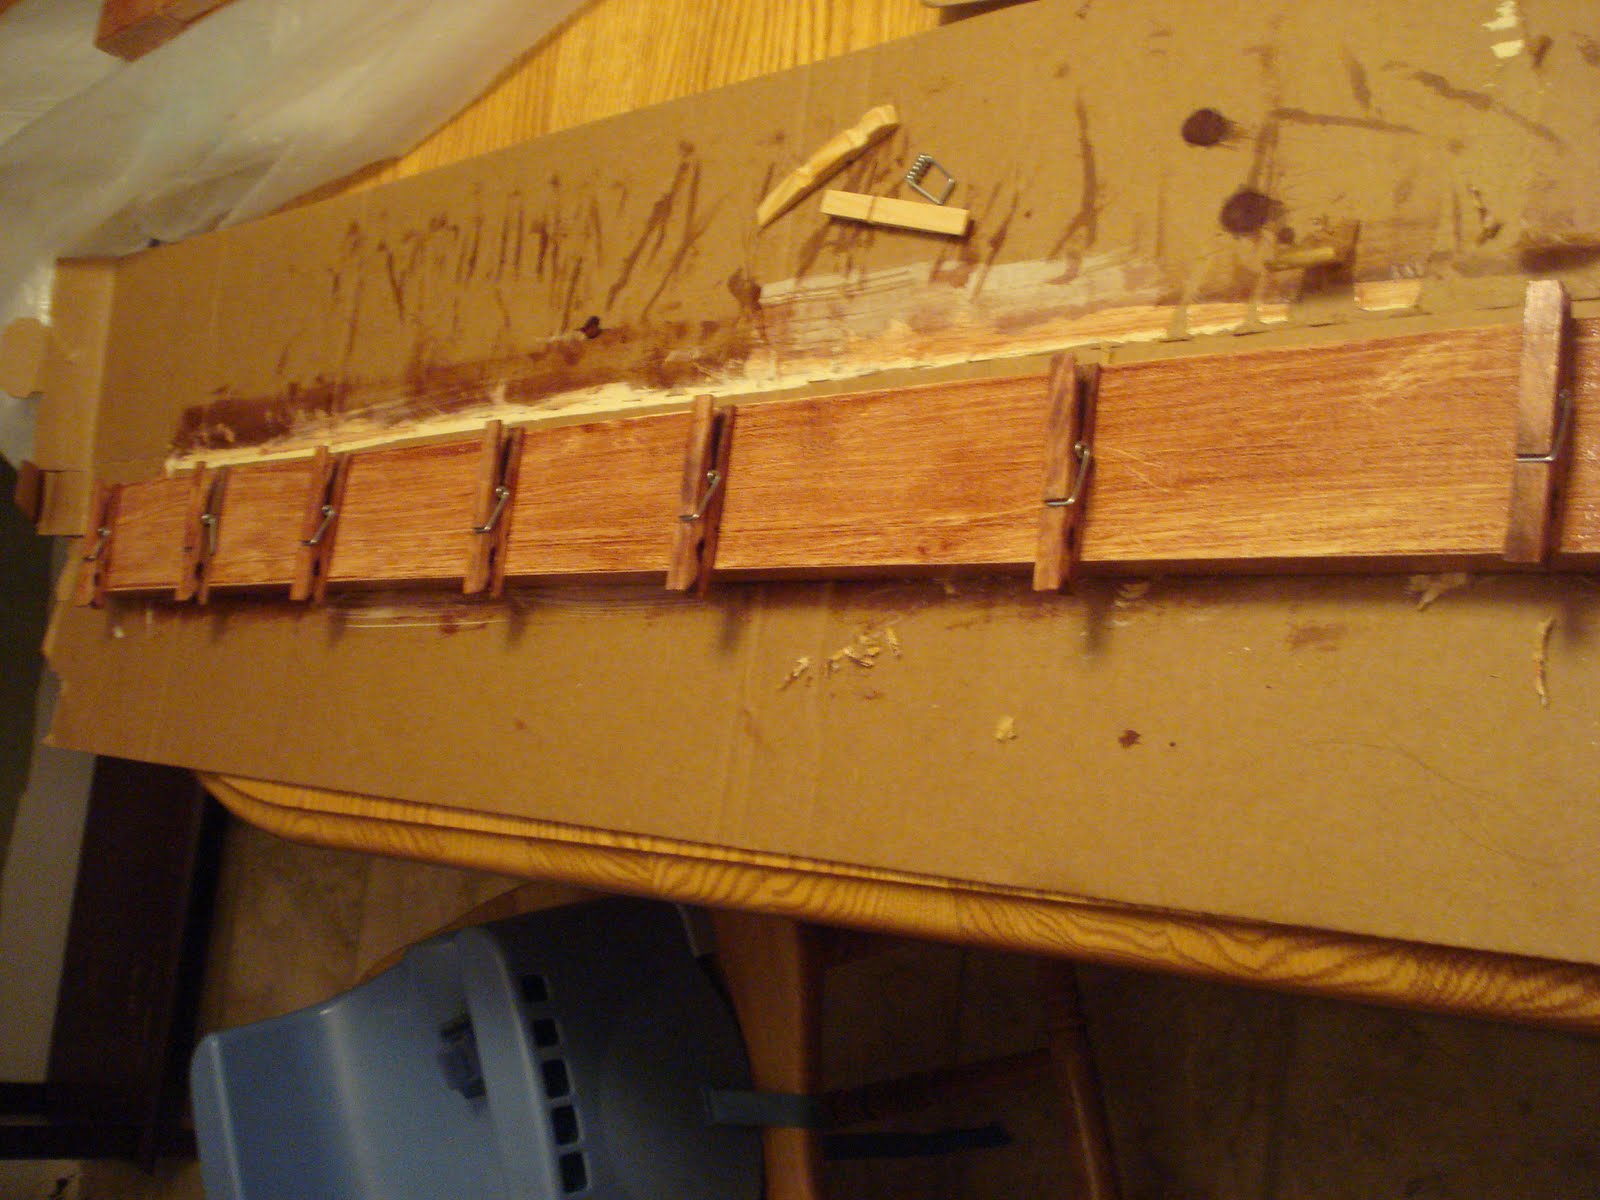
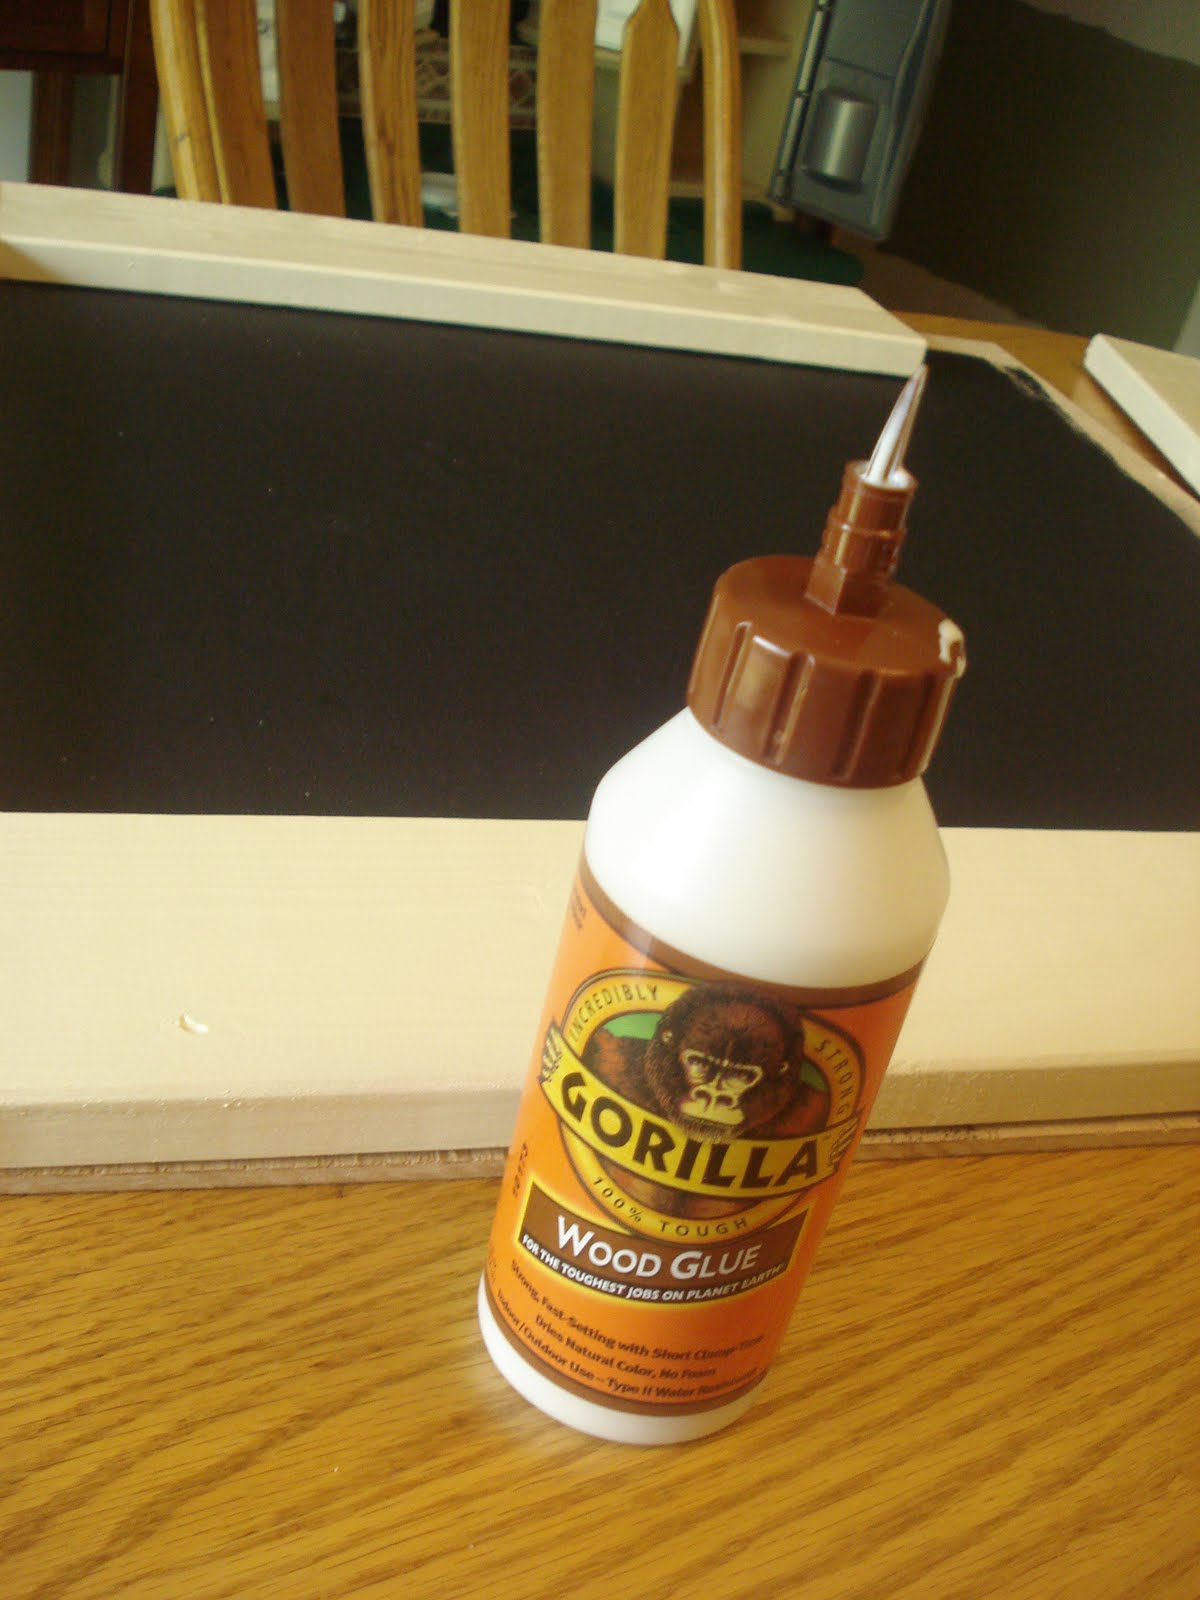
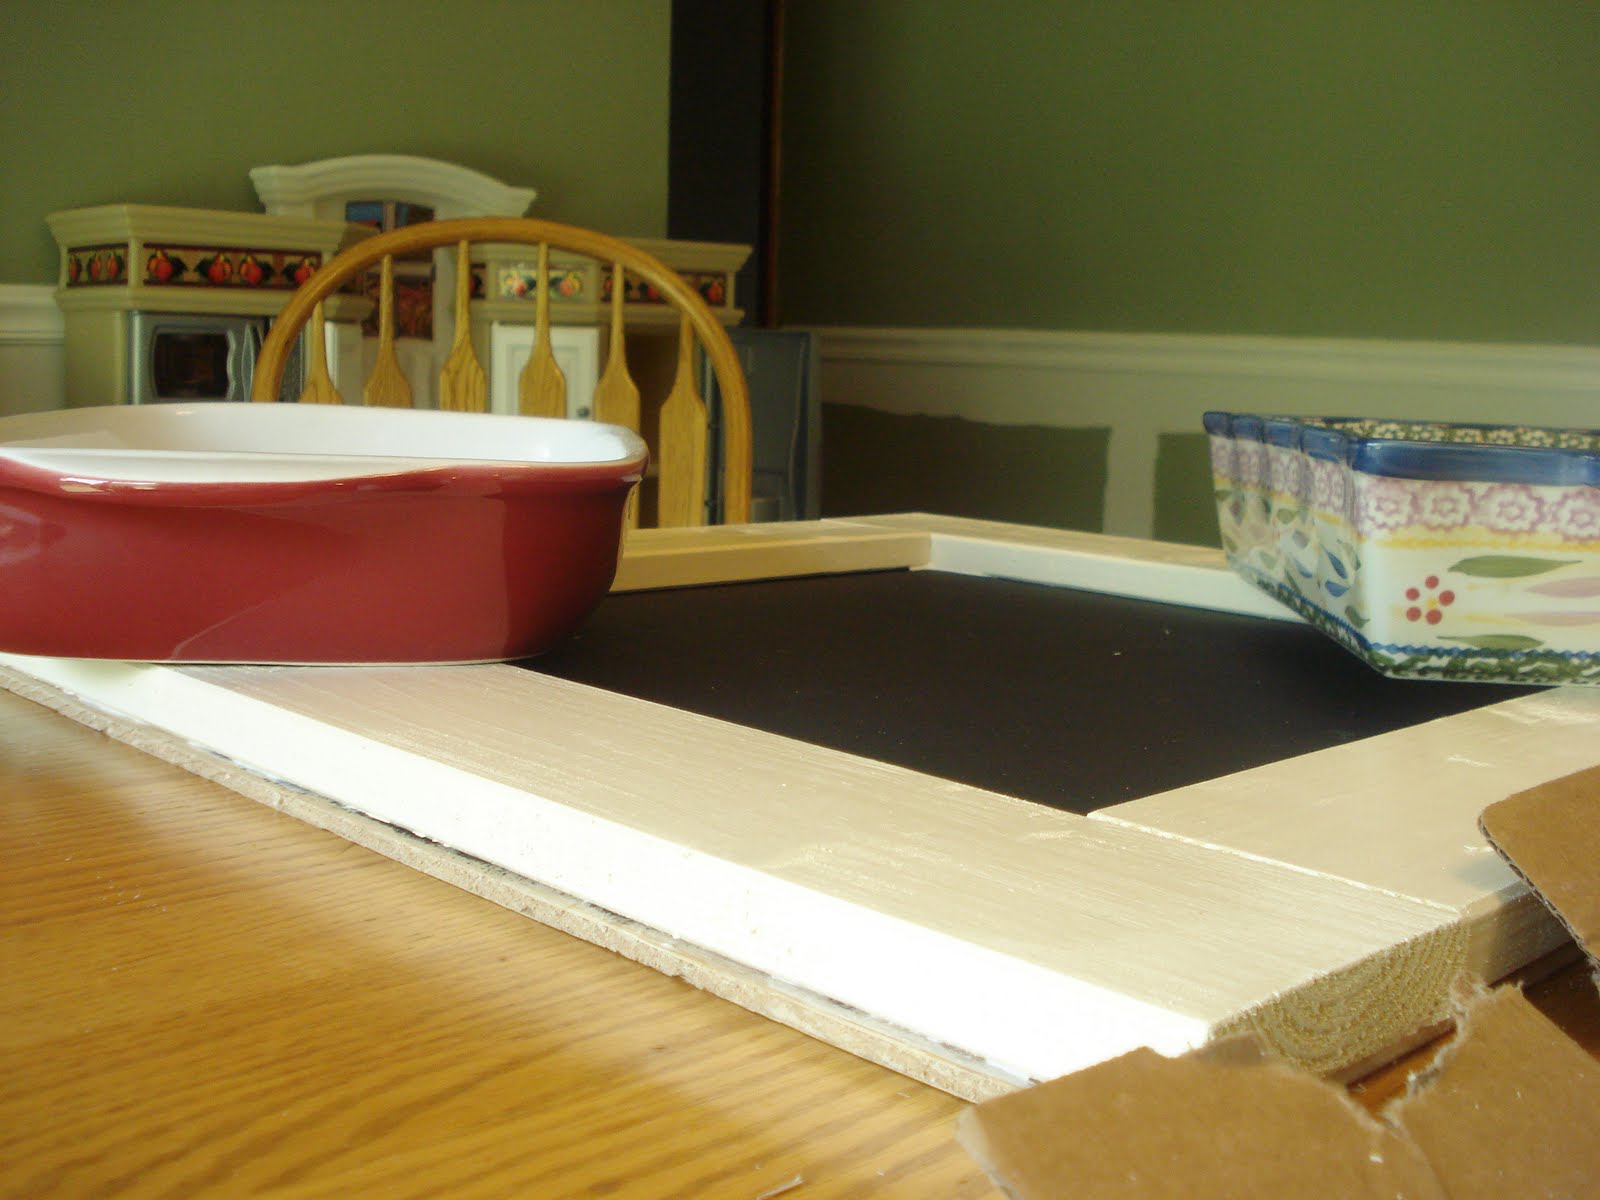
Make sure that you have completed all of the steps from Part 1 and Part 2.

This is the easy day. All you have left to do is attach picture hangers to the back and hang your pieces on the wall.

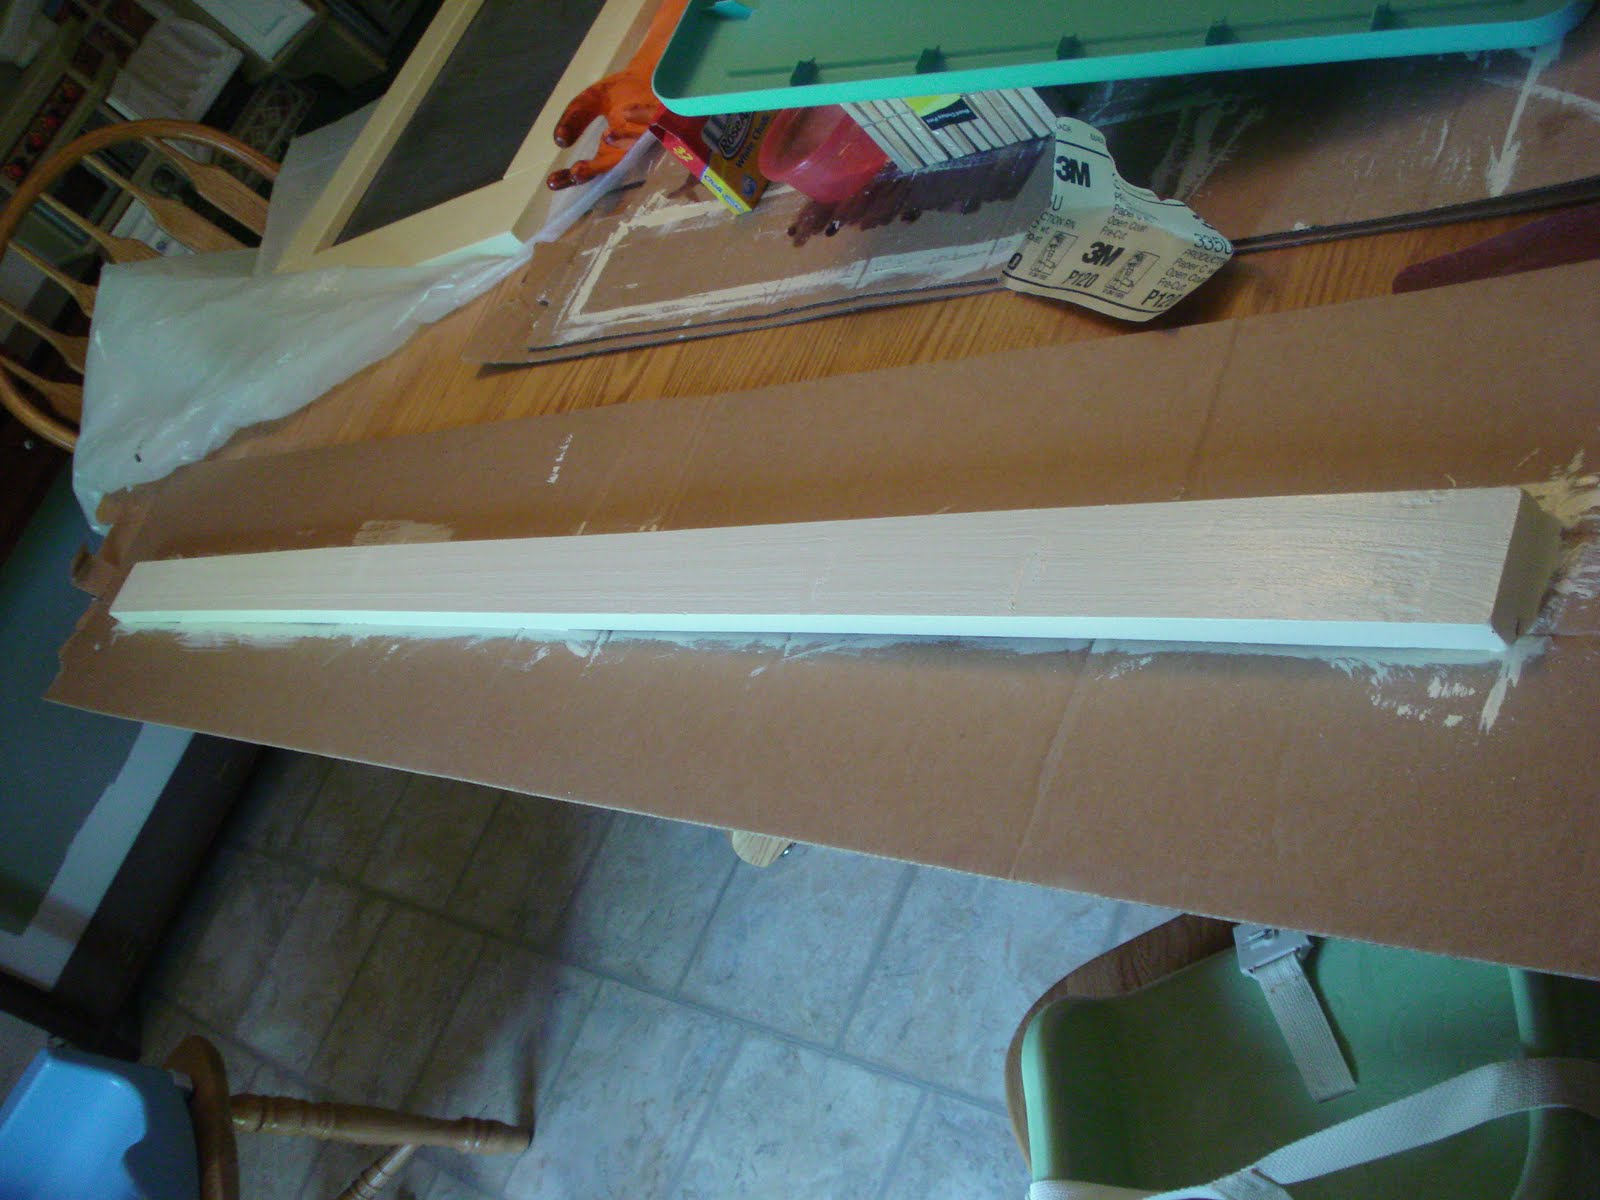
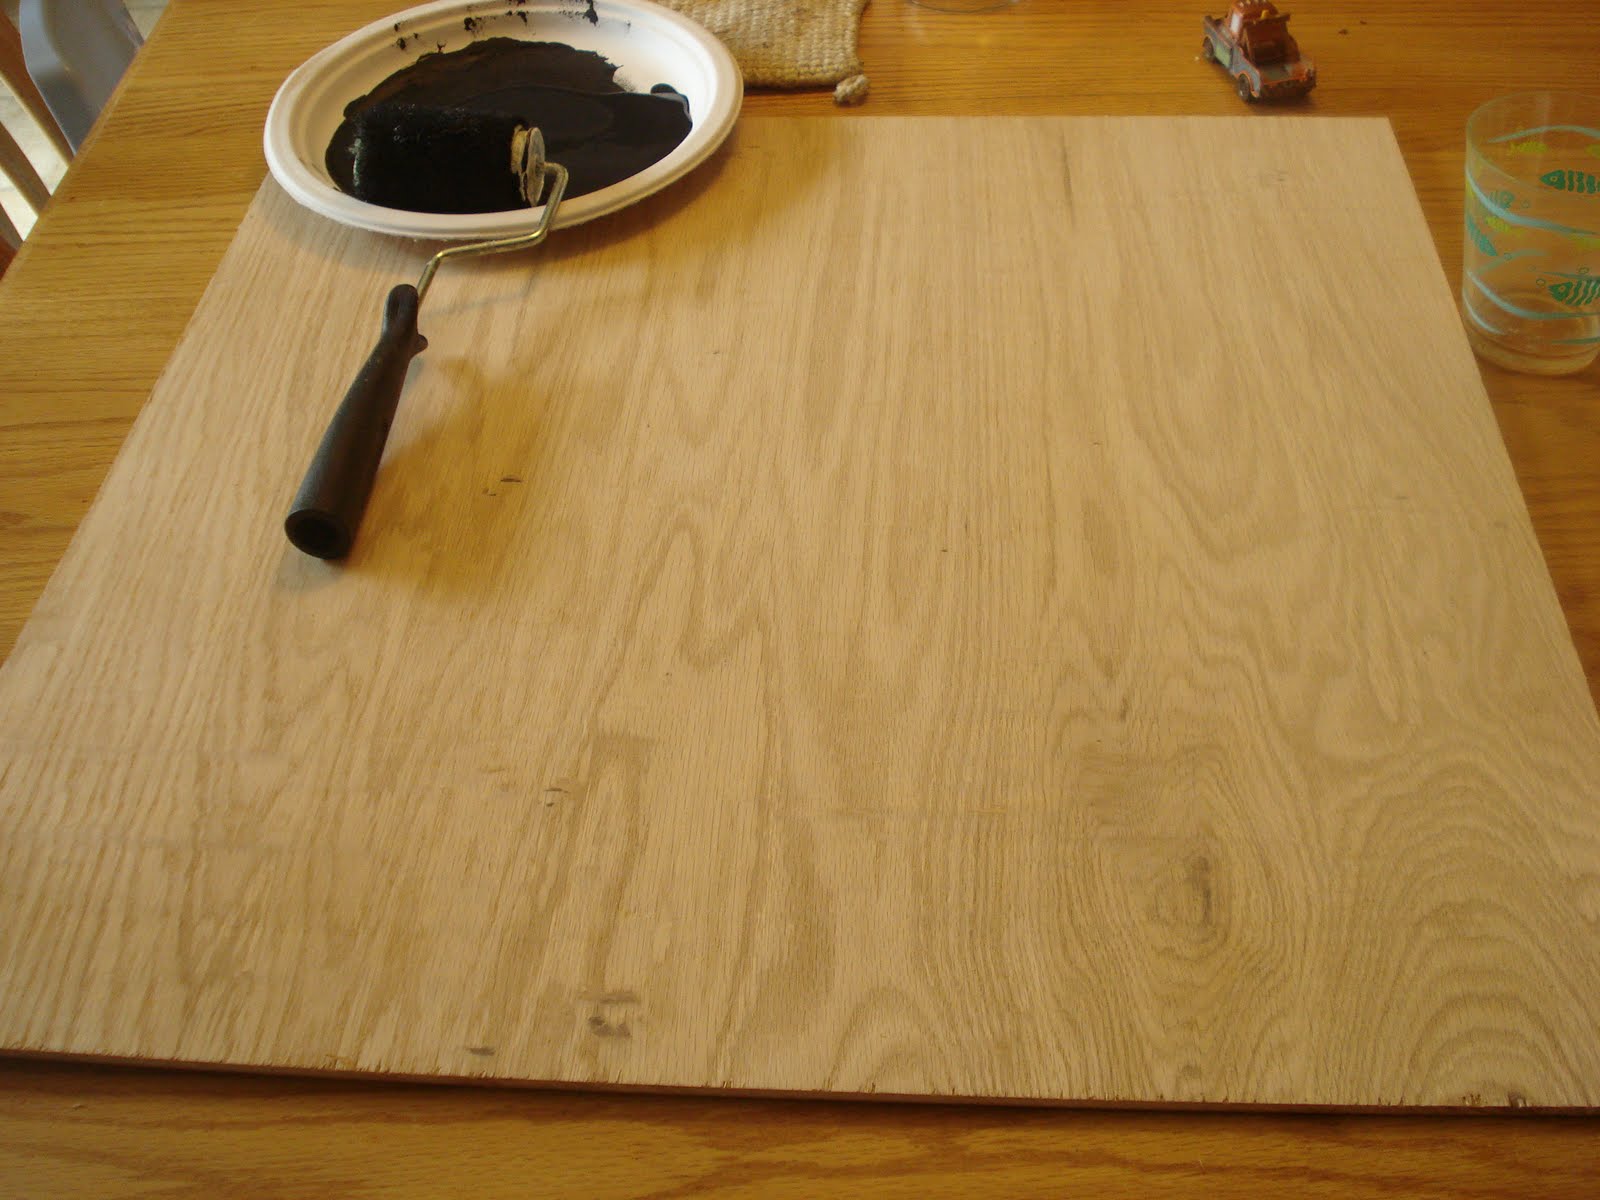
Tomorrow prep your chalkboard surface by rubbing the side of a piece of chalk all over it and using a rag to rub all of that chalk in really well. (That’s supposed to make it erasable.) My can said to wait at least 3 full days before doing that.

Yay! A place to help Nicholas learns his letters and numbers and display all of the papers that are going to start coming home from preschool in a few weeks. Does it not look like it came right out of the Pottery Barn catalog? I think it’s worth all $12 I spent. 🙂


Linking up to Whatever Goes Wednesday

giveaways

Build{hers} club Button

Share this:

  • Click to share on Facebook (Opens in new window)
  • Click to share on Pinterest (Opens in new window)
  • Click to share on Twitter (Opens in new window)
  • More
  • Click to share on Pocket (Opens in new window)
  • Click to share on Tumblr (Opens in new window)
  • Click to share on Reddit (Opens in new window)
  • Click to share on LinkedIn (Opens in new window)
  • Click to print (Opens in new window)

Chalkboard & Clip Rail: Part 2

August 18, 2010 By: Stephaniecomment

After completing all of the steps in Part 1 we are ready for day 2!

Day 2 steps:

1. Caulk all of the cracks with paintable caulk. It’s true what they say. This stuff really does hide a multitude of sins! To caulk just squirt the caulk into the crack, wipe off the excess with your finger, and then go back over the surface with a damp rag.

2. After the caulk dries, sand all of the edges again.

3. Put on another coat of paint.

Ok…now we’re going to start on the art rail. I used a 1×3 because we already had one cut to the size I wanted, but you can have Lowes or Home Depot cut the extra piece of furring strip from the frame to whatever length you want yours to be.

4. Sand and paint your long strip of wood. This will be the clip rail.

If you want your pieces to have a painted look then all you have to do is attach clothes pins with glue, let everything dry for another day and then hang it with picture hangers. They are surprisingly light weight pieces.

I made things a little more complicated for myself. Originally, I was just going to antique the cream color with a little stain, but the more I did the more I decided I liked it darker.

To stain:

You will need a rag, gloves, a small paint brush, and the stain. I used Minwax stain & poly all-in-one in Bombay Mahogany.

I like to rub the stain into the surface with a rag and use the brush for smaller areas, like the sides.

Ta-da.

Now do the same thing to the clip rail.

I also decided that I wanted to stain the clothes pins to match. This is way easier than it sounds. Just take the little metal things out, stain one side, and after it dies stain the other side. I used the paint brush for this. When both sides are dry, put the metal piece back in.

Ok, when the clothes pins are finally dry, the last thing you need to do today is use the paint brush to brush some wood glue onto the back of each clothes pin and stick the clothespins into the clip rail.

Stay tuned for the big reveal. 🙂

Share this:

  • Click to share on Facebook (Opens in new window)
  • Click to share on Pinterest (Opens in new window)
  • Click to share on Twitter (Opens in new window)
  • More
  • Click to share on Pocket (Opens in new window)
  • Click to share on Tumblr (Opens in new window)
  • Click to share on Reddit (Opens in new window)
  • Click to share on LinkedIn (Opens in new window)
  • Click to print (Opens in new window)

Chalkboard & Clip Rail: Part 1

August 17, 2010 By: Stephanie2 Comments

Chalkboards are super trendy lately, but my Aunt Charlotte has had chalkboards in her country home for as long as I can remember. They are such a great way to personalize your space. I still love it when we go to visit her and the chalkboard in the kitchen says “Welcome Steph, Eddie, Nick & Abby!”

Now that Nicholas will be starting preschool in a few weeks I wanted one where we could practice writing his letters, his name, shapes, etc. I also wanted a place to be able to display all those craft papers that will start coming home with him.

So I set out to make a matching chalkboard and clip rail, inspired by Knock Off Wood.

Why make my own? Because I like making stuff and I’m cheap. Chalkboards are freakin’ expensive! I don’t know why, but this one from CSN.com is $110.

and these from Pottery Barn are $115 for a set.

That is not happening. I’m making a chalkboard AND a clip rail art display board for a grand total of $12. Disclaimer: that total is because I already had some of the stuff I needed, but even if you had nothing, you could make these for under $30. See:

Materials:

Chalkboard Paint $2.50 (It’s $10 a can, but you will only use about 1/4 of the can)

2’x2′ 1/4″ oak square, under $5 at Lowes.

2 furring strips, under $2 each- $3.75 (ask specifically for furring strips. They are about half the cost of the other boards.) Two is enough for the chalkboard frame and the clip rail.

Paint or stain $5 (You will only need about a pint. You can get oops paint very cheaply.)

Paintable caulk $3

Picture hangers $3

Wood Glue $6

Clothes Pins $1

Rag

Small paint brush (one that you are willing to throw away) & roller

Total: $29.25

And that will leave you with extra caulk, wood glue, paint, and probably some clothes pins for other projects.

Let’s get started!
It’s easy, but it takes a few days because there is a lot of wait time between steps.

Day 1:

1. First I had them cut the wood for me at Lowes to fit around the oak square like a frame. 2 furring strips is enough to frame the square and have plenty left over for the art rail.

2. Then I rolled 3 coats of the chalkboard paint onto the square and let them dry for about an hour.

3. While the chalkboard paint dried I painted the pieces for the frame. Then I waited some more for them to dry.

4. When everything was dry I used Gorilla Wood Glue to secure the pieces of the frame around the sides.

5. Then I stuck some heavy stuff on top like I saw Janell from Isabella and Max Rooms do when she built her message board.

6. Wait 24 hours for the glue to set.

Stay tuned to see my progress. 🙂

Update: Before painting make sure all your surfaces are sanded and wiped clean. Sorry, I forgot to mention that.

Share this:

  • Click to share on Facebook (Opens in new window)
  • Click to share on Pinterest (Opens in new window)
  • Click to share on Twitter (Opens in new window)
  • More
  • Click to share on Pocket (Opens in new window)
  • Click to share on Tumblr (Opens in new window)
  • Click to share on Reddit (Opens in new window)
  • Click to share on LinkedIn (Opens in new window)
  • Click to print (Opens in new window)
  • « Previous Page
  • 1
  • …
  • 248
  • 249
  • 250
  • 251
  • 252
  • …
  • 268
  • Next Page »
  • Facebook
  • Instagram
  • Pinterest
  • RSS
  • Twitter

Welcome! I’m Steph.

This is a little corner of the internet we like to fill with honesty, heart, and humor. Read More…

Cover for Binkies and Briefcases with Stephanie Giese
19,380
Binkies and Briefcases with Stephanie Giese

Binkies and Briefcases with Stephanie Giese

Stephanie Giese is an indie author based in Florida. She writes stories about realistic problems with humor, heart, and sass. Her work has a strong focus on mental health and consent. Her North Bay small-town romance series is set for release in 2025.

Binkies and Briefcases with Stephanie Giese

5 months ago

Binkies and Briefcases with Stephanie Giese
This one's on me, Bookworms! Grab your FREE book ... See MoreSee Less

Hello My Radiant RomCom Readers,

wix.to

I have fun news! For a limited time, as a special gift from me to you, the eBook version of Out of Left Field is totally FREE this week to download from Amazon. That's right, you don't even have to be...
View on Facebook
· Share

Share on Facebook Share on Twitter Share on Linked In Share by Email

Binkies and Briefcases with Stephanie Giese

6 months ago

Binkies and Briefcases with Stephanie Giese
Hello My Brilliant Bookworms ... See MoreSee Less

Hello My Brilliant Bookworms,

wix.to

I'm checking in from the pits of work-still-in-progress despair. (Book 3 is actually going pretty well, but I'm feeling dramatic today.) Way Off Base, Book 3 in my North Bay series, is set to go to th...
View on Facebook
· Share

Share on Facebook Share on Twitter Share on Linked In Share by Email

Reader’s Choice

Image HTML map generator

Follow Me on Pinterest

featured-on

What You’re Saying

  • 28 Best Stone Fireplace Ideas And Designs - Perfect Decor Place on DIY Stone Fireplace with AirStone
  • Kevin Hicks on How to Budget for Building Your Own Home
  • Amy on DIY Stone Fireplace with AirStone
  • Gendered clothing - GenderEd on A Target Intervention on Behalf of My Daughters
  • Wellshop Store on Dressing Our Daughters: How Target Responded to My Last Blog Post

Latest Posts

ALL I Never Knowed: The Book Is Here!

It’s finally here, in my hands. It has been a loooong time in the making, but our book, All I Never Knowed: Mental Illness, a Mother’s Love, and a Broken System, is available now. The official launch date is next Tuesday, Oct. 5th. But starting now, you can order from all major retailers. Here’s where […]

Share this:

  • Click to share on Facebook (Opens in new window)
  • Click to share on Pinterest (Opens in new window)
  • Click to share on Twitter (Opens in new window)
  • More
  • Click to share on Pocket (Opens in new window)
  • Click to share on Tumblr (Opens in new window)
  • Click to share on Reddit (Opens in new window)
  • Click to share on LinkedIn (Opens in new window)
  • Click to print (Opens in new window)

Save Money with Fetch

Hey everyone! This is Chelsea, Steph’s asistant, back with the simplest app for getting cash back on things you’re already buying! We’ve covered Ibotta, Shopkick, Coupons.com, Swagbucks and we’re all saving hundreds of dollars by now, right? RIGHT!? I’m really hoping you guys have jumped on the rebate app savings train because it’s just so […]

Share this:

  • Click to share on Facebook (Opens in new window)
  • Click to share on Pinterest (Opens in new window)
  • Click to share on Twitter (Opens in new window)
  • More
  • Click to share on Pocket (Opens in new window)
  • Click to share on Tumblr (Opens in new window)
  • Click to share on Reddit (Opens in new window)
  • Click to share on LinkedIn (Opens in new window)
  • Click to print (Opens in new window)

Splendid Spoon Review

I was excited to receive a box of products to try from Splendid Spoon this summer! They invited me to try their line of plant-based, ready-to-eat foods and delivered them right to my door. Check one in the pro column for convenience. I did receive these products free of charge in order to rate them […]

Share this:

  • Click to share on Facebook (Opens in new window)
  • Click to share on Pinterest (Opens in new window)
  • Click to share on Twitter (Opens in new window)
  • More
  • Click to share on Pocket (Opens in new window)
  • Click to share on Tumblr (Opens in new window)
  • Click to share on Reddit (Opens in new window)
  • Click to share on LinkedIn (Opens in new window)
  • Click to print (Opens in new window)

My Networks

#BlogHer15: Experts Among Us Voices of the Year Honoree